How to Configure Windows 2012 NPS for Radius Authentication with Ubiquiti Unifi
In a corporate environment shared key encryption is rarely used due to the problems associated with distributing the appropriate keys. In the corporate wireless world many organisations prefer to use 802.1x or Radius authentication so that their users can log on to the wireless networks with their domain credentials.
I was recently asked to set up just s system with Unifi access points and controllers on Windows Server 2012 with Microsofts own Radius solution NPS (or Network Policy Server) and 802.1x. There is plenty of information out there but I found that some of it was out of date and others were missing some fairly key components. So I present this tutorial to hopefully helps others get this up and running as quickly as possible.
The Unifi system was running 4.8.18, and obviously may change a little as things progress. The network I was working on looking like the following:
- Windows Server 2012 Active Directory – 192.168.1.50
- Ubuntu Server 14.04LTS Unifi Controller – 192.168.1.60
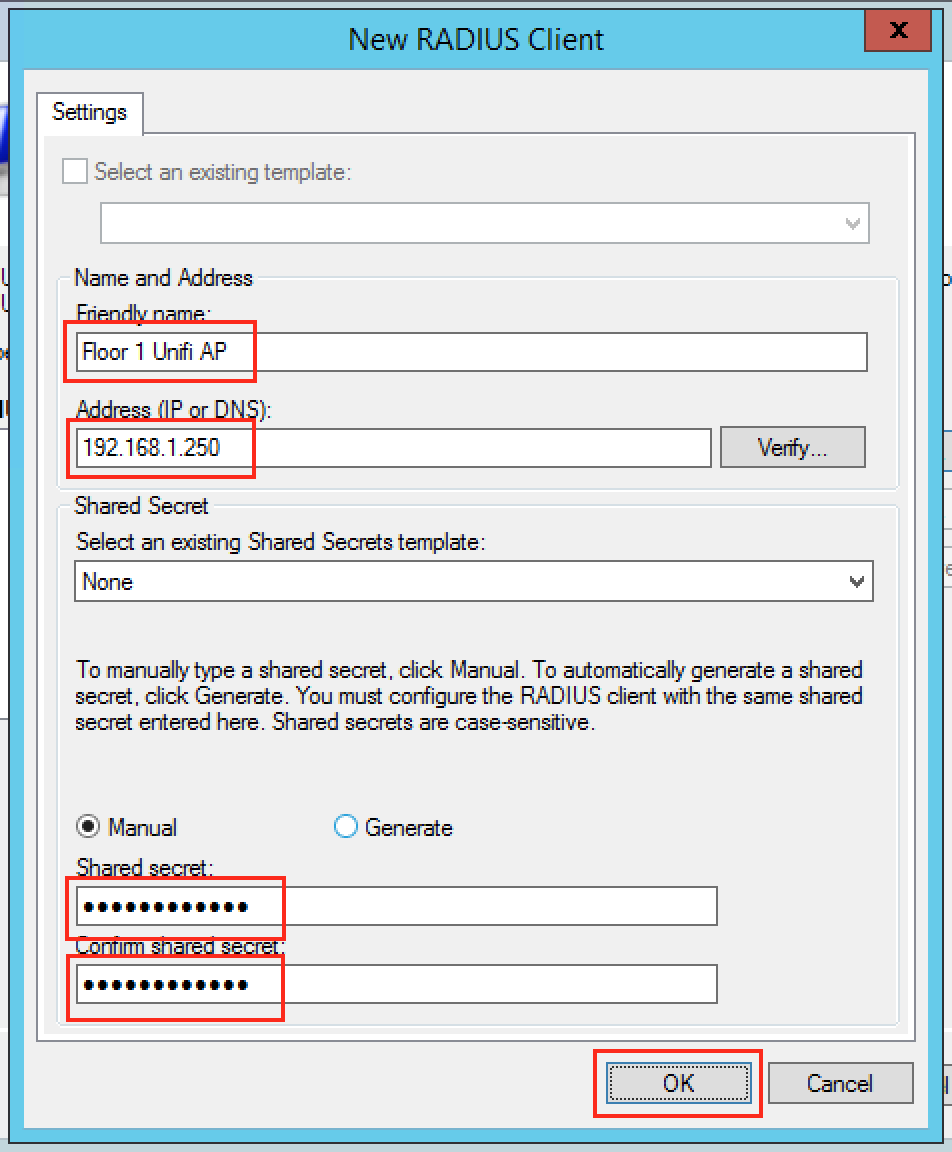
- Floor 1 Unifi AP – 192.168.1.250
- Floor 2 Unifi AP – 192.168.1.251
- Floor 3 Unifi AP – 192.168.1.252
As part of this project we wanted to turn on the following:
- Windows Server 2012 Network Policy Server – 192.168.1.55
The client also provided the server it’s own server certificate to allow clients to authenticate, and we installed that too.
I will assume you already have Active Directory installed, and you have a server ready to install Network Policy Server which is joined to the appropriate domains.
Oh and feel free to click on any of the screenshots for a bigger picture!
Step 1 – OPTIONAL – Install a Trusted Certificate for Authentication
Update 16 July 2016: An emailer has suggested that if you’ve got an enterprise Windows Certificate Services server setup you shouldn’t need to manually import a certificate, you should be able to do it quite happily via the usual certificate request process. Thanks Anon for the clarification suggestion 🙂
In this particular example the customer had a full and proper PKI infrastructure so they wanted to provide a certificate on the Radius/NPS server which clients could authenticate with. You don’t need to do this step, but if not you’ll have to get users to accept the certificate when they connect or otherwise distribute the certificate.
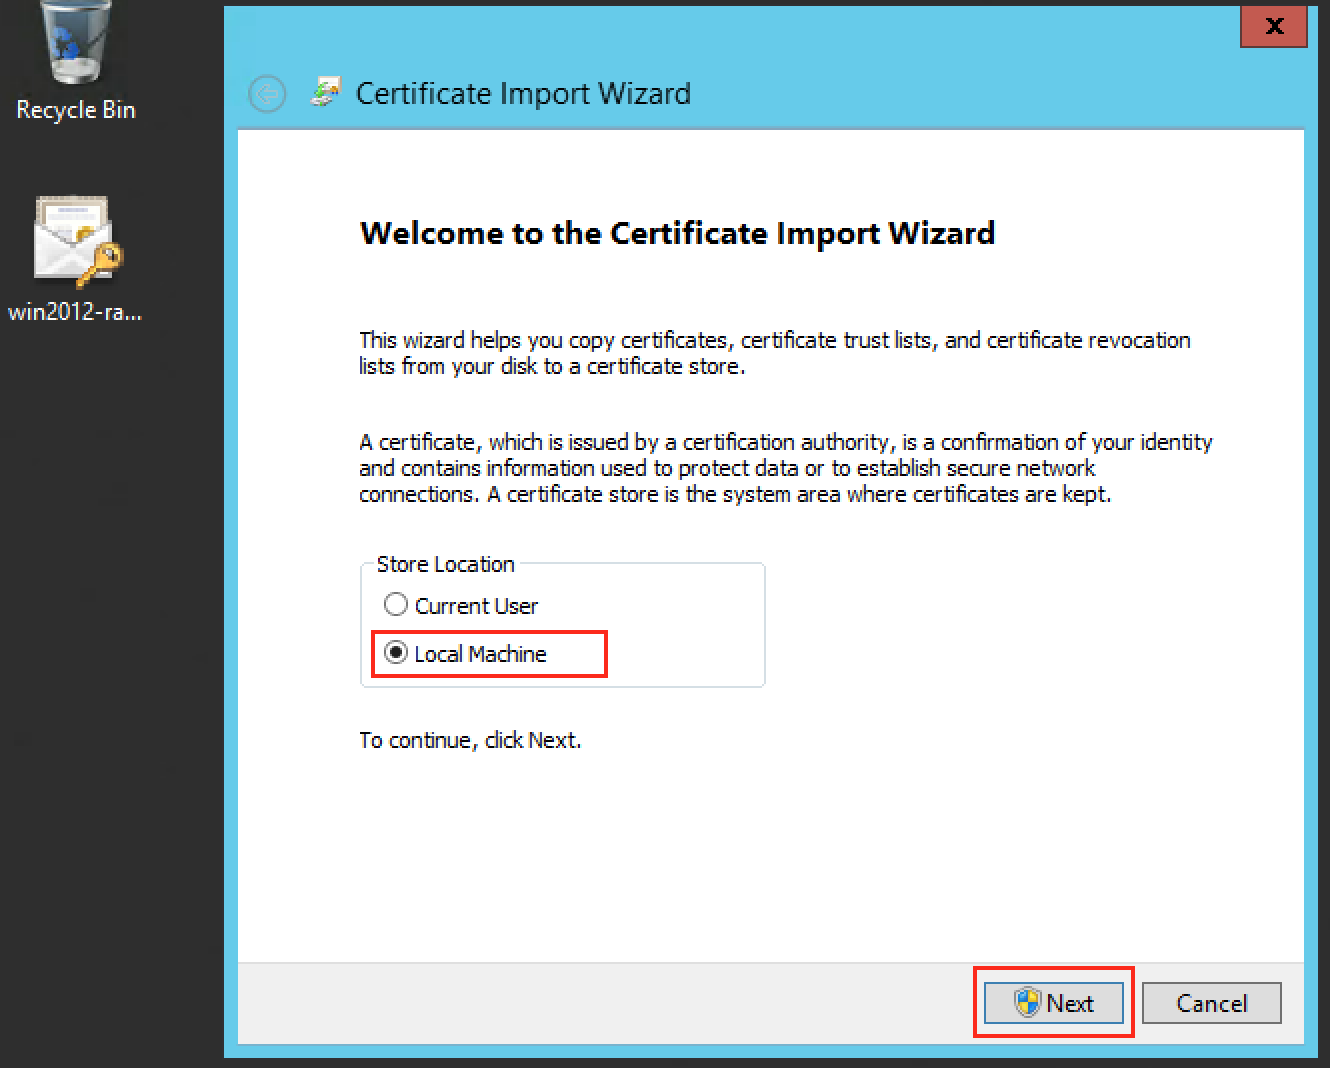
Download the certificate (in this case a .p12) and double click to install and you’ll probably want to install it on the “Local Machine” as opposed to the “Current User”, and click “Next”:
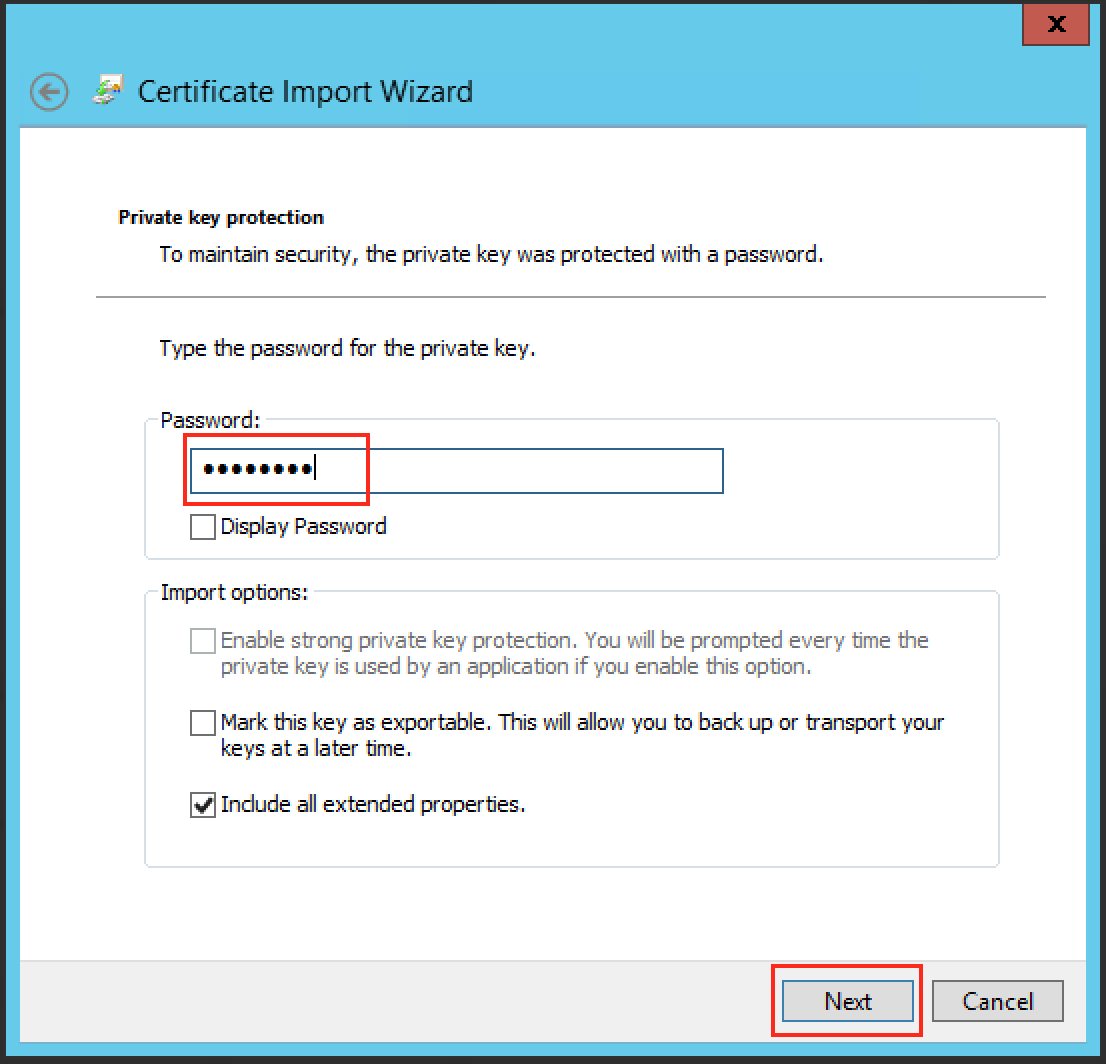
Type the password as appropriate for the file and click “Next”:
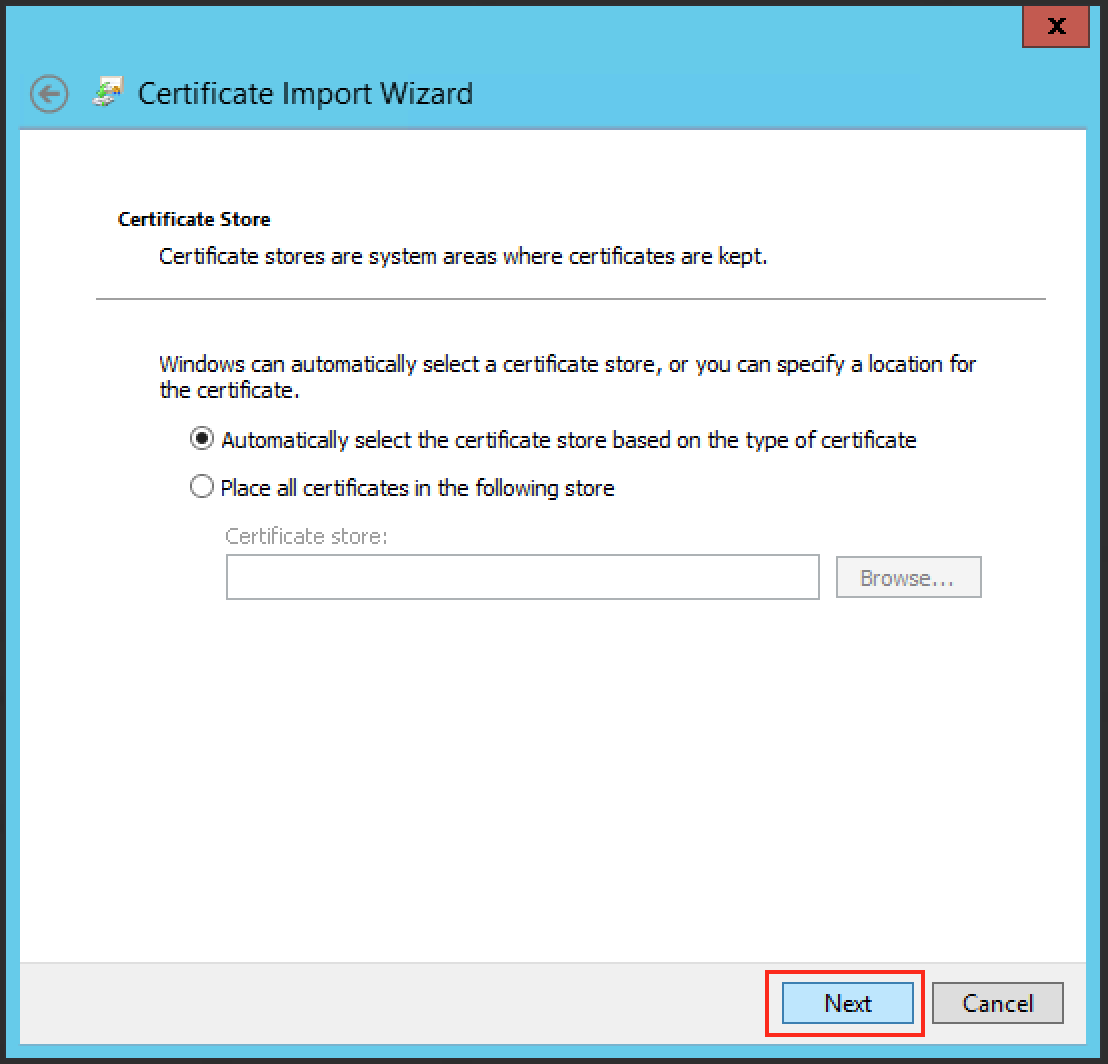
Leave the default on the next screen and click “Next”:
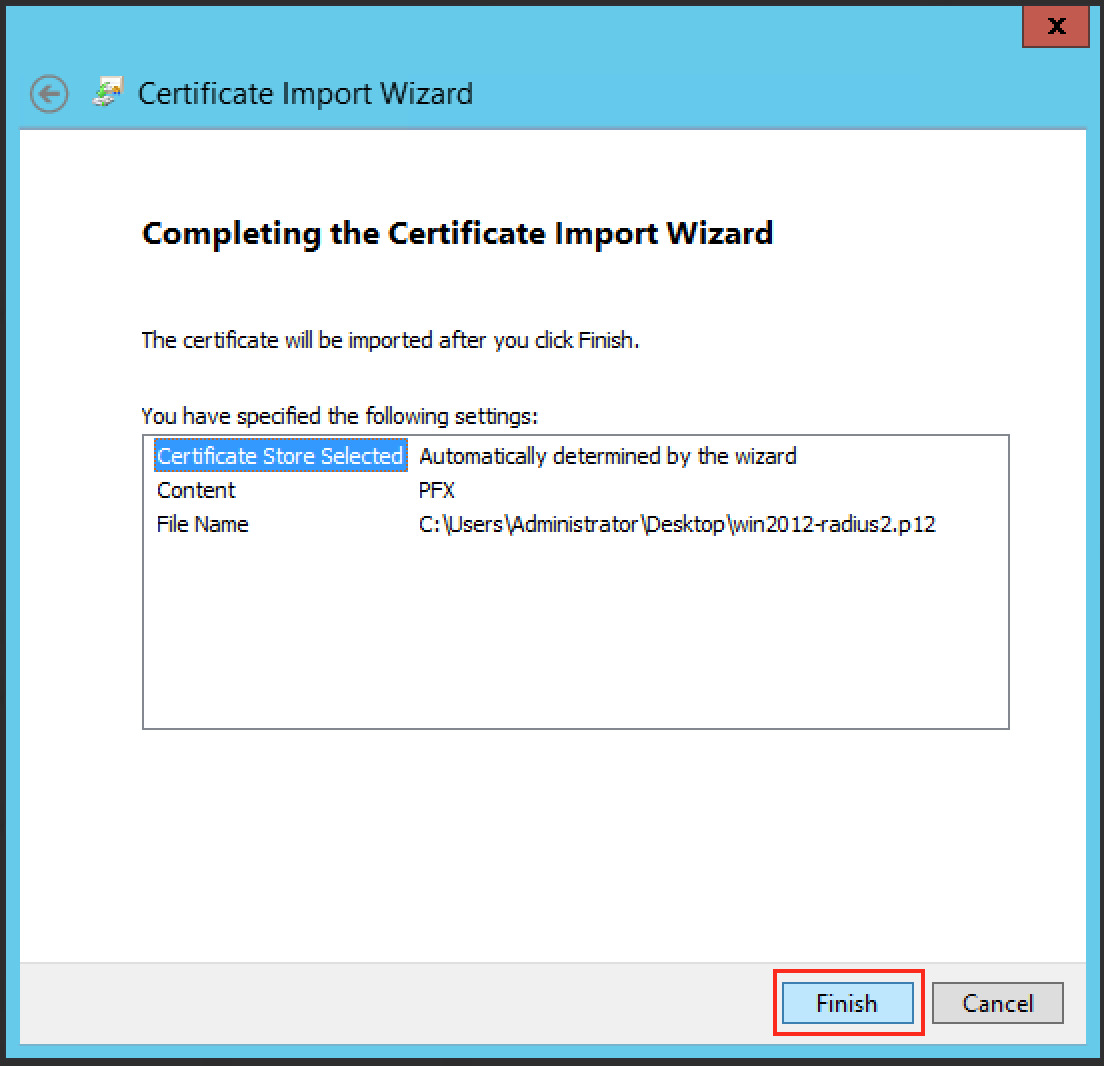
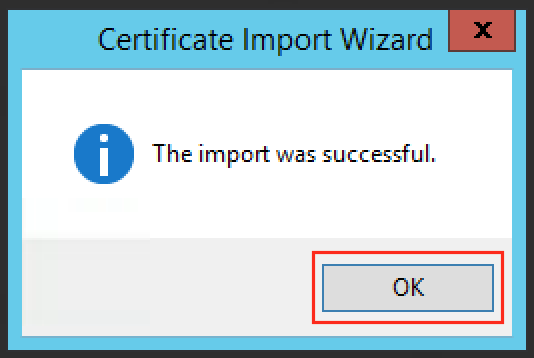
Then click “Finish”
And you should get a message like the following:
Step 2 – Install Microsoft Network Policy Server for Radius & 802.1x
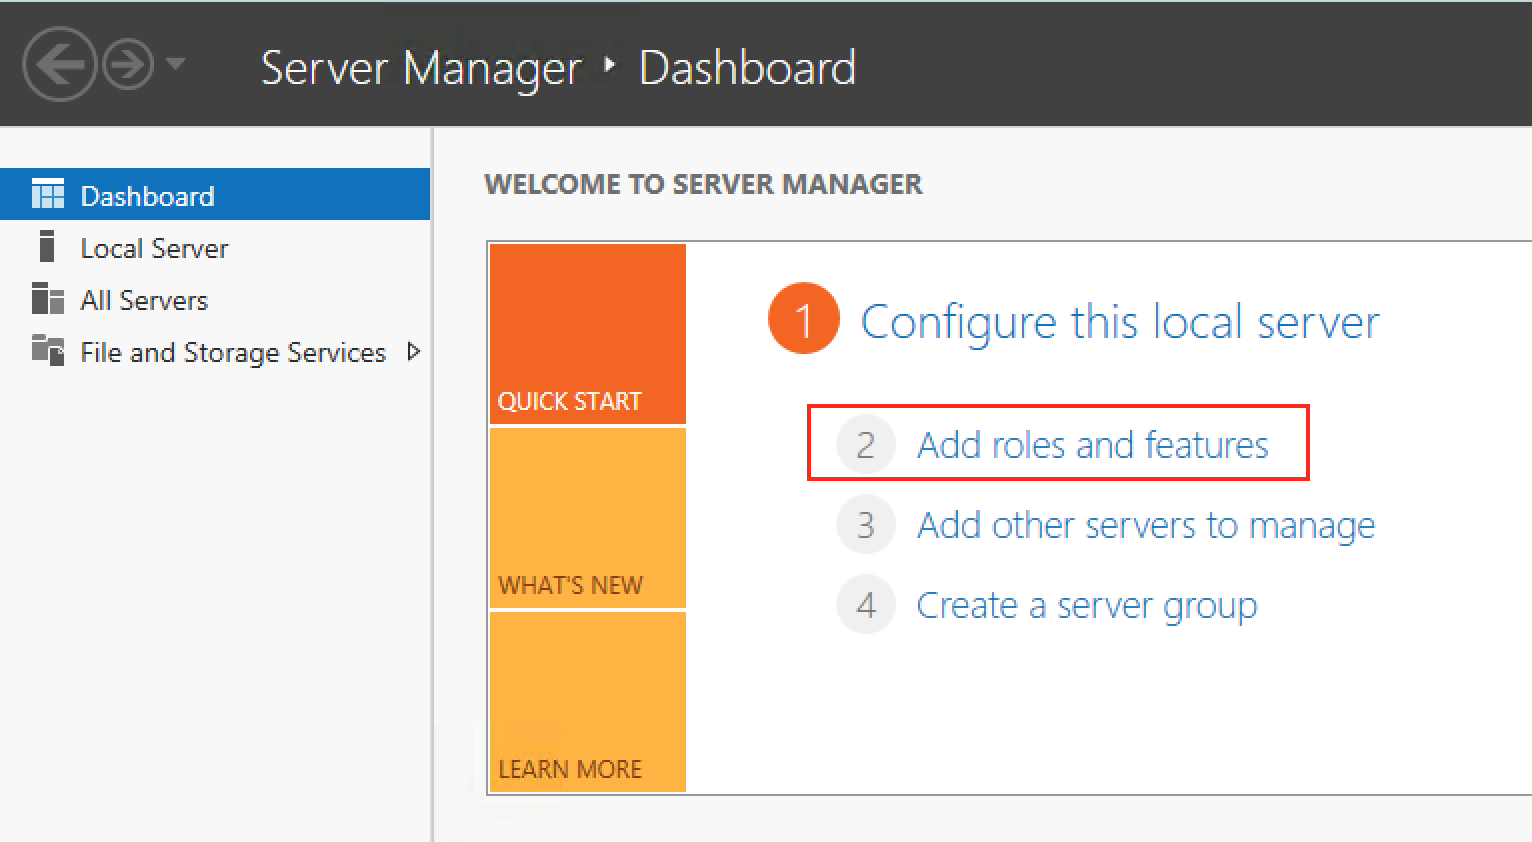
From the Server Manager click “Add Roles or Features”
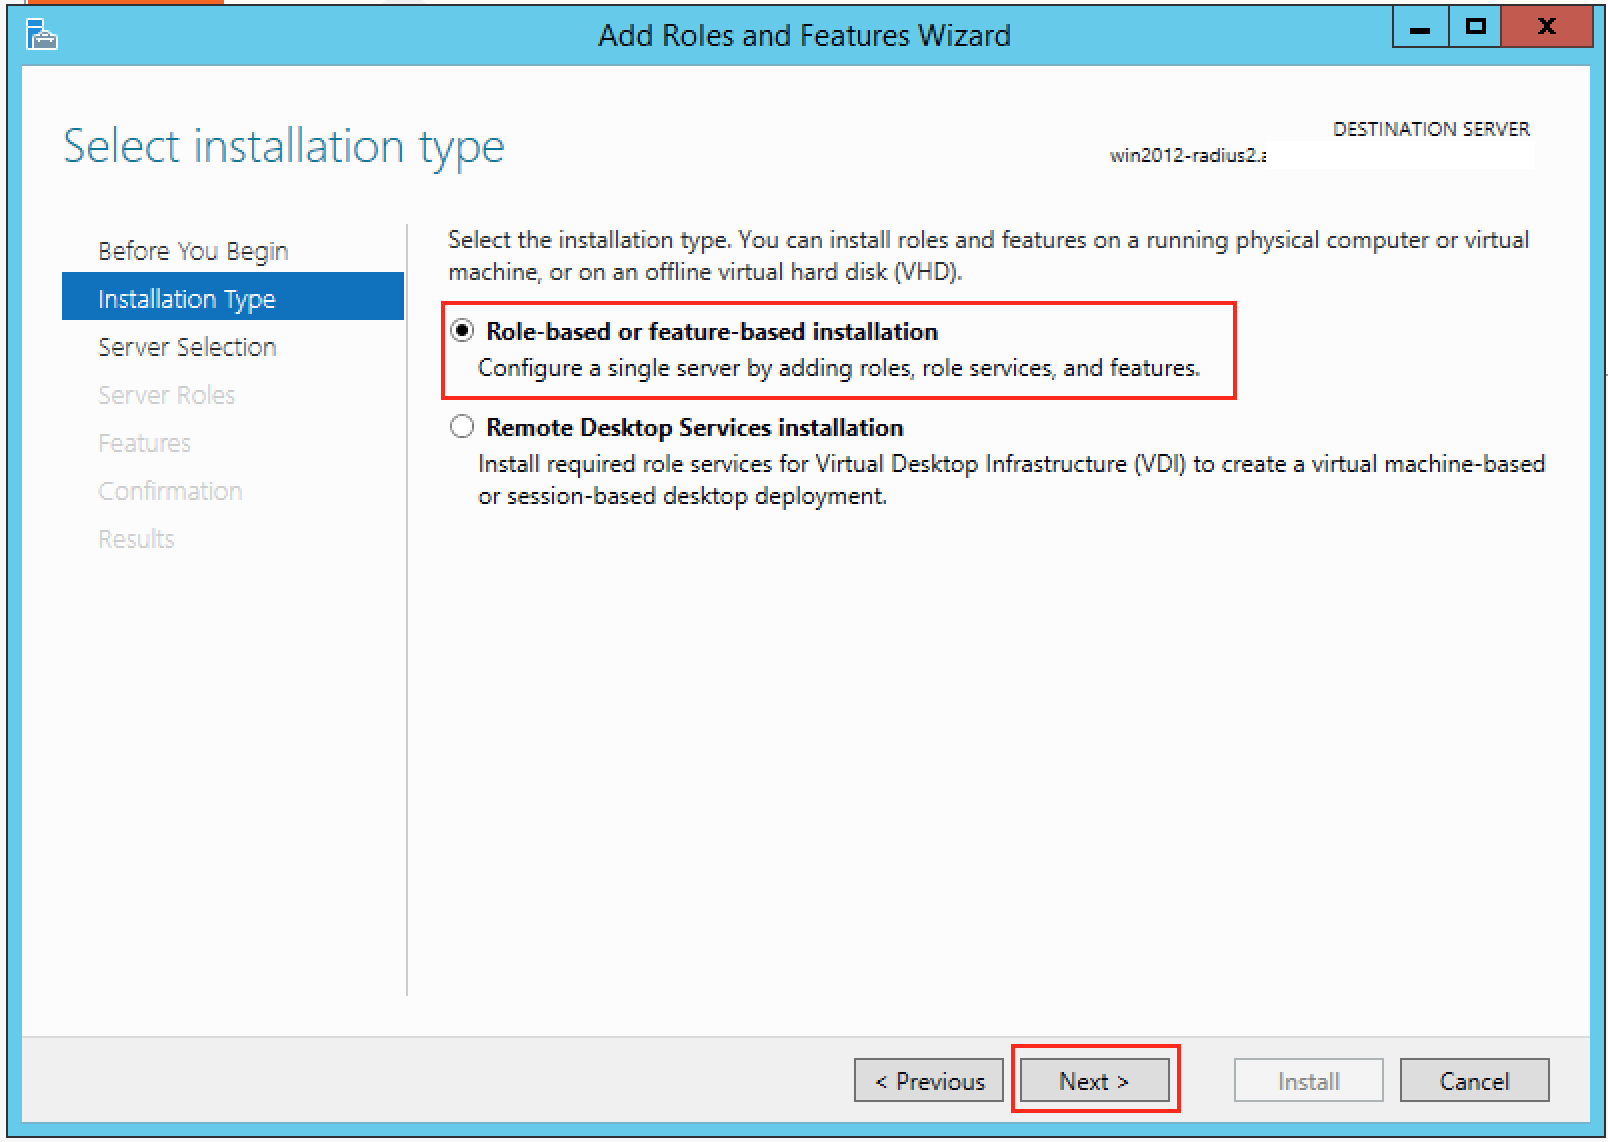
Make sure “Role-based or feature-based installation” is selected and click “Next”
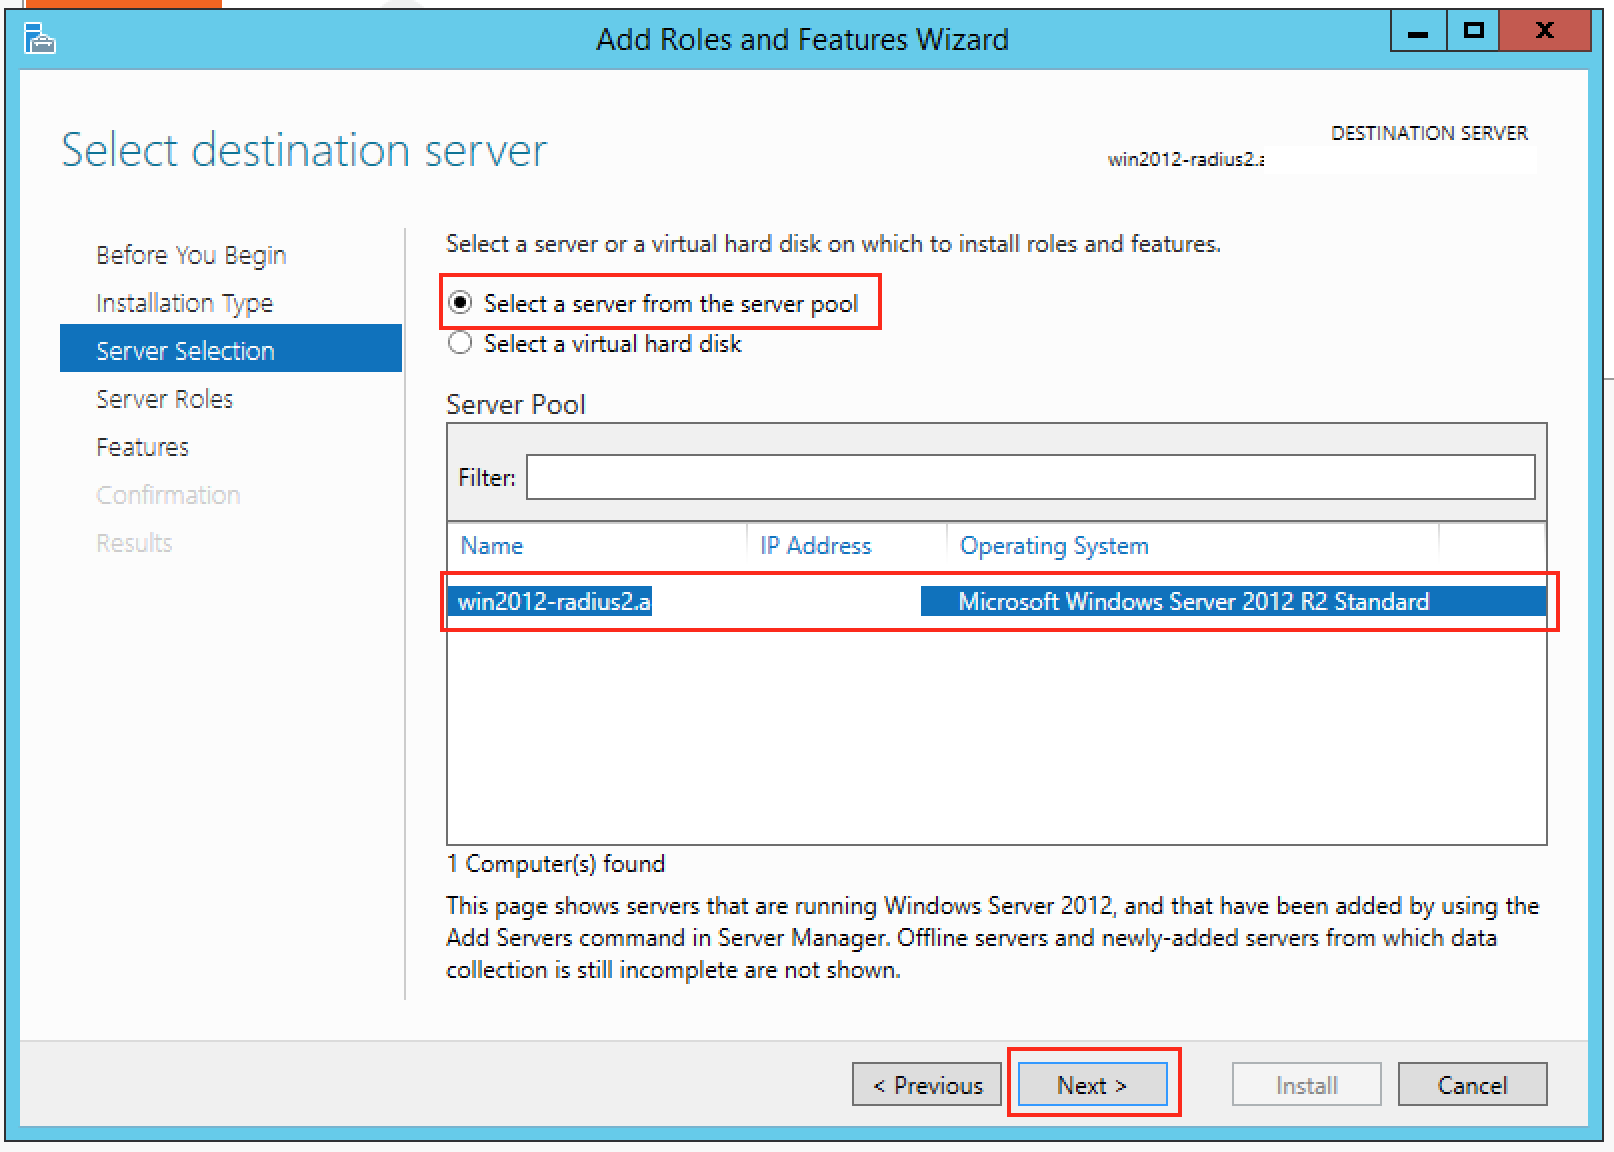
Select the appropriate server in the next screen and click “Next”
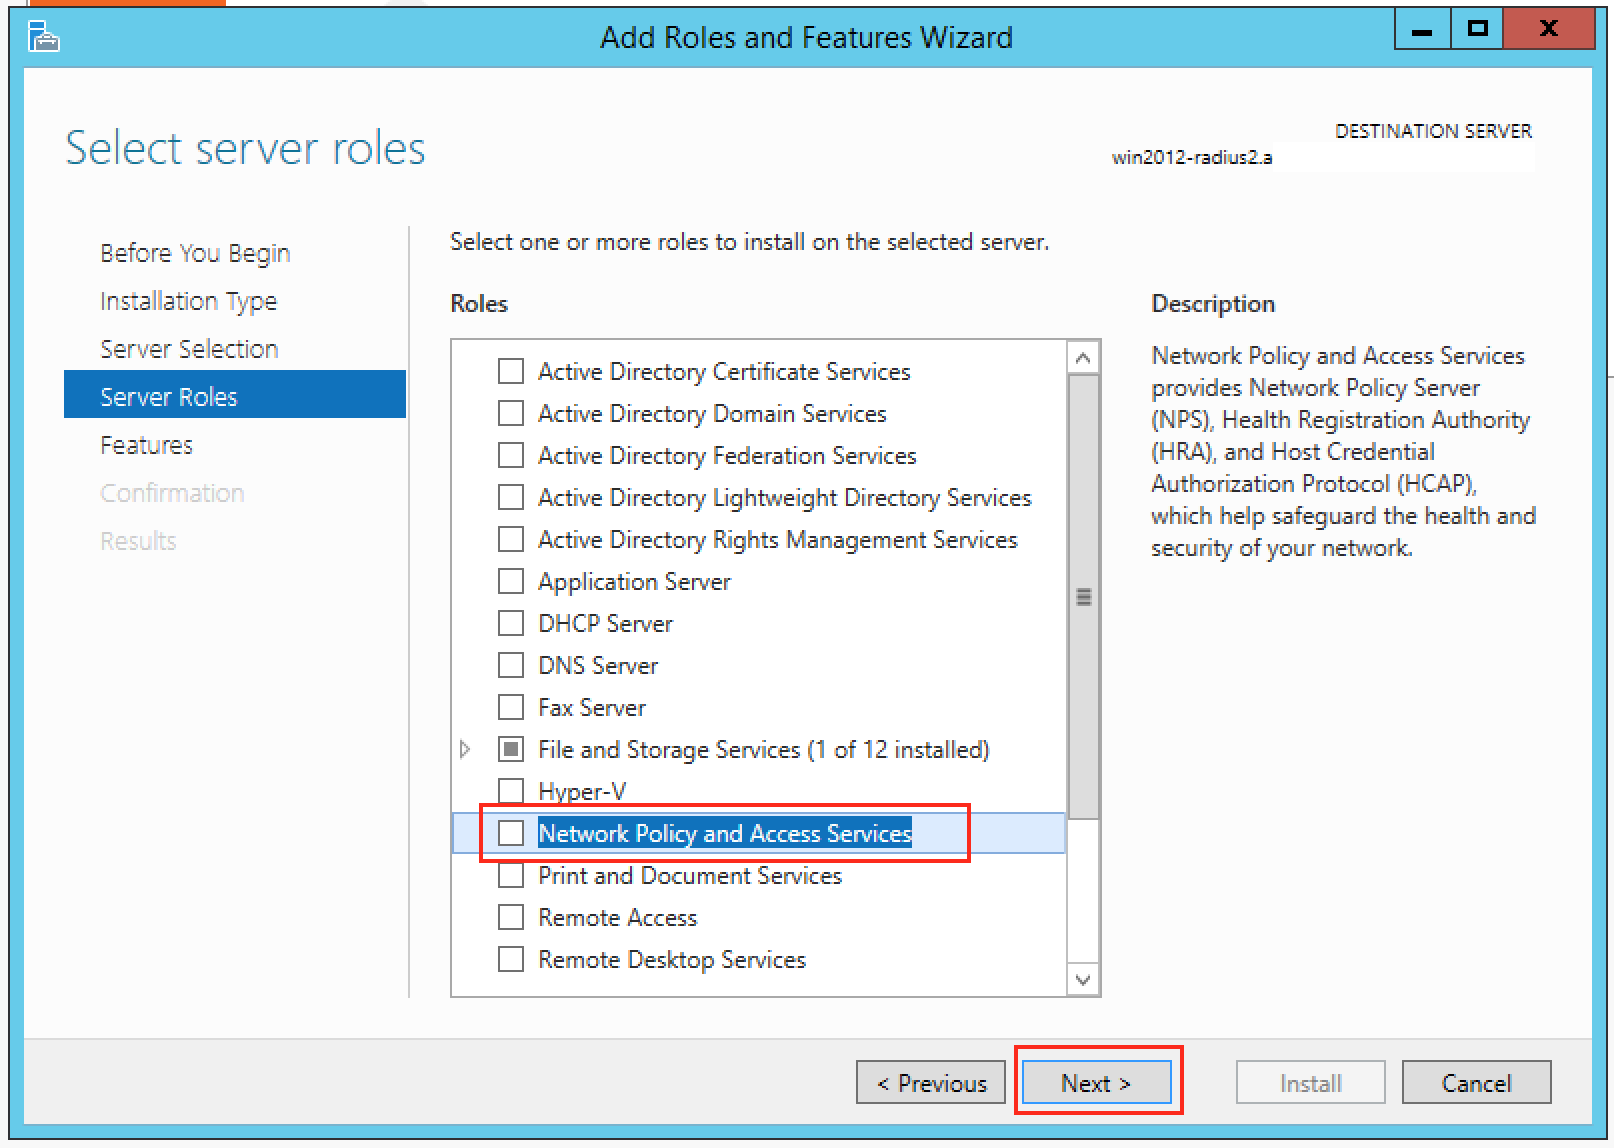
Click on “Network Policy and Access Services”:
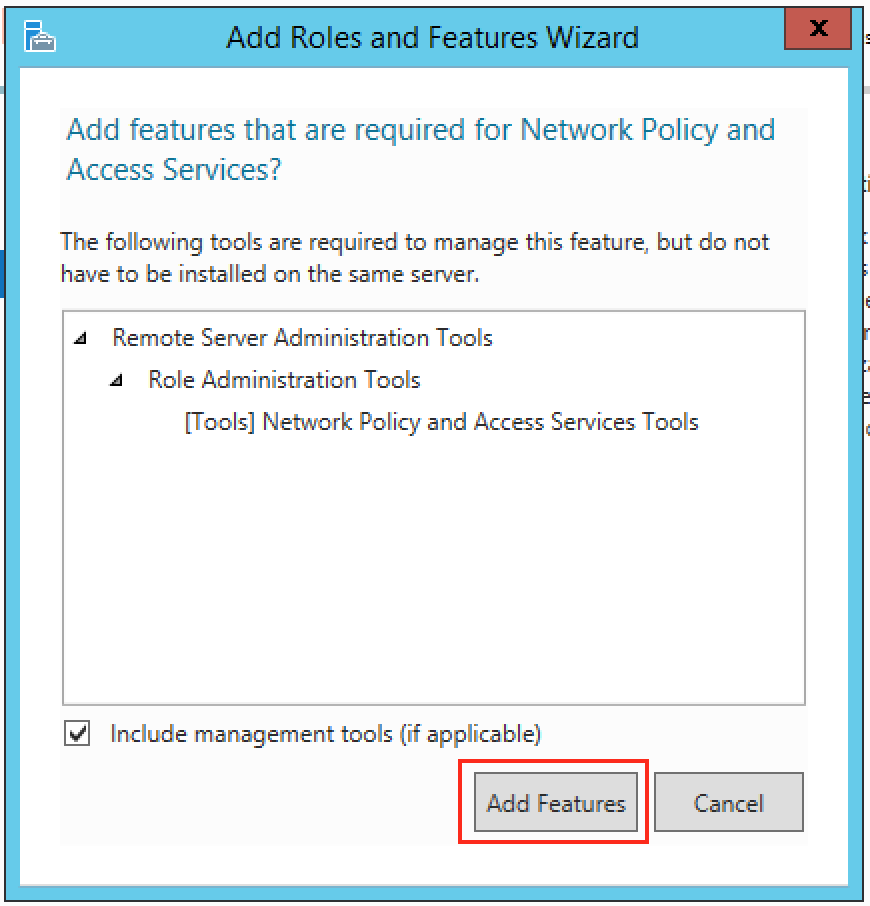
A box like this should pop up, click on “Add Features”:
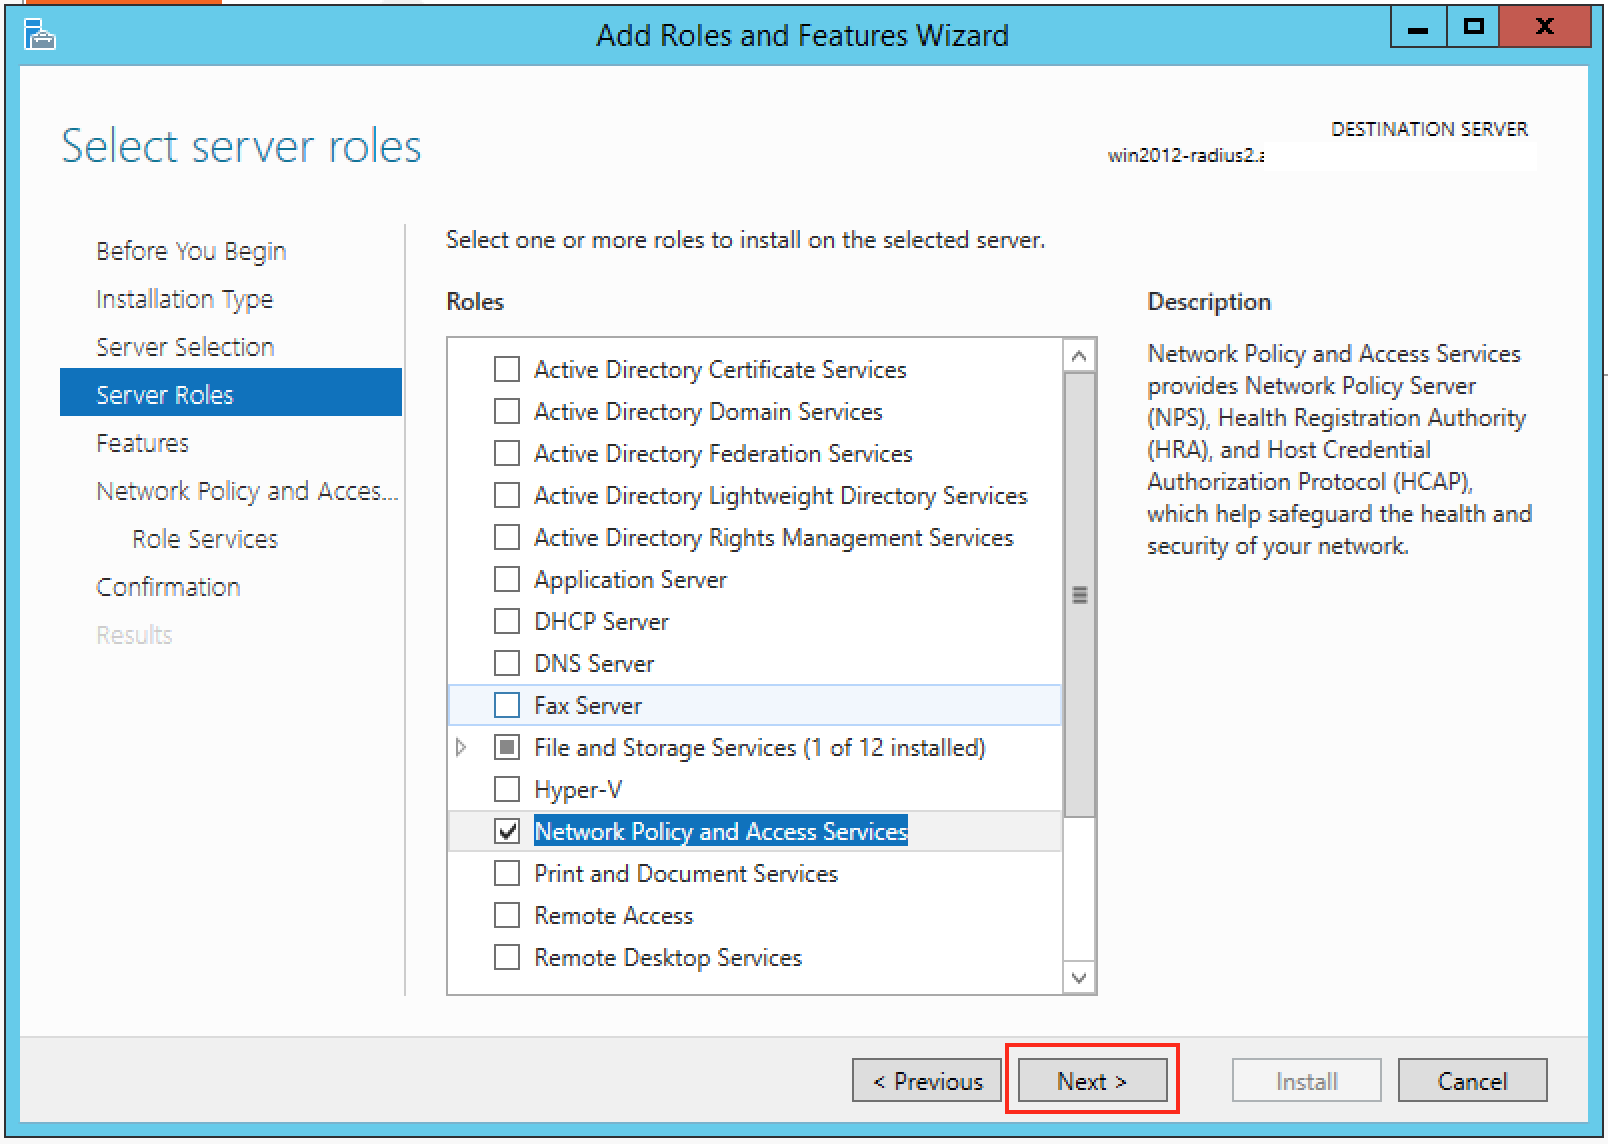
Then click “Next”:
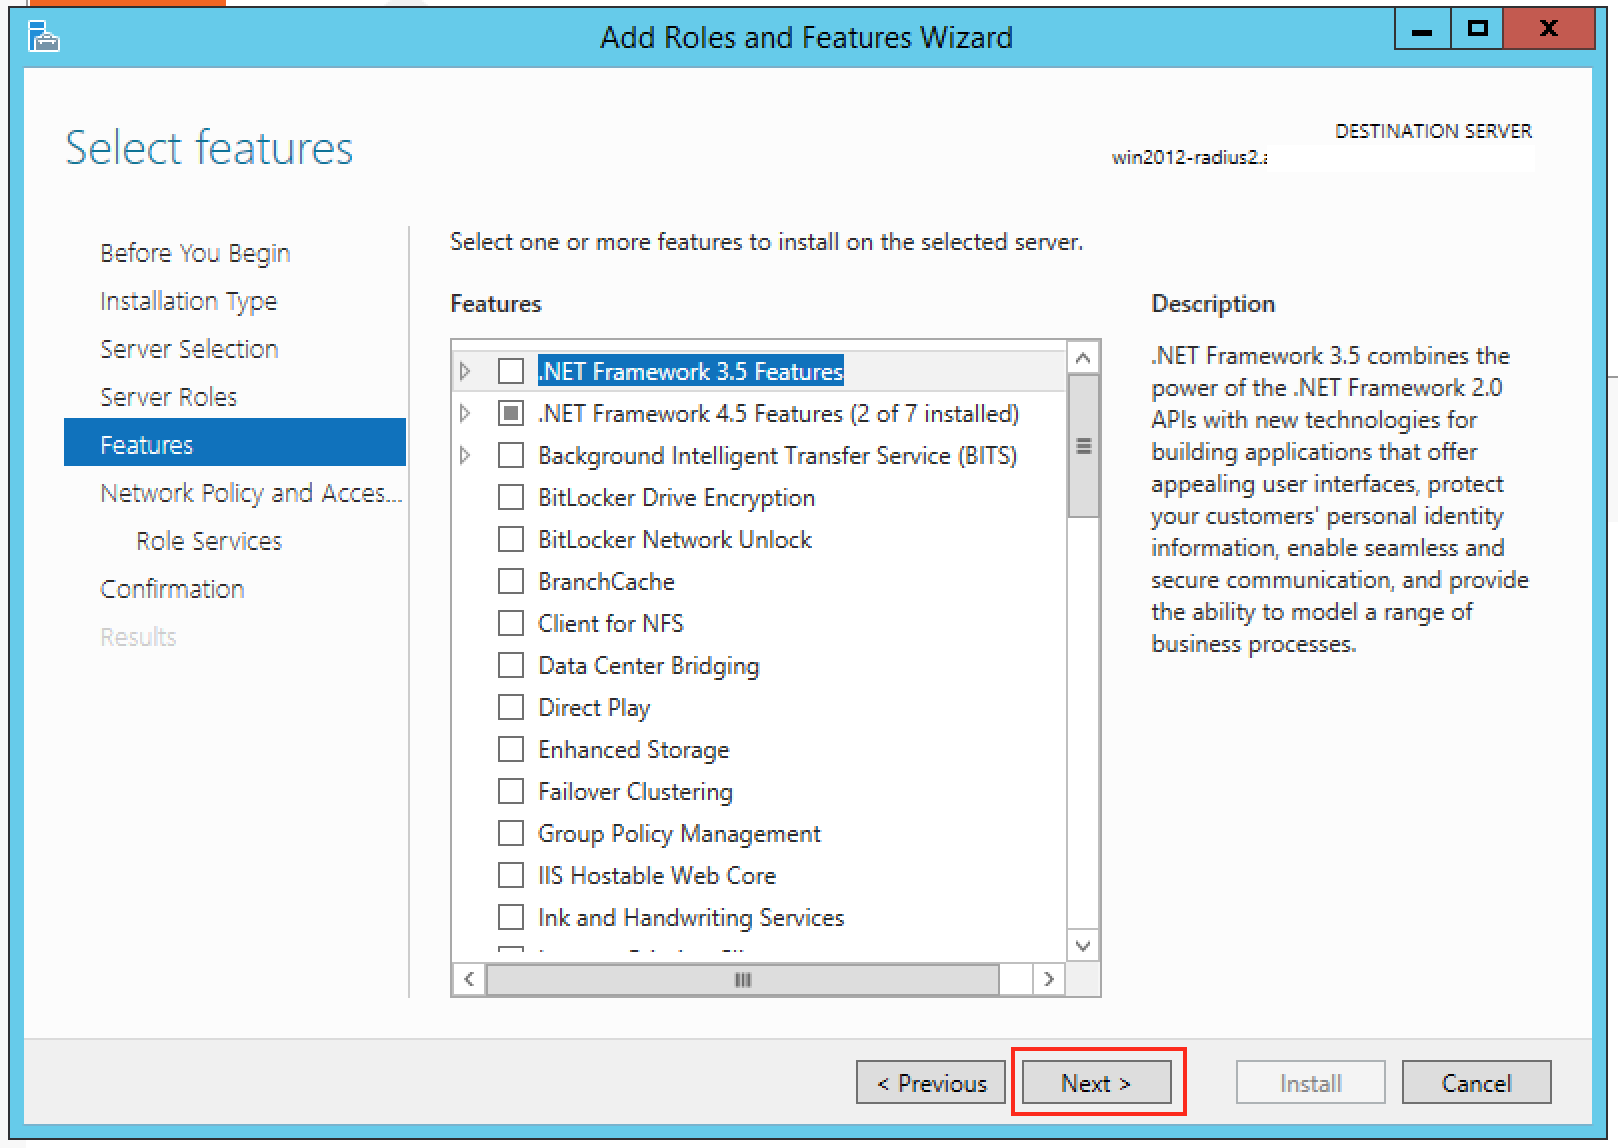
And click “Next” again:
And “Next” again:
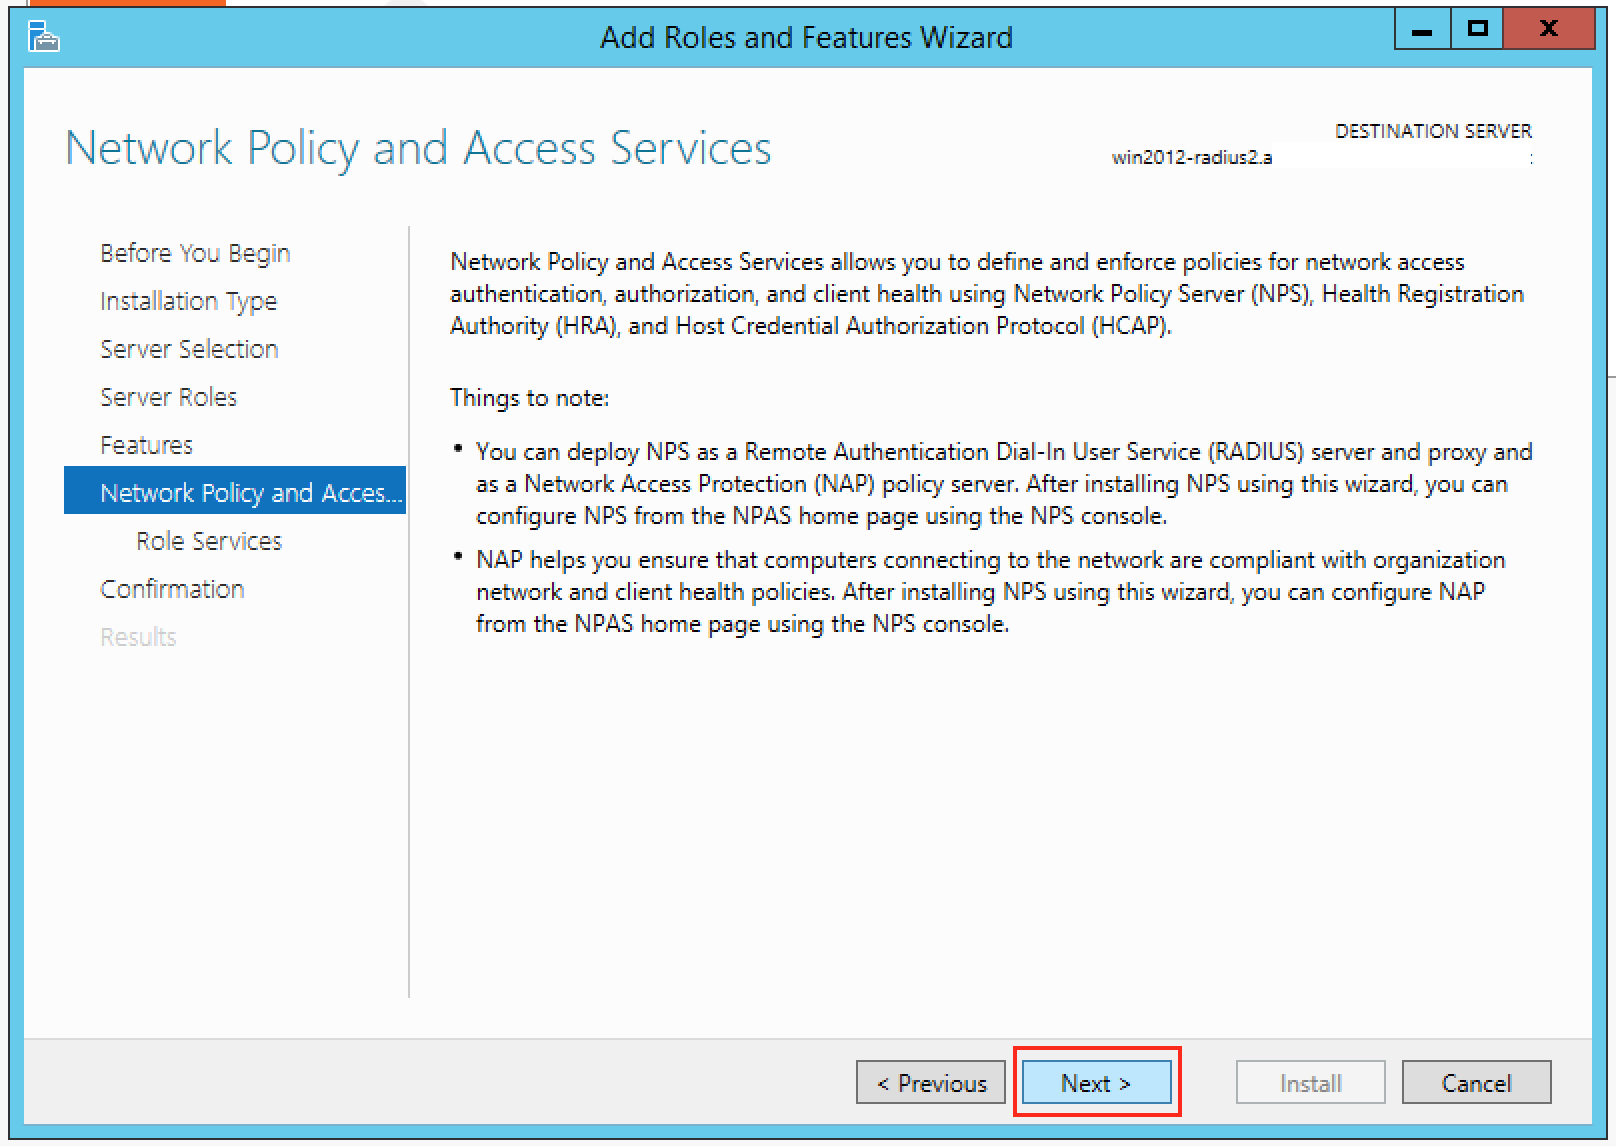
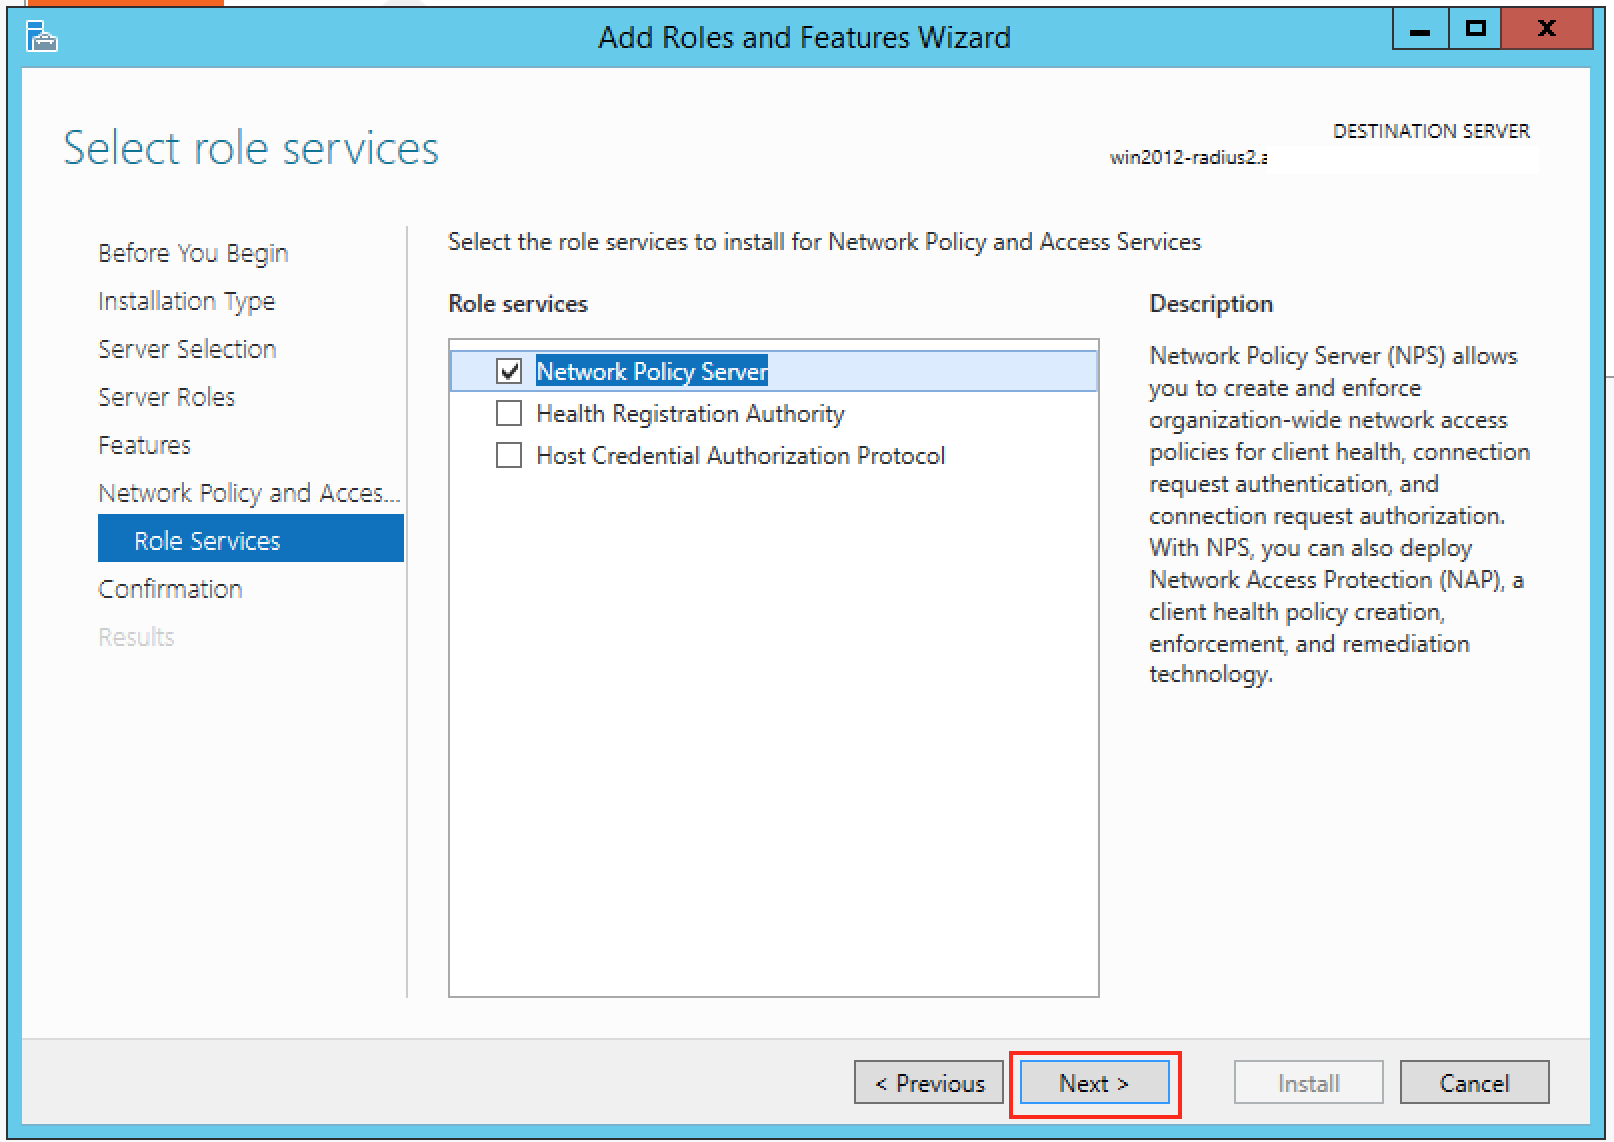
And yet again, click “Next”:
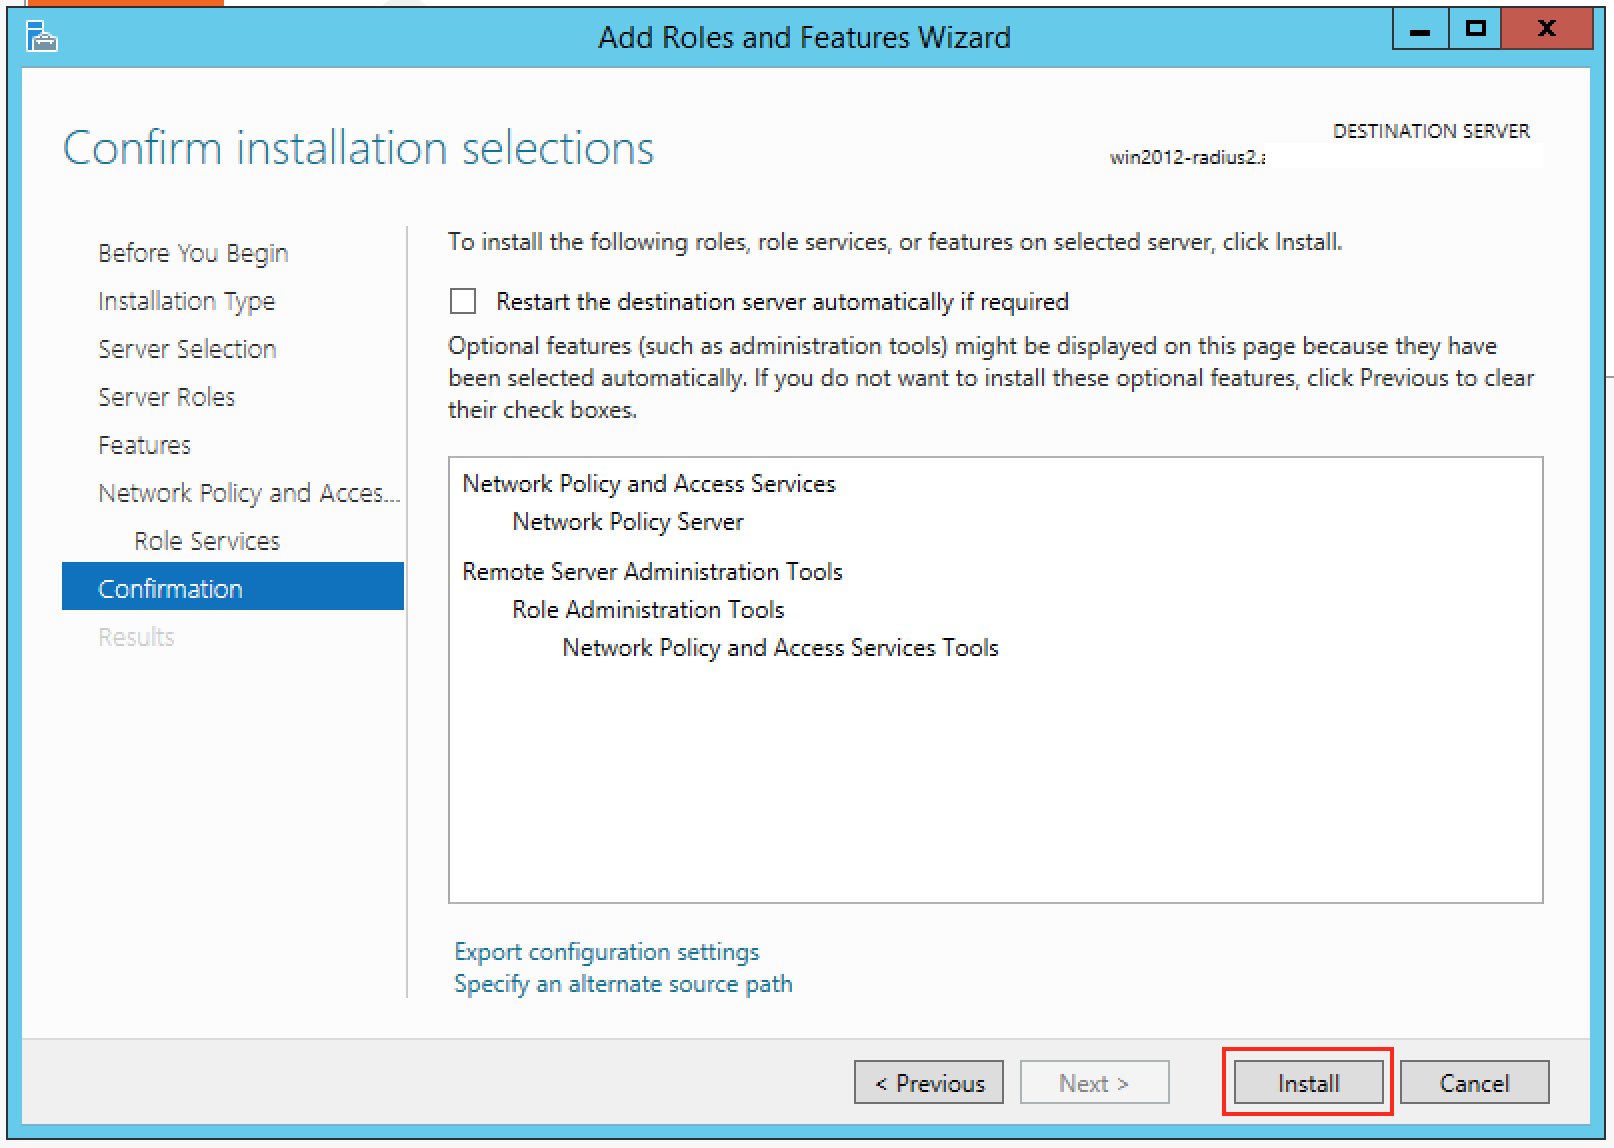
And then click “Install”:
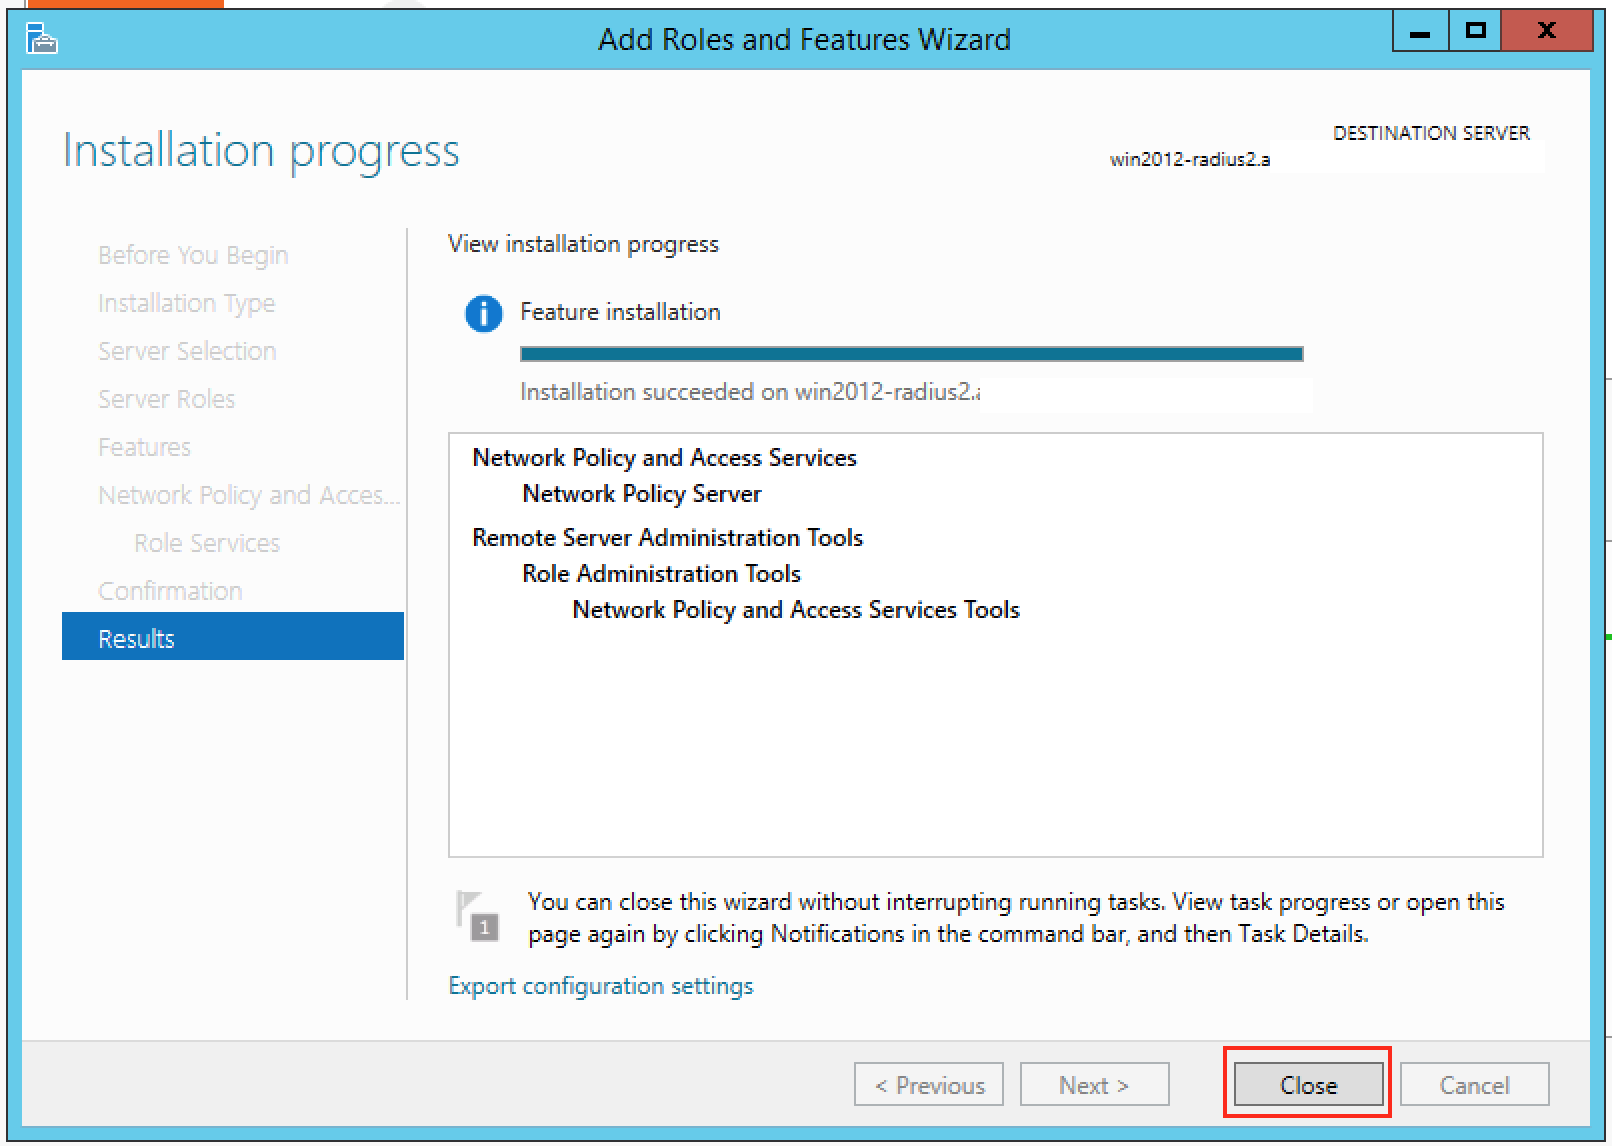
The Wizard should happily go away and install the NPS role for you. When it’s finished press “Close”:
Step 3 – Configure NPS for Unifi Authentication
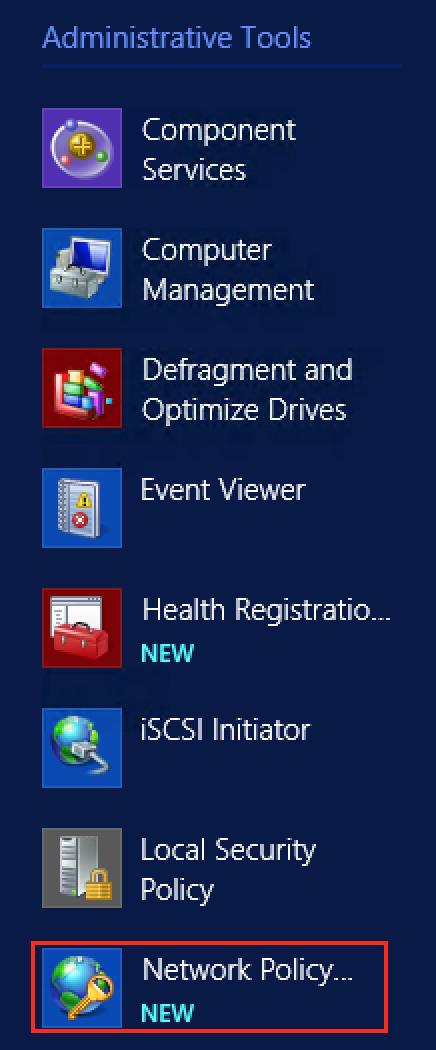
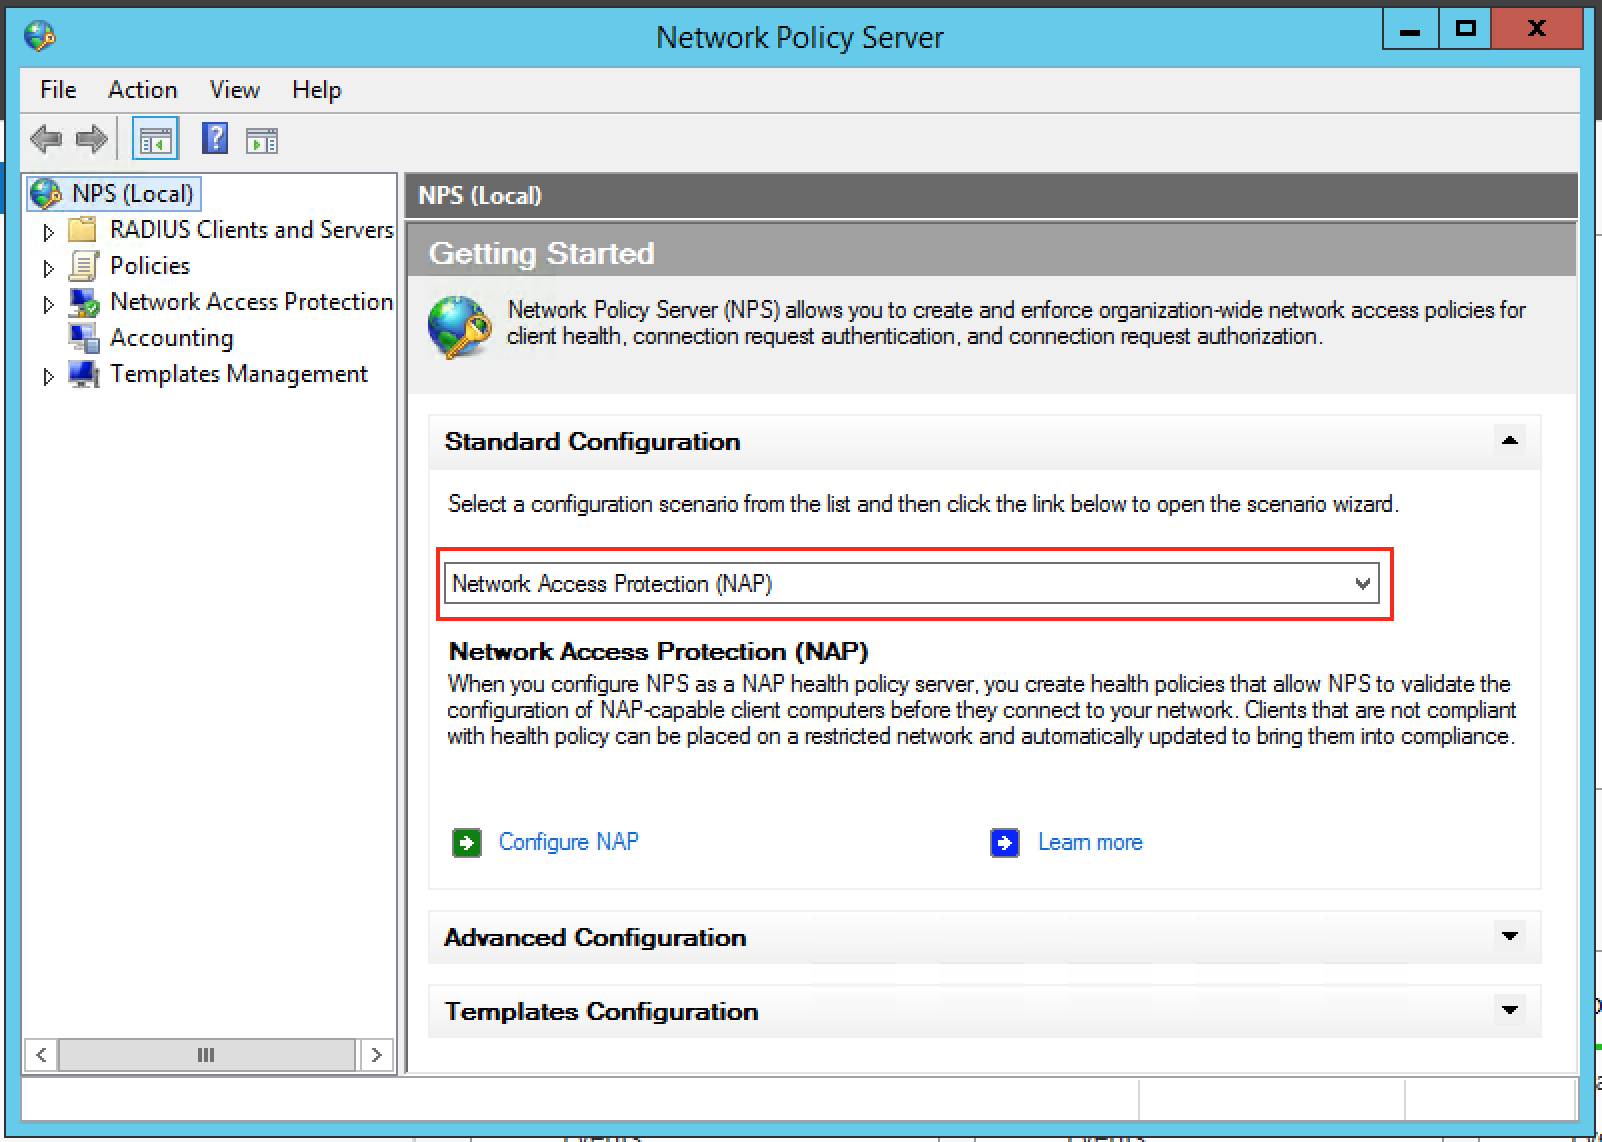
Next we have to set up our server to allow domain authentication via 802.1x for our wireless clients. Click on Start and find the icon for Network Policy Server and click on it:
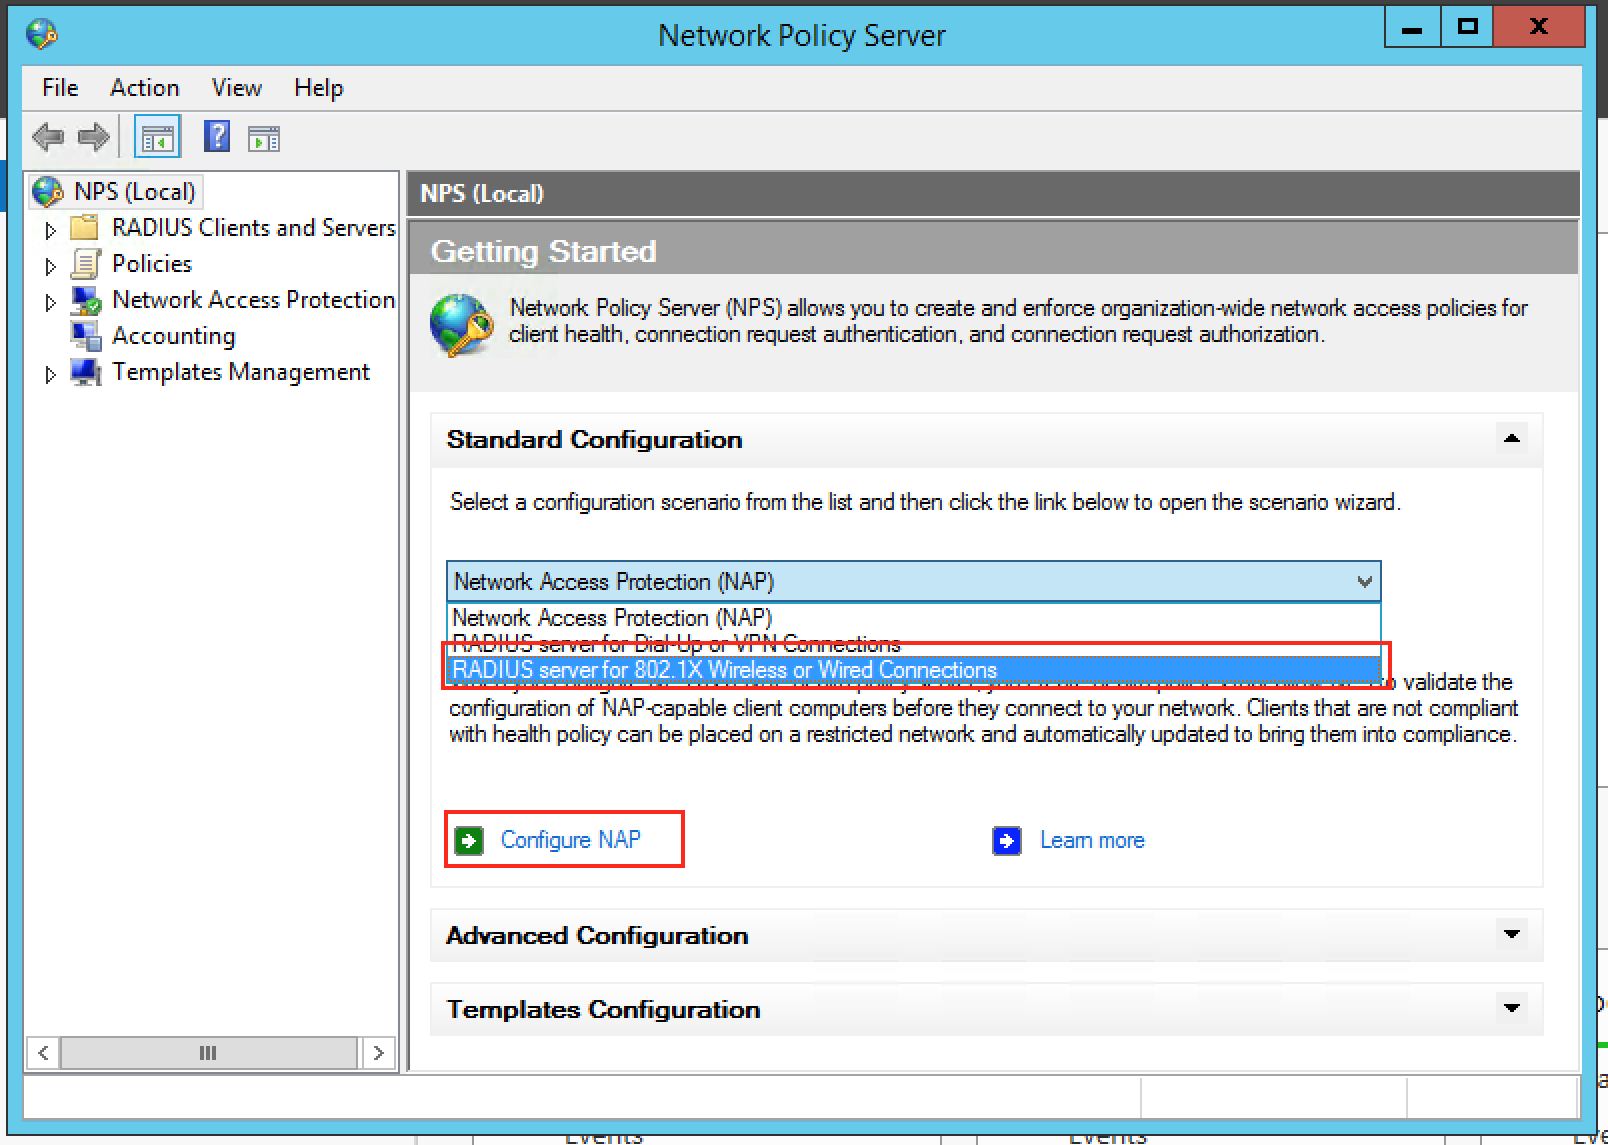
On the window that opens up drop down to “RADIUS Server for 802.1x Wireless or Wired Connections” and then click “Configure NAP”:
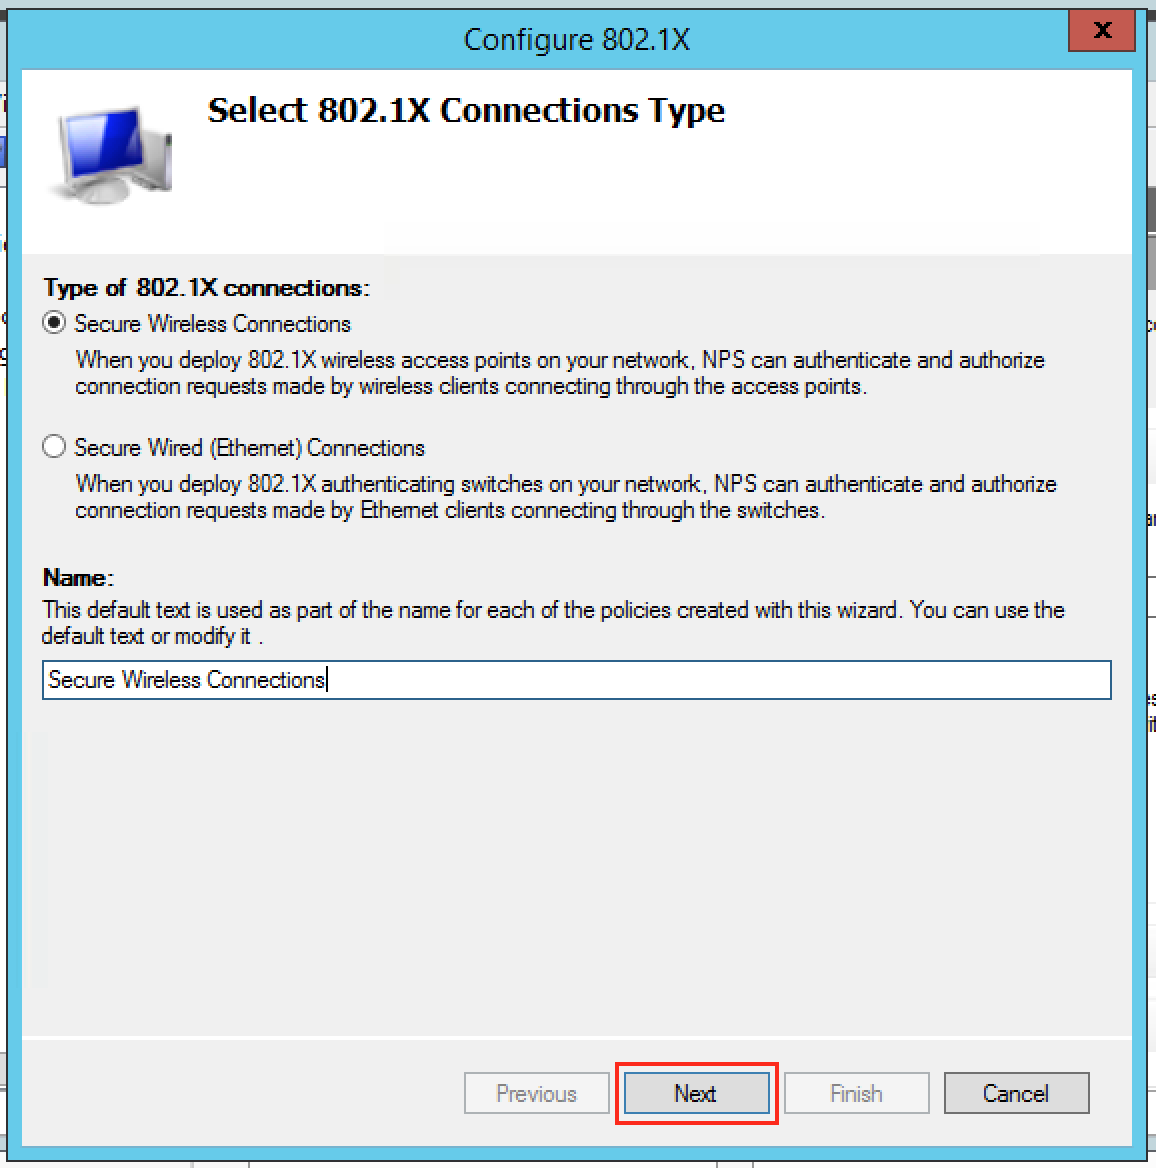
Make sure “Secure Wireless Connections” is highlighted, give it a sensible name and click “Next”:
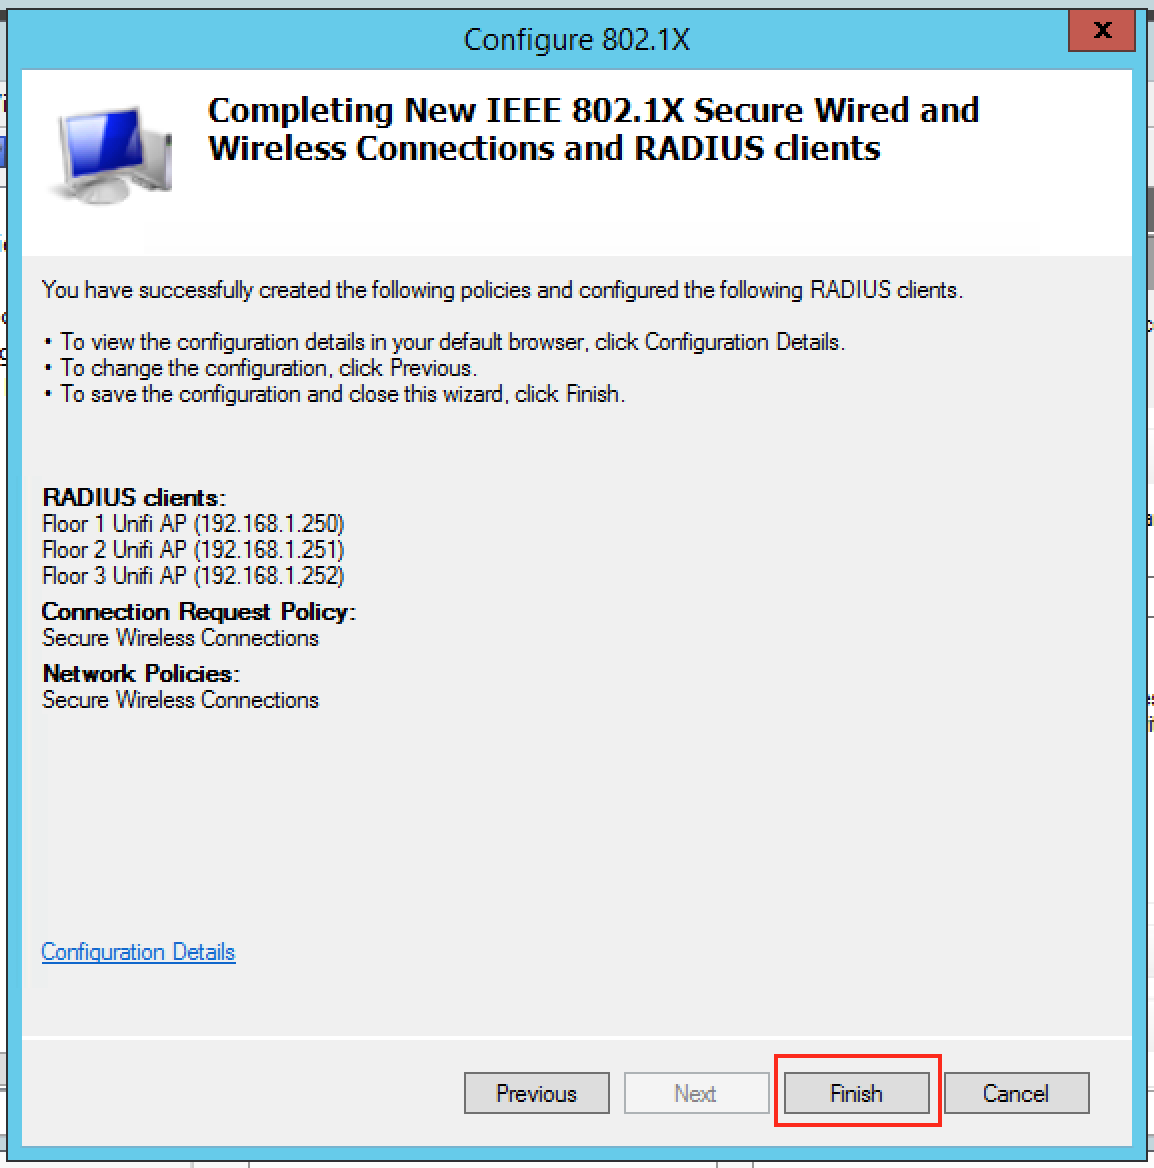
The next screen is where we will add the details for all our Unifi access points, so click “Add”:
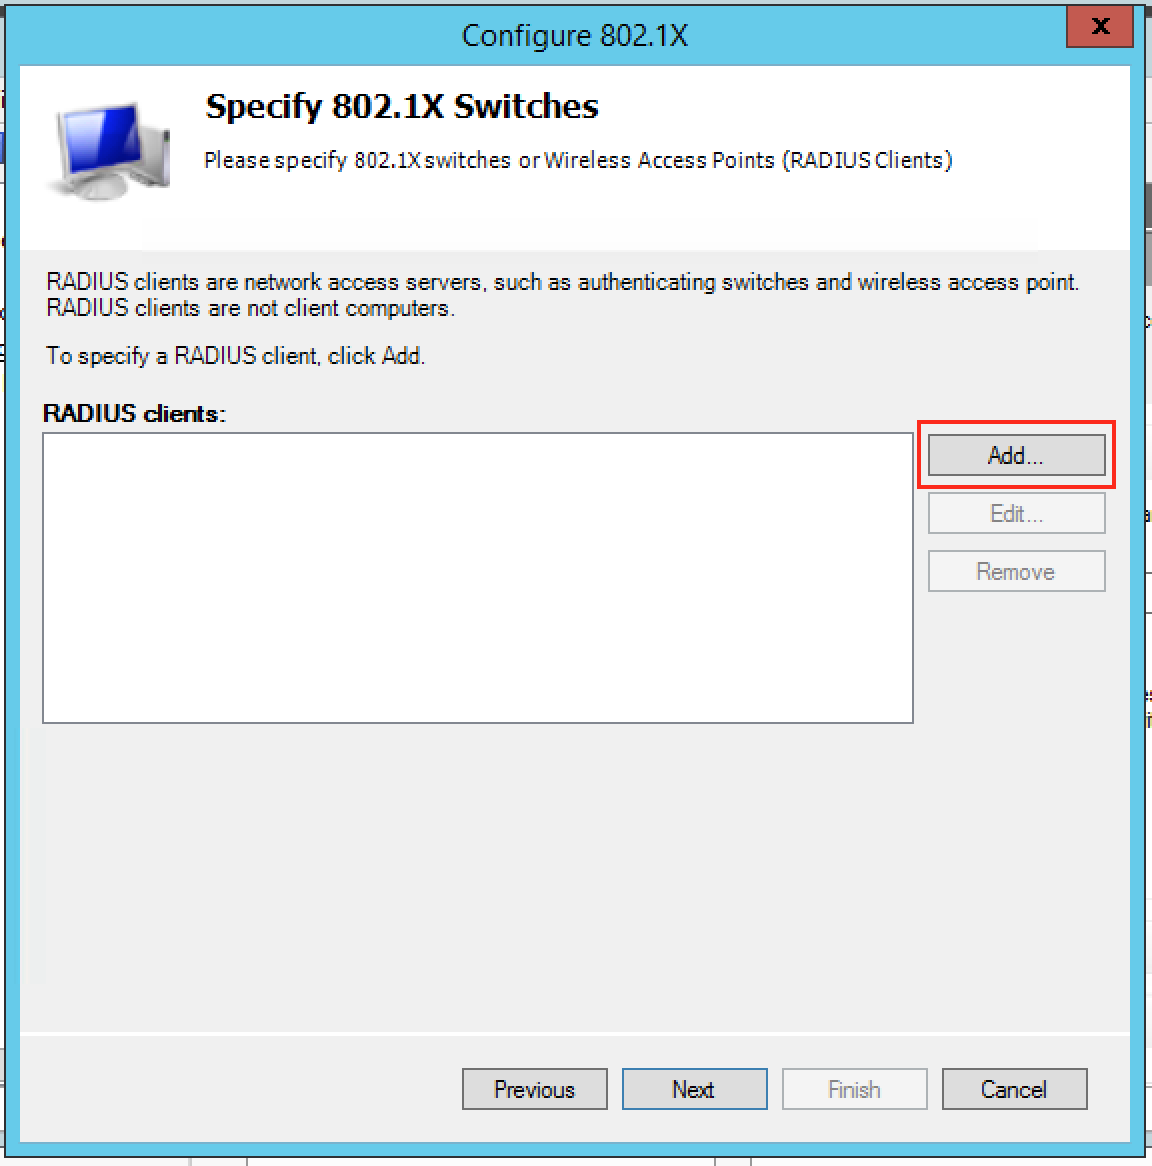
You will want to fill in the client area like this, note our “IP addresses” and “Shared Secret”. You’ll probably want to make the “Shared Secret” some complex string, but for this example I’ve just used “Password123!”. You need to type this into the Unifi controller for each AP. When complete click “Ok”:
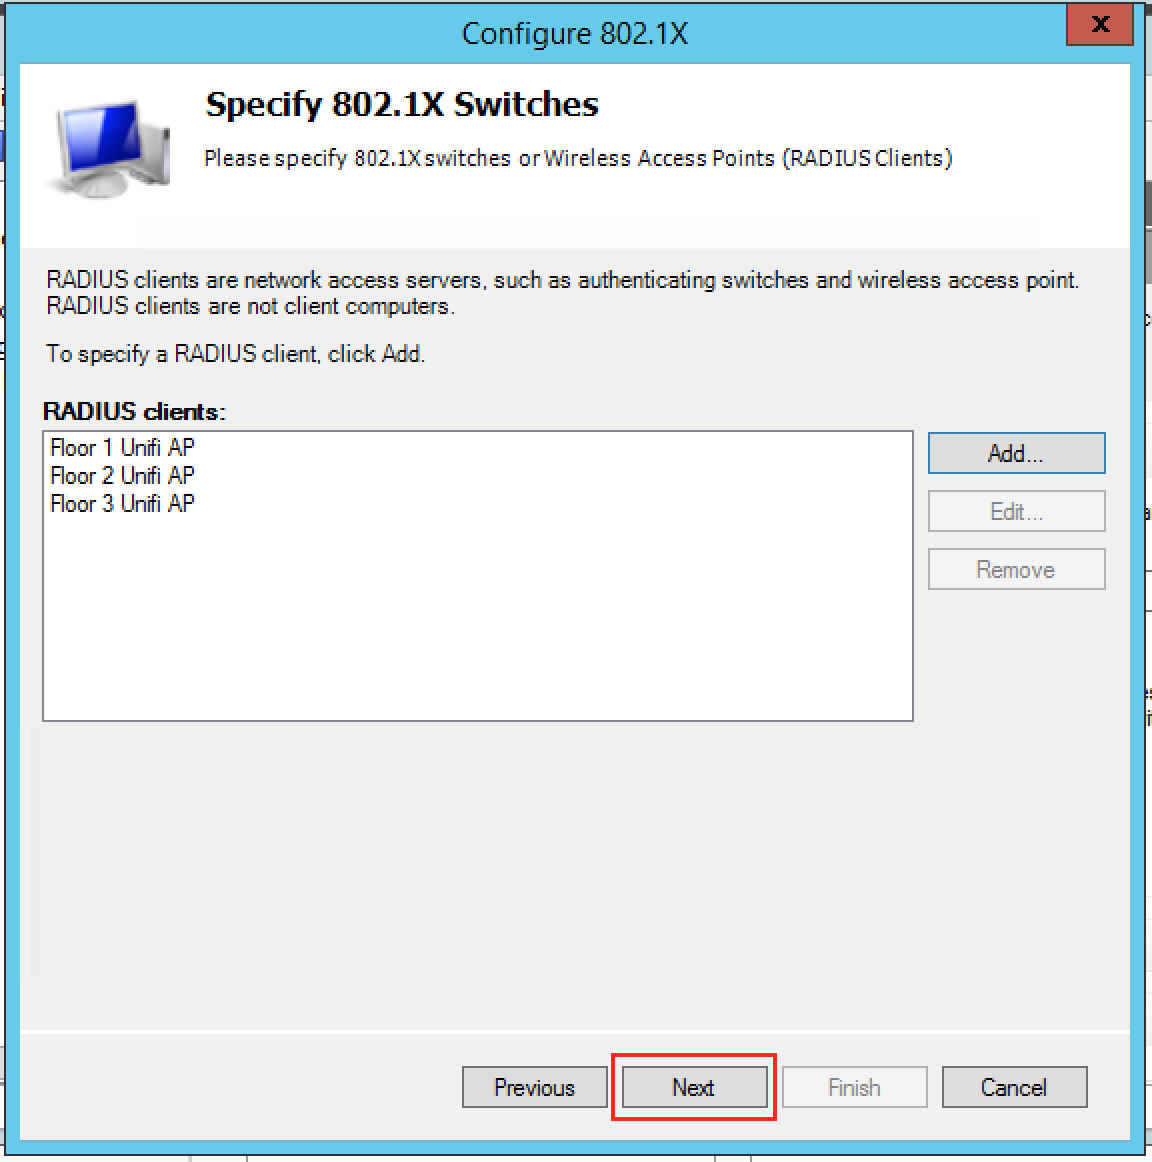
When you’ve completed the process for the rest of your access points your screen will probably look like this, when you’re happy click “Next”:
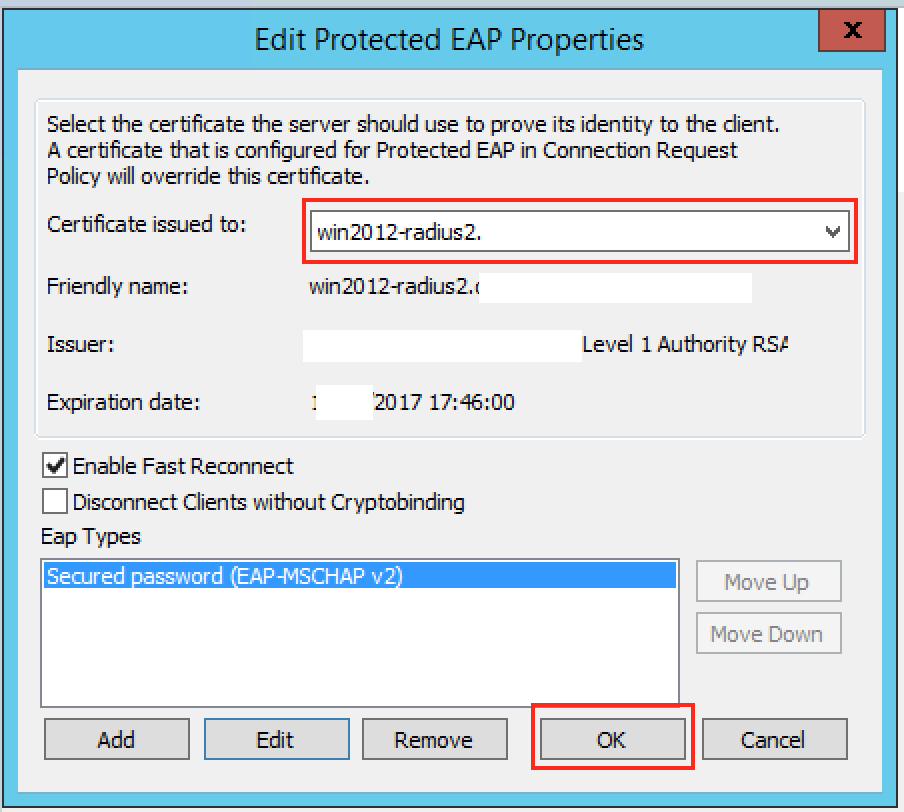
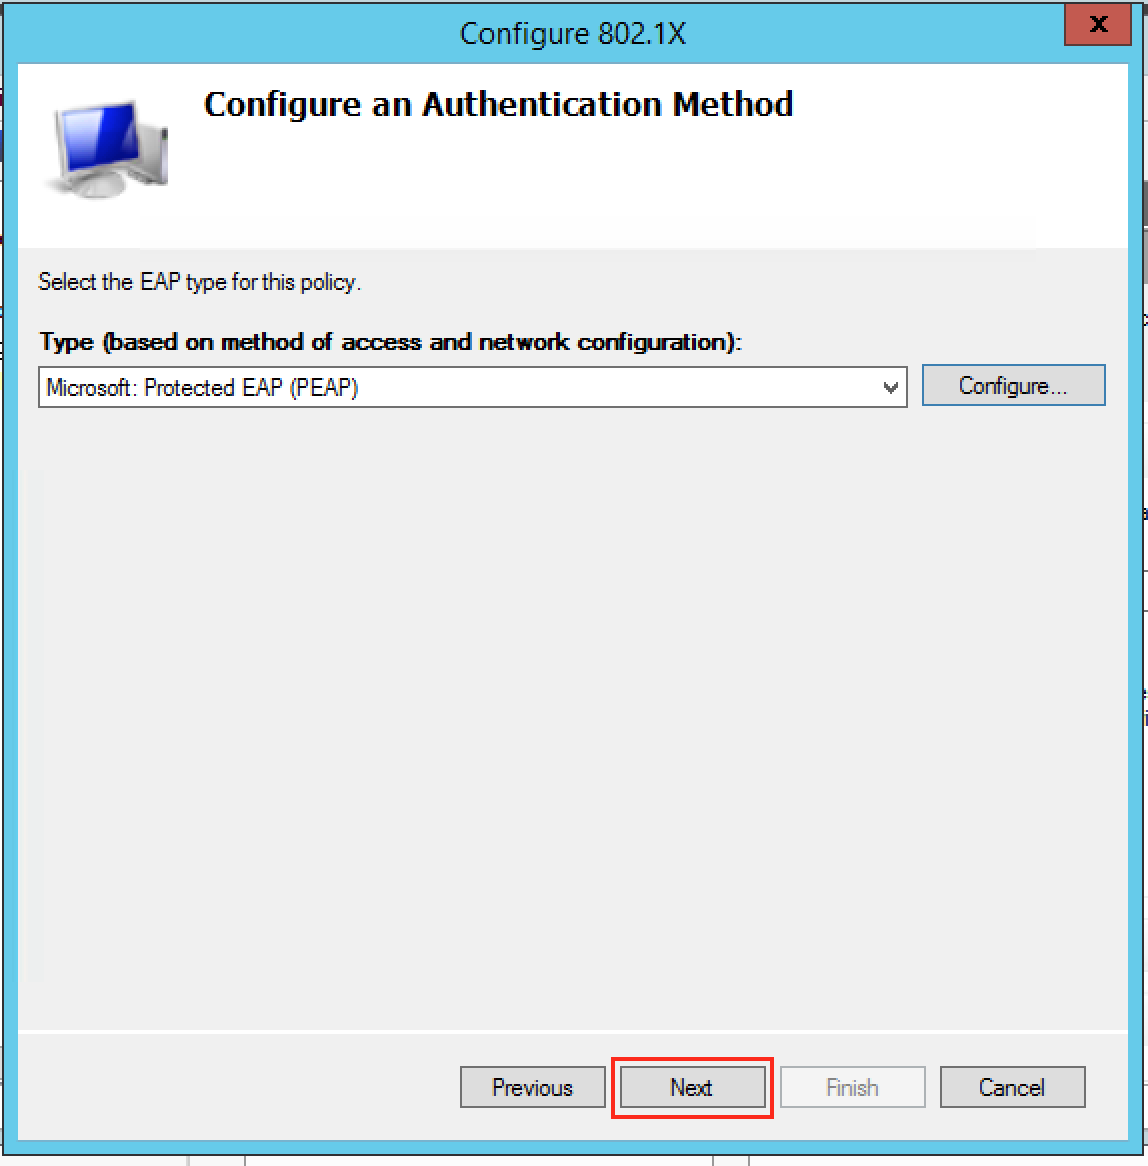
On the next screen you want to drop down the EAP type to “Microsoft: Protected EAP (PEAP)”, and then click “Configure”:
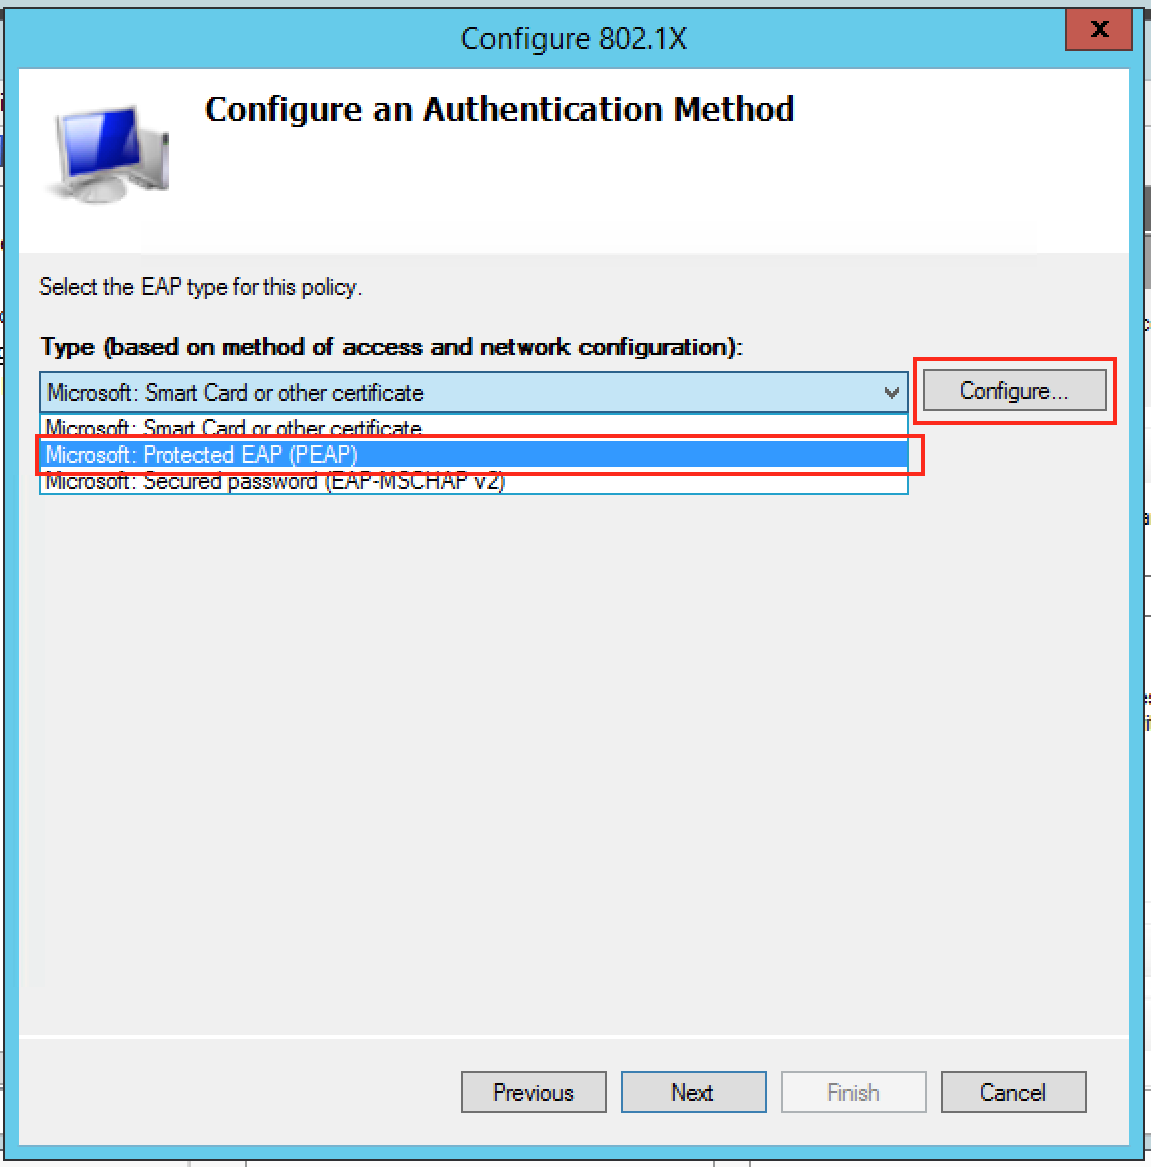
On this screen you will want to select the certificate you want to present to the clients connecting over Wifi. Since in Option 1 I installed a given certificate just for this purpose this is what I need to select, and make sure “Enable Fast Reconnect” is ticked. When you’re happy with it click “Ok”:
Then click “Next”:
The next screen lets us select which groups we want to allow to authenticate wirelessly, click “Add” and find your appropriate group(s) and when you’re happy click “Next”:

Click “Next” on the following screen since we’re happy with the defaults:
On the next screen click “Finish”:
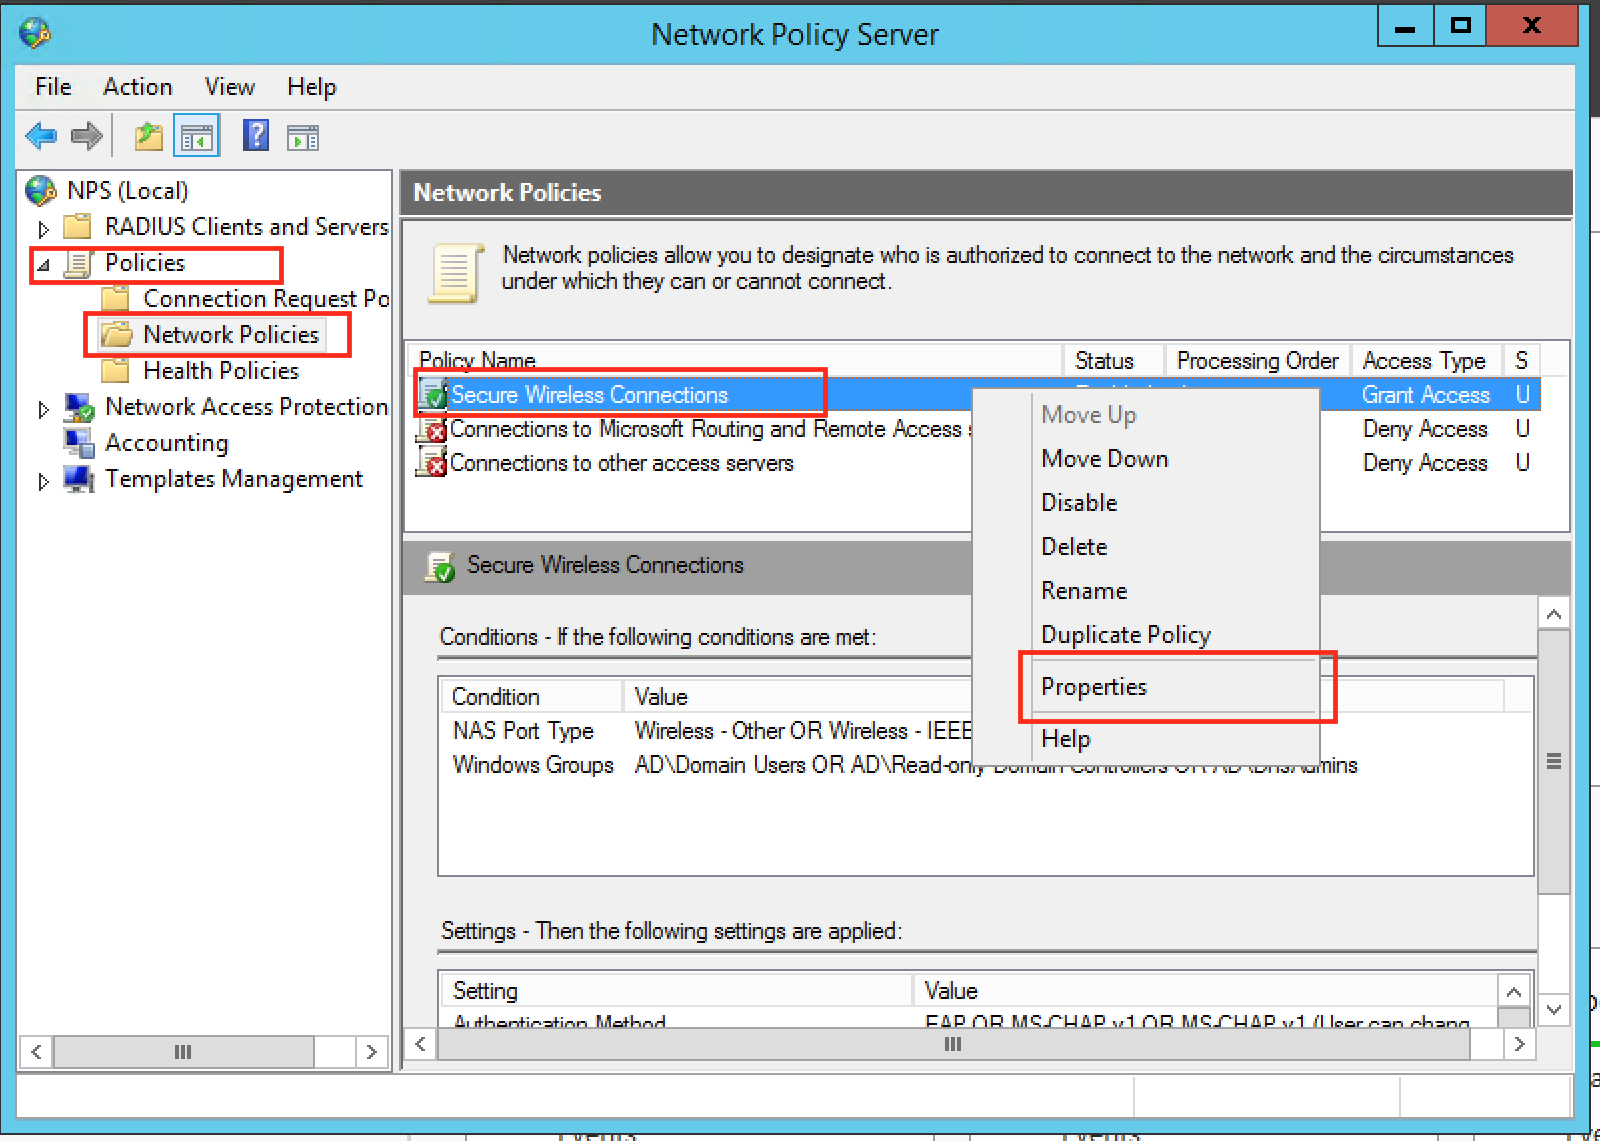
Next we need to disable some insecure options. Under Policies, Network Policies, right click “Secure Wireless Connections” and click “Properties”:
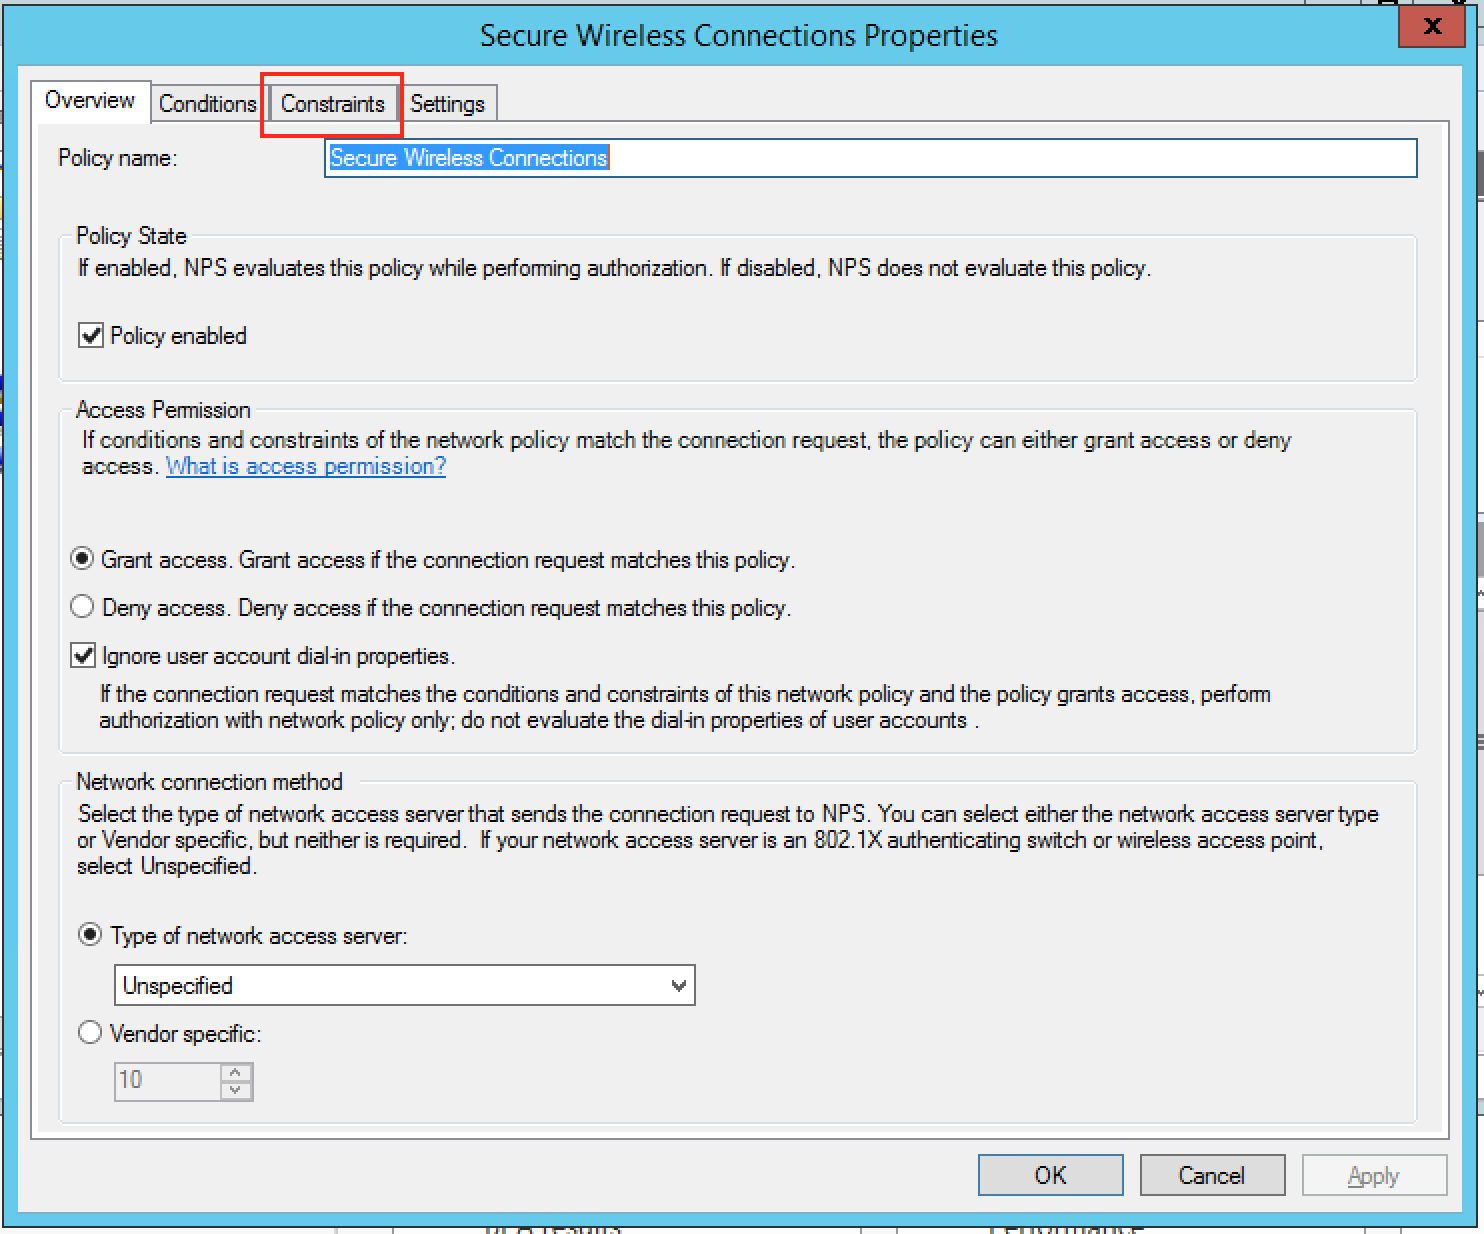
Click on the Constraints tab:
By default we have some insecure methods enabled: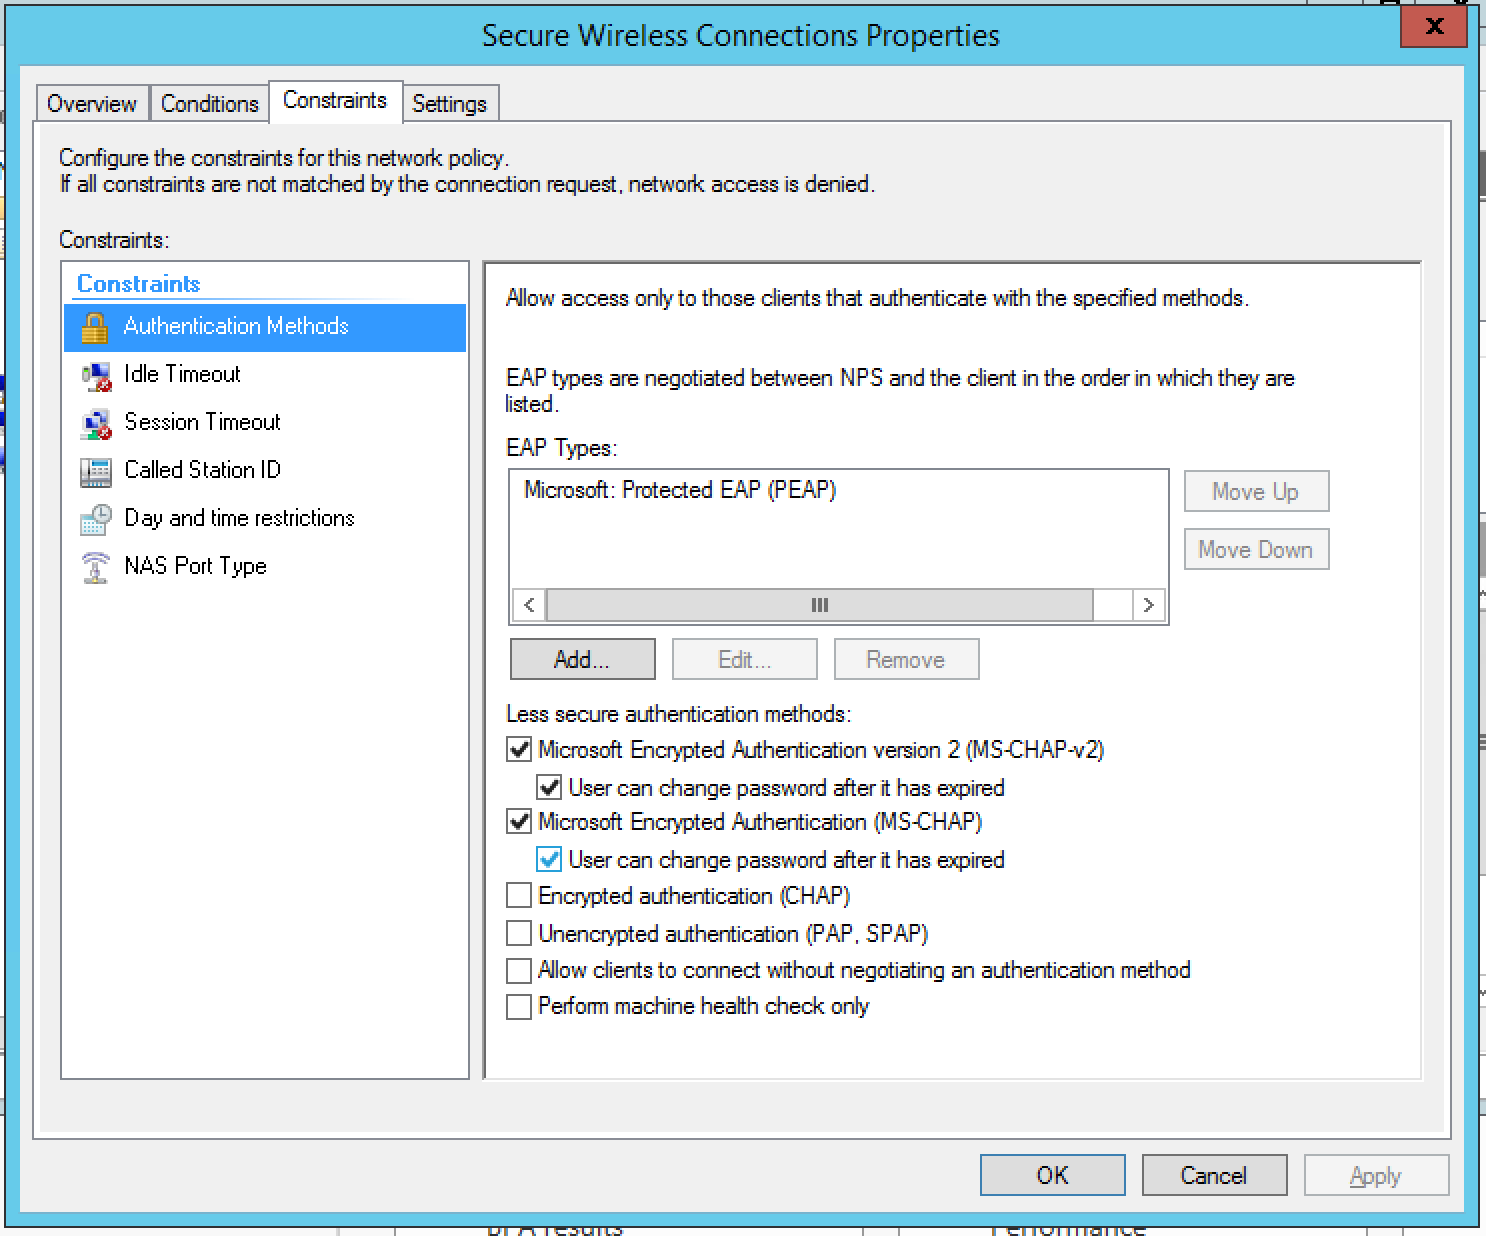
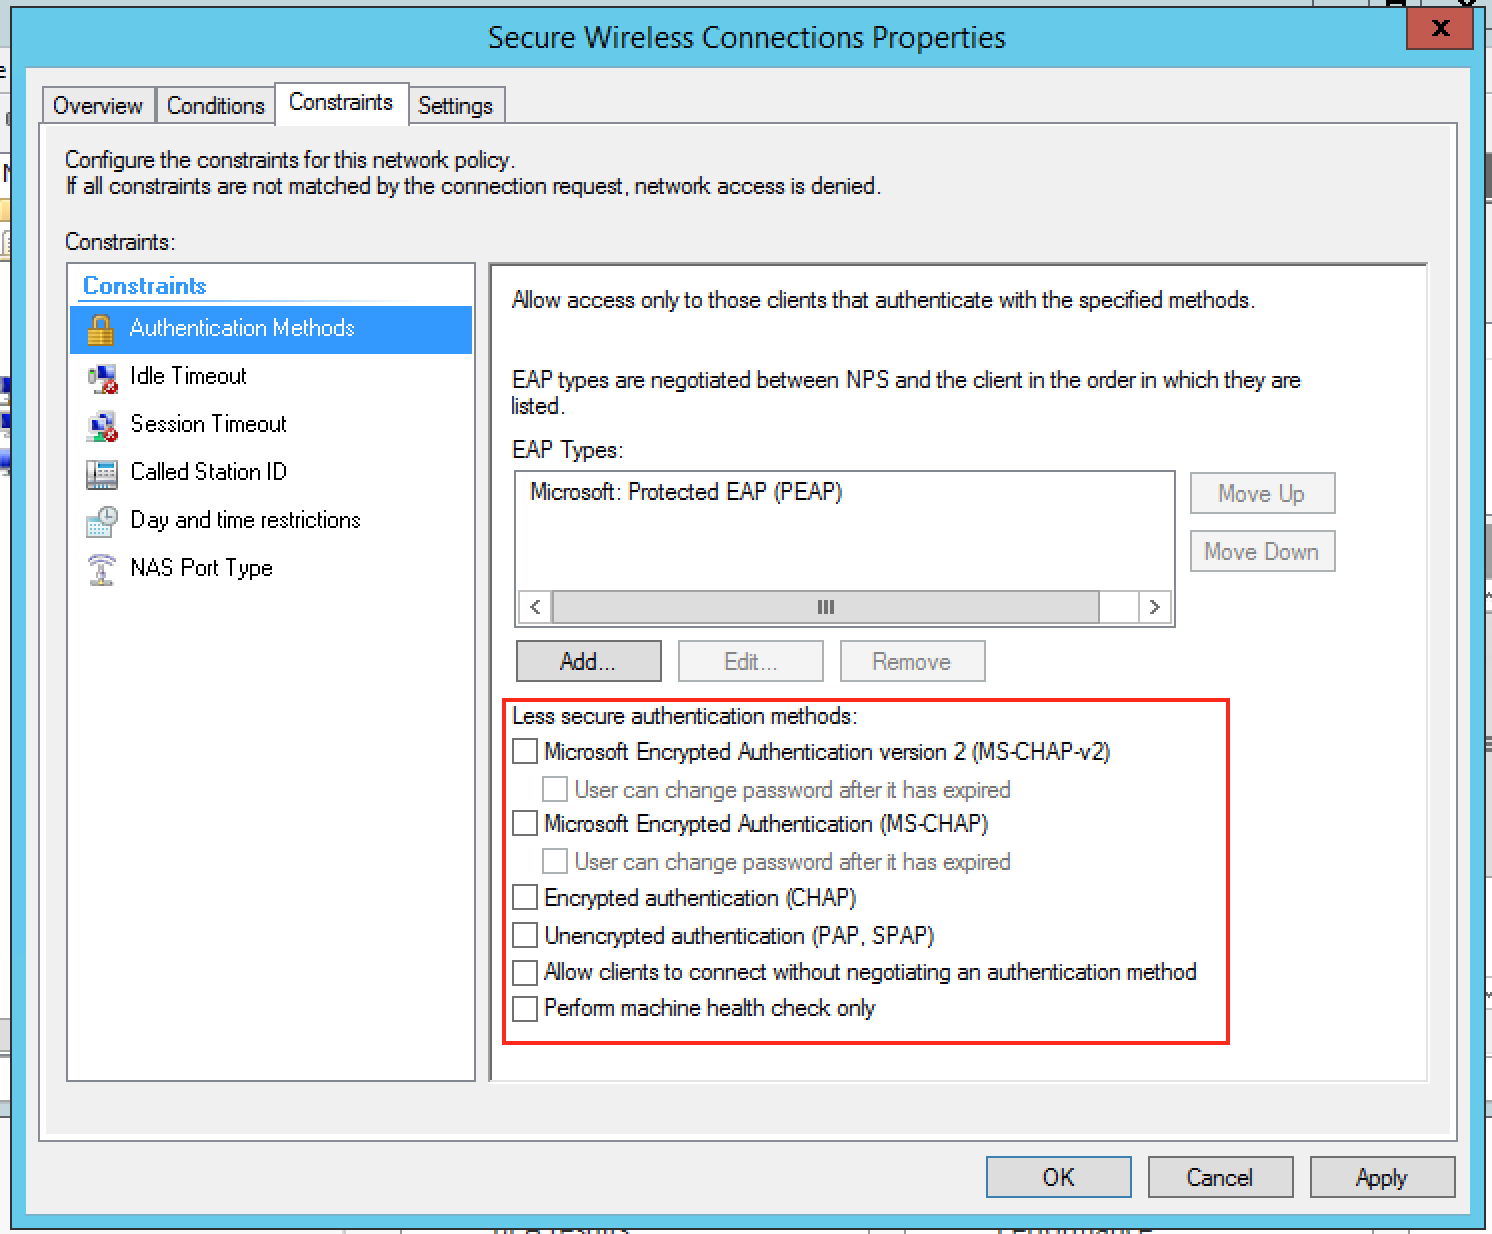
Make sure they are all unchecked, like this and click “Ok”:
Well done! Your NPS server should be ready to go.
Step 3 – Configure Unifi to use NPS
WARNING: Your access points will likely have to re-provision at the end of this step. This means anyone connected to the APs will lose connectivity, if in doubt do it out of hours.
The previous Step was most certainly the biggest one, on Unifi it’s quick and easy.
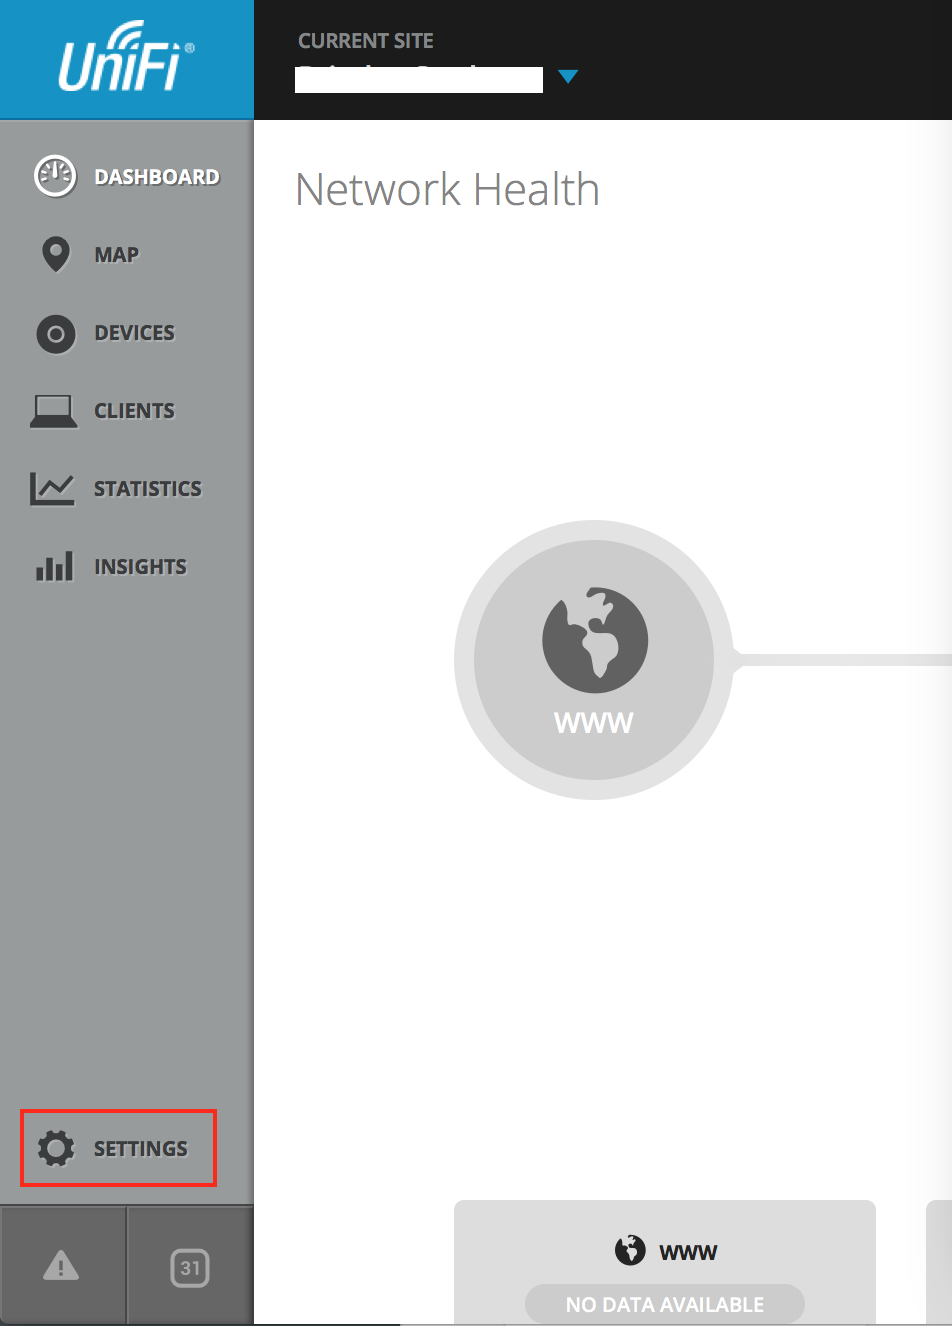
Logon to your controller as normal and click on “Settings”:
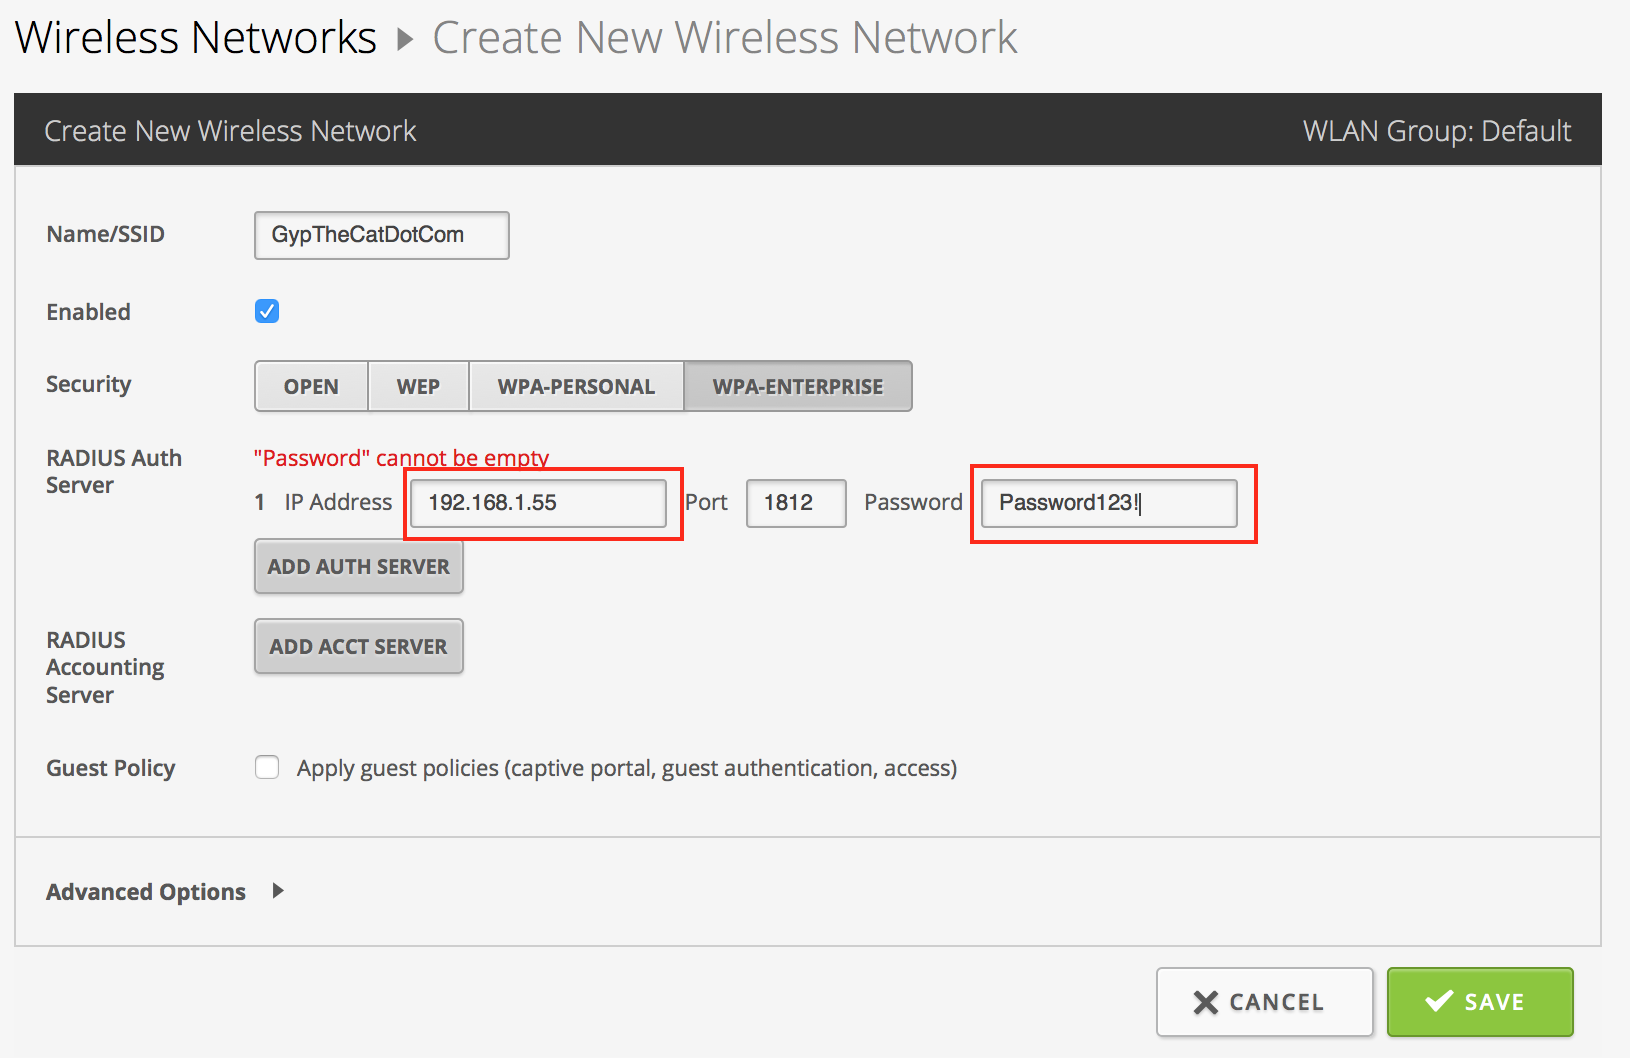
Click on “Create New Wireless Network” or edit an existing one. Fill in the Wireless Network like this, make sure you select WPA-Enterprise and fill in the IP Address and Share Secret of the appropriate details, in our example it looks like the below. When you’re happy click “Save”:
At this point we found that the APs restarted, but not to worry if you’ve come this far it’s obviously going to be ok.
Step 4 – Connect Clients to Unifi Network
Now all that is configuered, you should be ready to attach your clients to the wireless network.
In the optional first step we installed a certificate specifically to allow the Radius server to be trusted by our clients. If you’ve got a proper PKI in place then all your devices should trust the Radius server already, so your steps below may be slightly different than mine (I deliberately didn’t install the certificate for testing purposes).
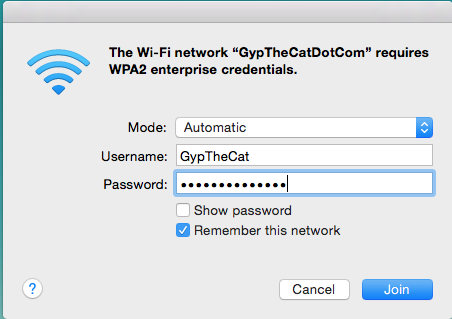
If you search for wireless networks the network you’ve added should show up, click on it:

Now enter your network details as normal and click Join:
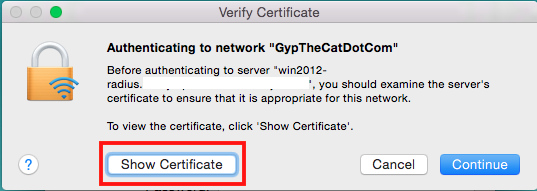
If you DON’T have the certificate trusted by the end point you’ll get a warning like this, click on “Show Certificate” to make sure it’s as it should be:
That screen should look something like this (please note I’ve deleted some bits):
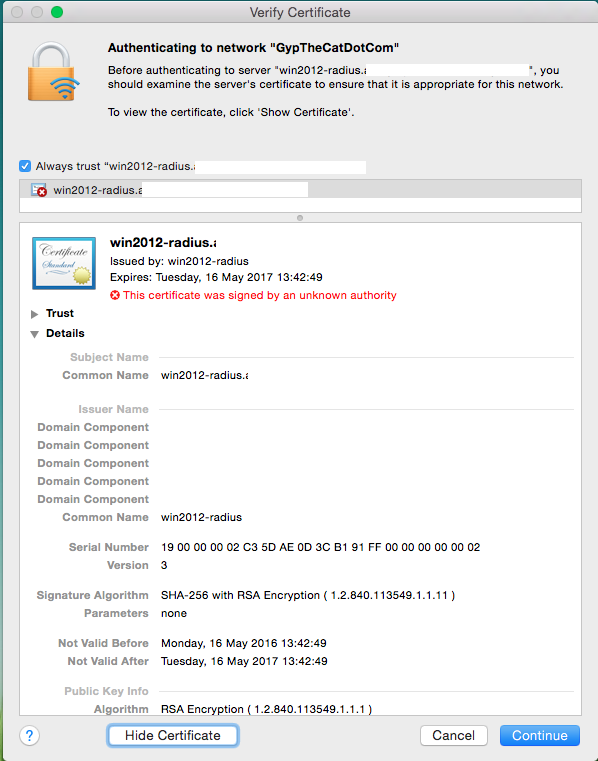
You can check that it’s how it should be, and this process will let you install the certificate so it will never ask you again for it.
But again if you’re using a properly trusted certificate by your end point you shouldn’t see this communication!
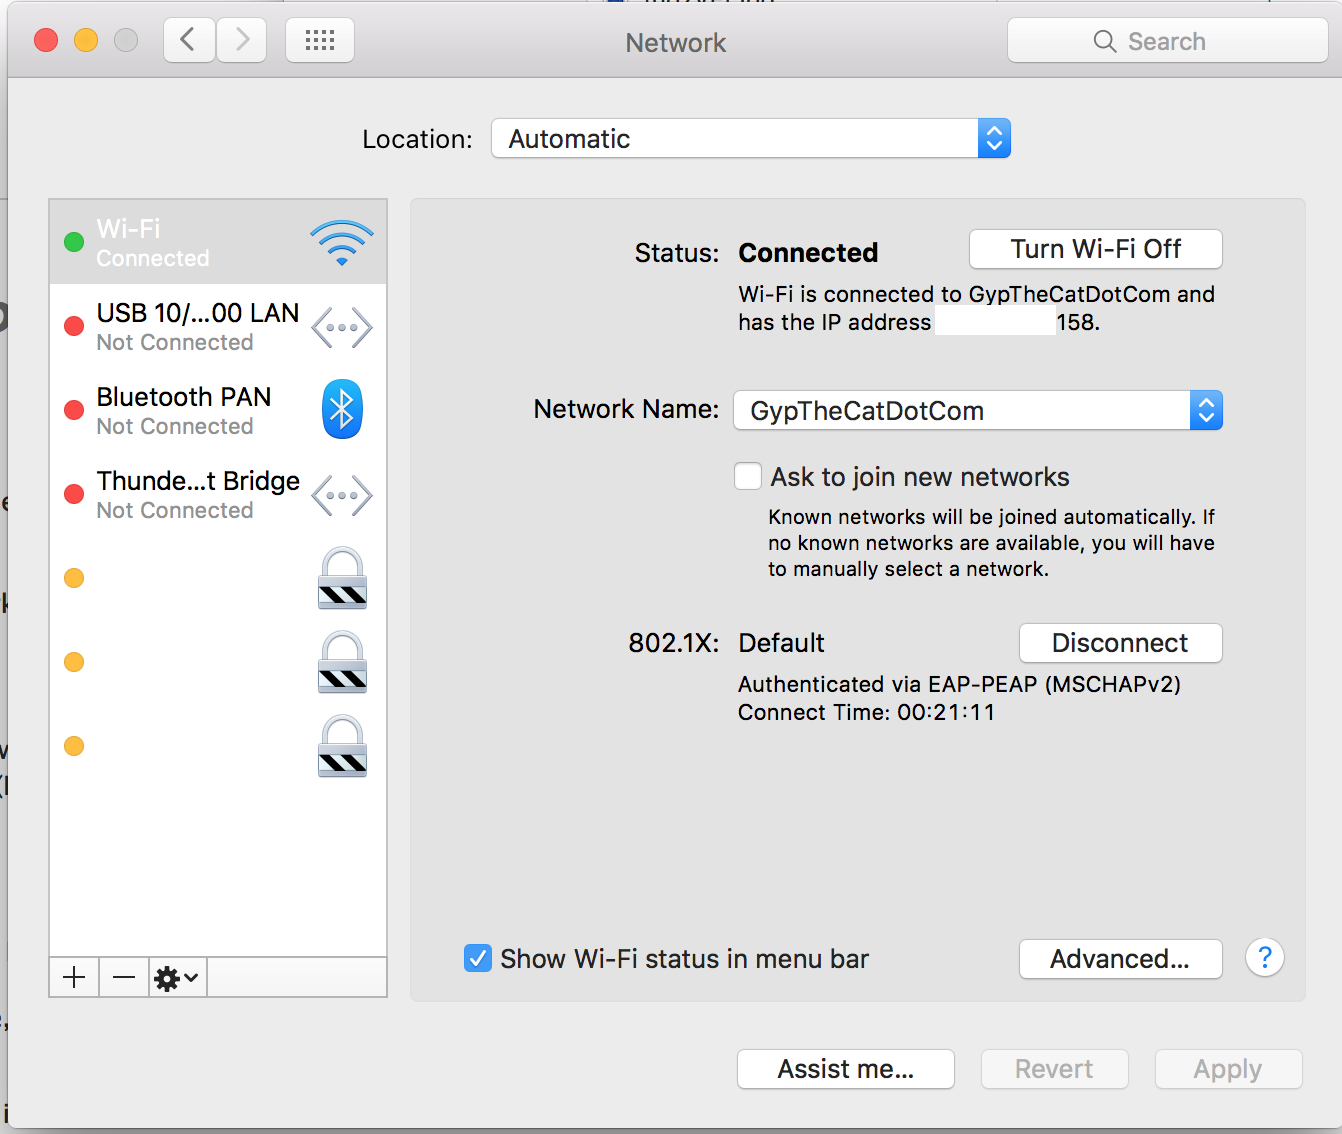
Once you’re connected you should have data like the following, notice it says 802.1X at the bottom:
Well done, you’ve got your Unifi using Radius authentication!
No Comments