How to Change the Default Lock Screen Image using GPO
Step-by-step: How to Change the Default Lock Screen Image using GPO
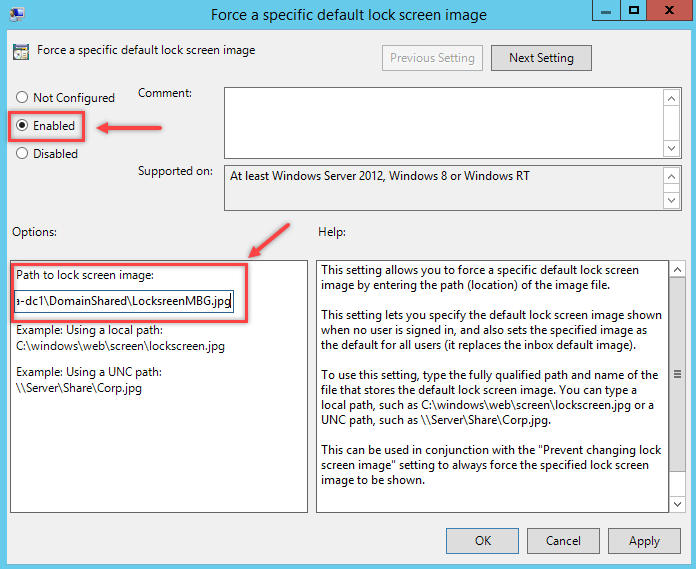
This example below will demonstrate how to change the default lock screen image in client PC running Windows 10 Enterprise or Education editions. Client PC is joined to the domain asaputra.com with domain controller installed in Windows Server 2012 R2 named asaputra-dc1. Image file used for lock screen is named LockscreenMBG.jpg and saved in a shared folder in the DC with UNC path \\asaputra-dc1\DomainShared\LockscreenMBG.jpg.
1. Ensure the image file is accessible
Make sure that the targeted users has at least read access on the folder sharing properties and able to see the image file.

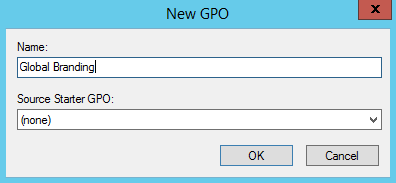
2. Creating the Group Policy Object
In this example, a new policy object named “Global Branding” is created on the Group Policy Management Console.
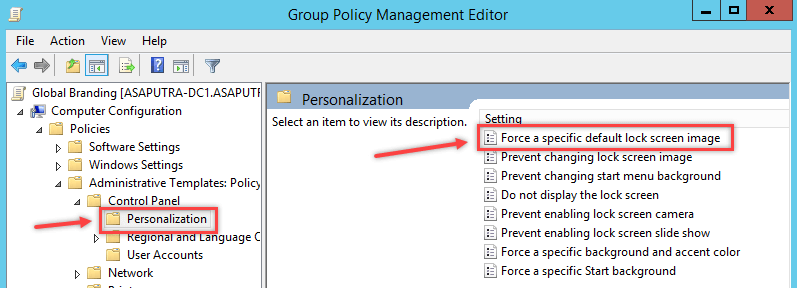
The setting that we must apply is named “Force a specific default lock screen image” and it is located at Computer Configuration > Policies > Administrative Templates > Control Panel > Personalization. Double click the setting name to configure it.
3. Specify the lock screen image location
After set it to Enabled, type the network path where the image file resides.
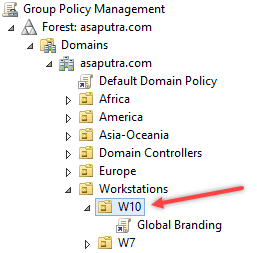
4. Apply the GPO to Computer OU
Since the policy applies to computer, then we must link the GPO to the OU where the computer is resides.
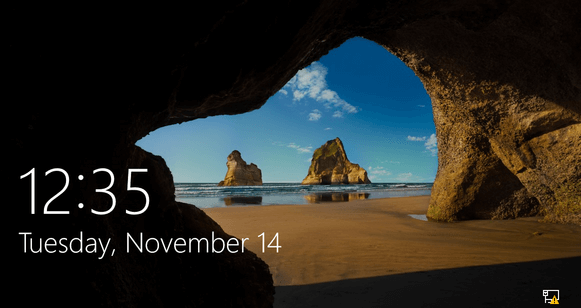
5. Verify the result on client computer
When the policy is refreshed, you can try signing out or lock the computer to see the new lock screen image being applied.
Before
After

Troubleshooting Tips
We can always force the GPO to update right away by using command gpupdate /force on command prompt. When this GPO is applied successfully it will create a registry value named LockScreenImage in HKLM\Software\Policies\Microsoft\Windows\Personalization containing the image file path.

If the path and file name is correct and accessible, then lock screen image will be applied without problem. And that’s how to change the default lock screen image using GPO.