Skip to main content
Update Emphasys Software
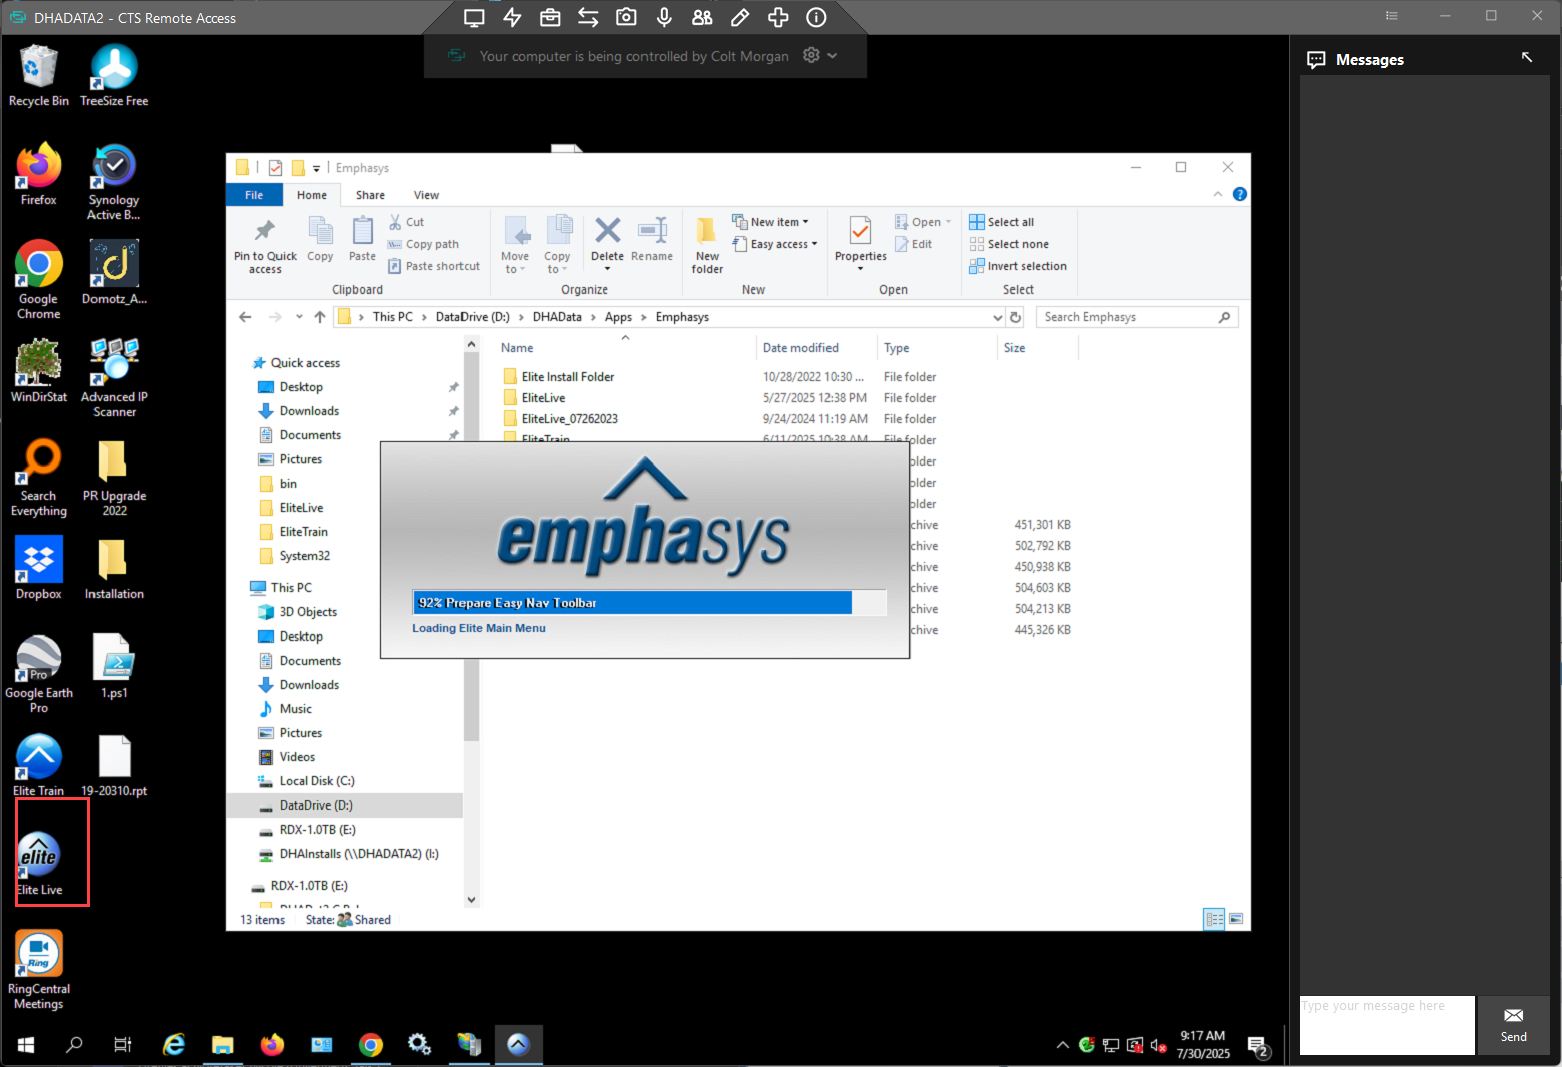
- Open up the DHADATA2 server
- Open the elite live or elite train application

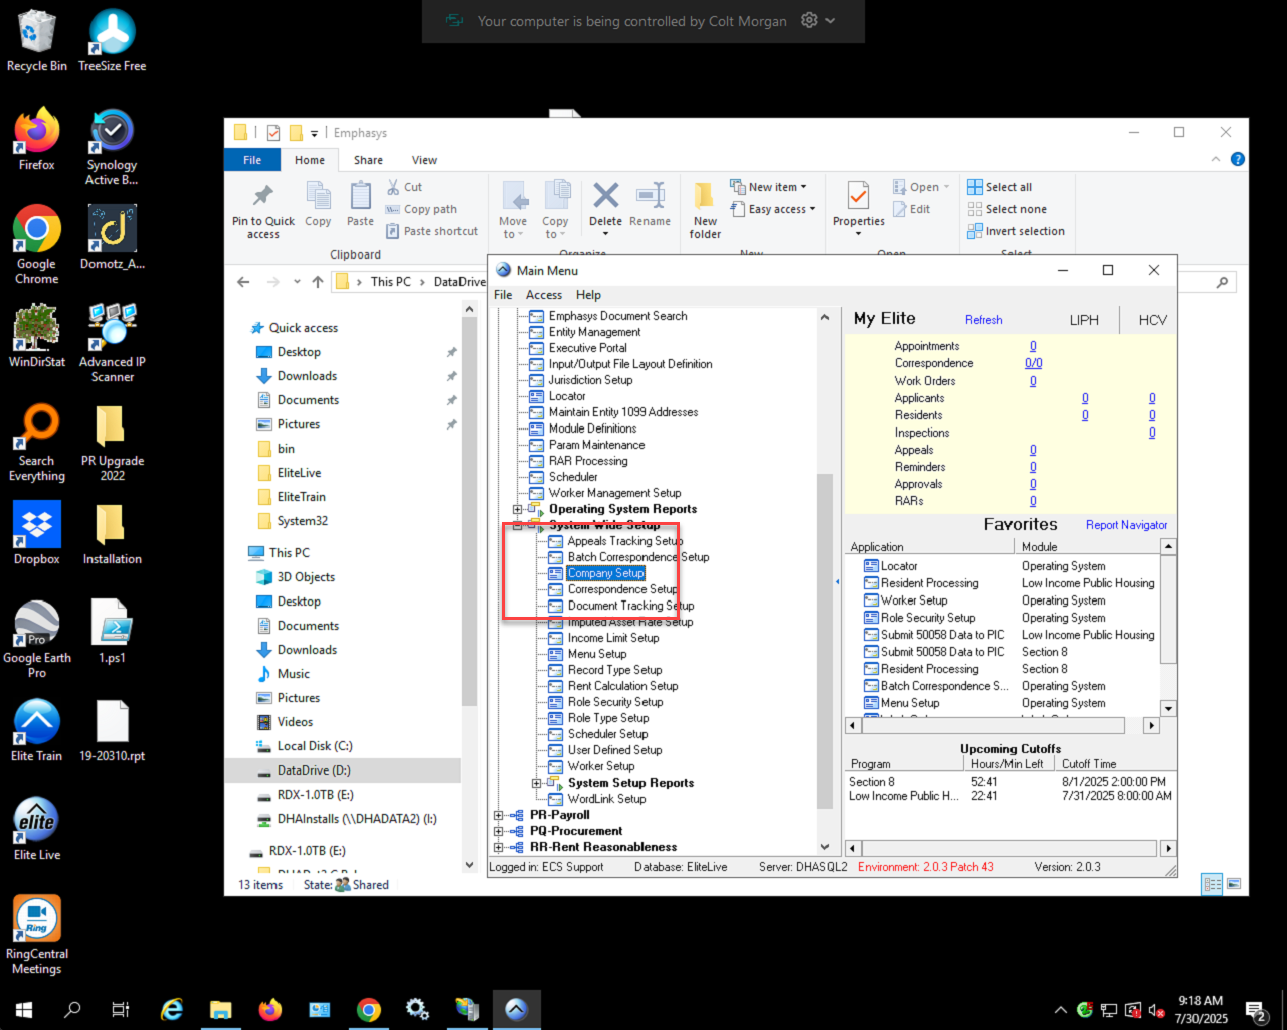
- Select "company setup" module
-

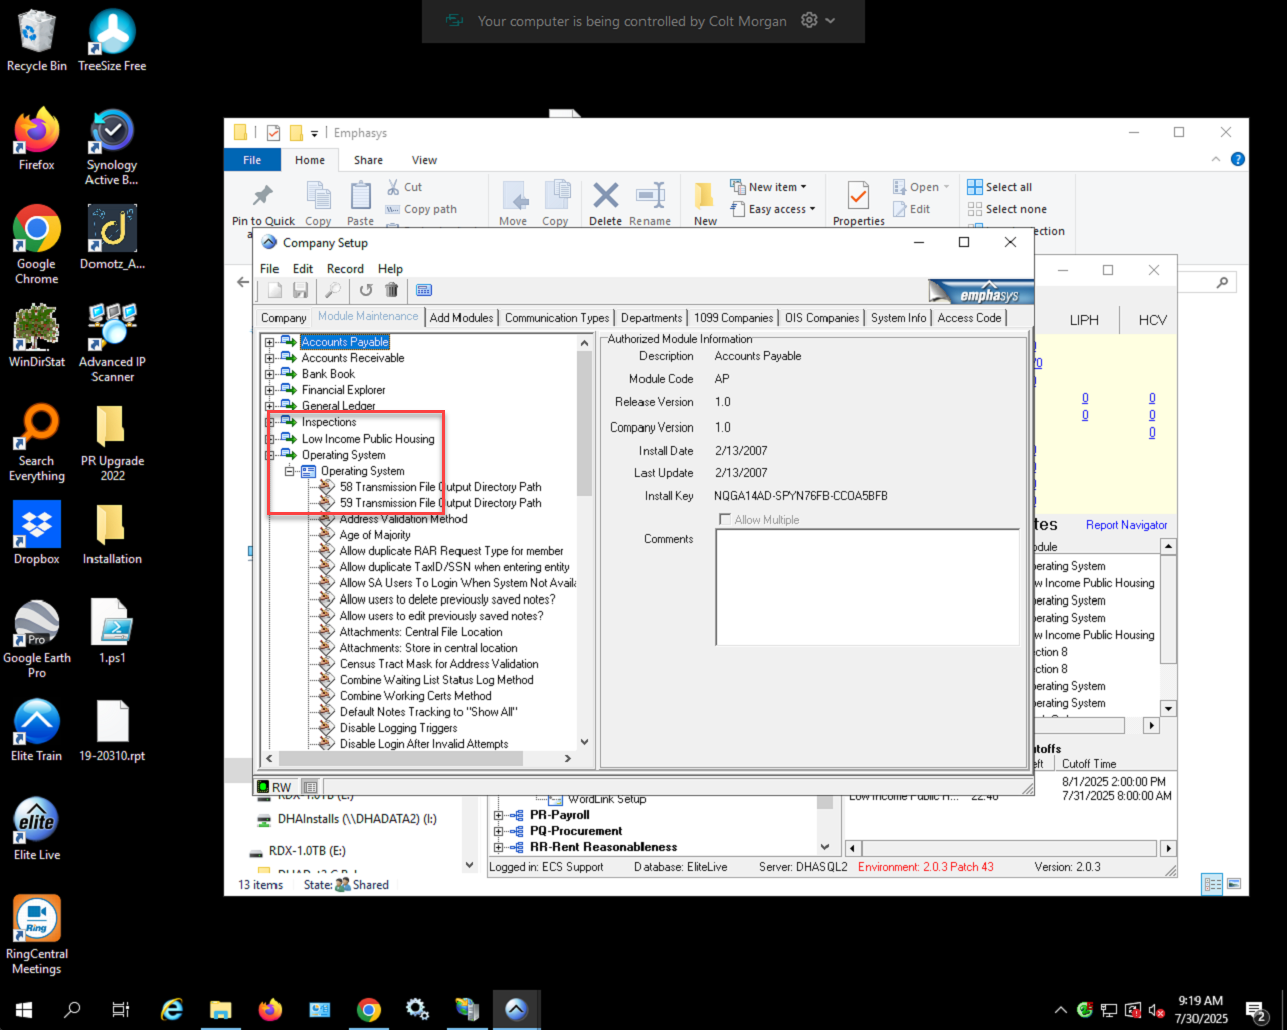
- Expand the operating system, and then operating sytem again dropdown menu
-

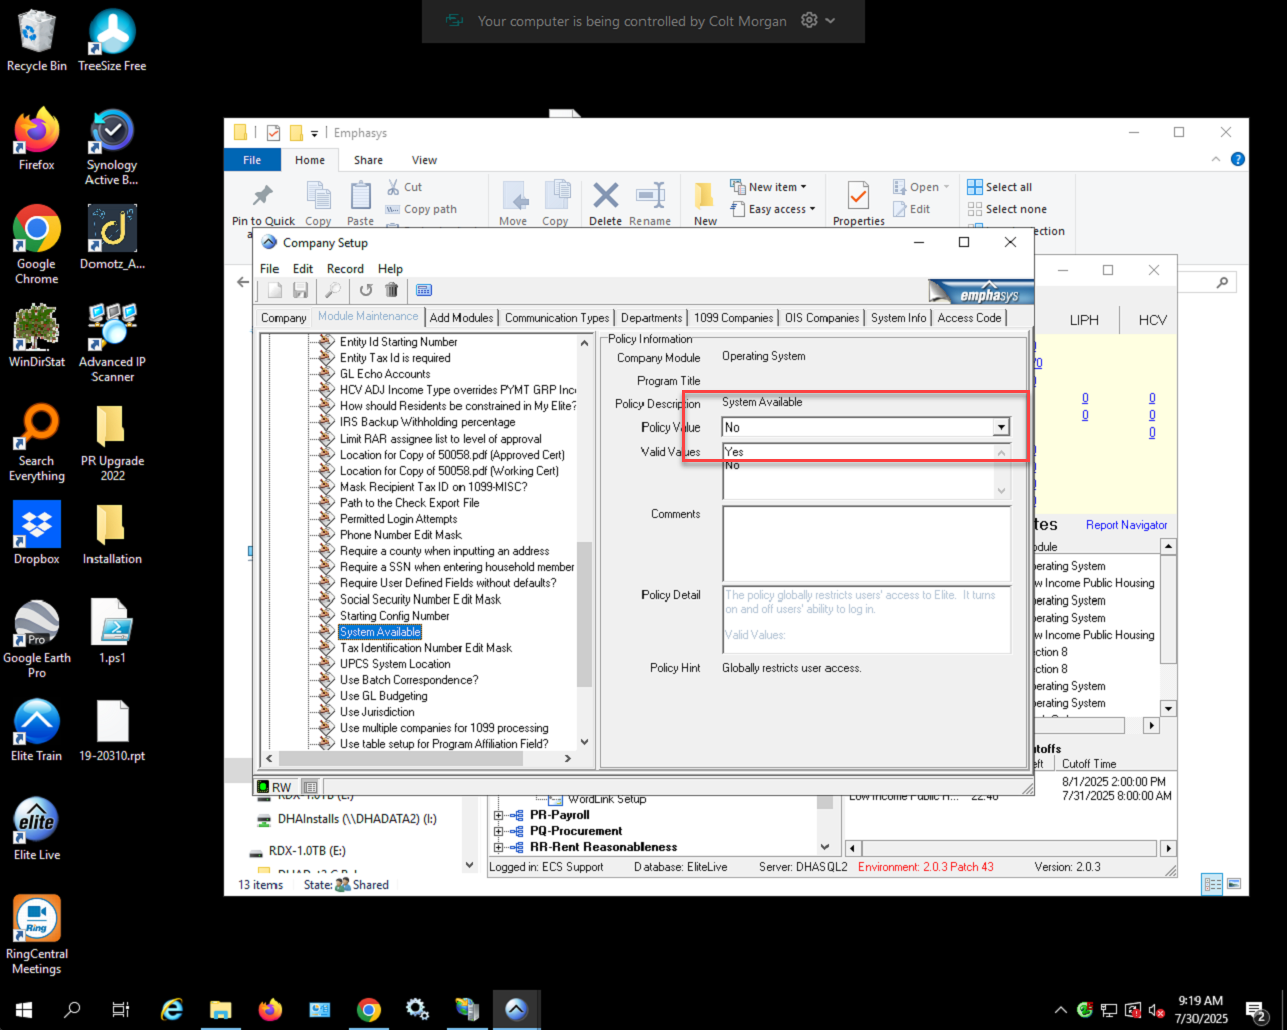
- Now select the "system available" tab and set the system to not available
-

- Close emphasys and now we will make a backup of the software and database
-
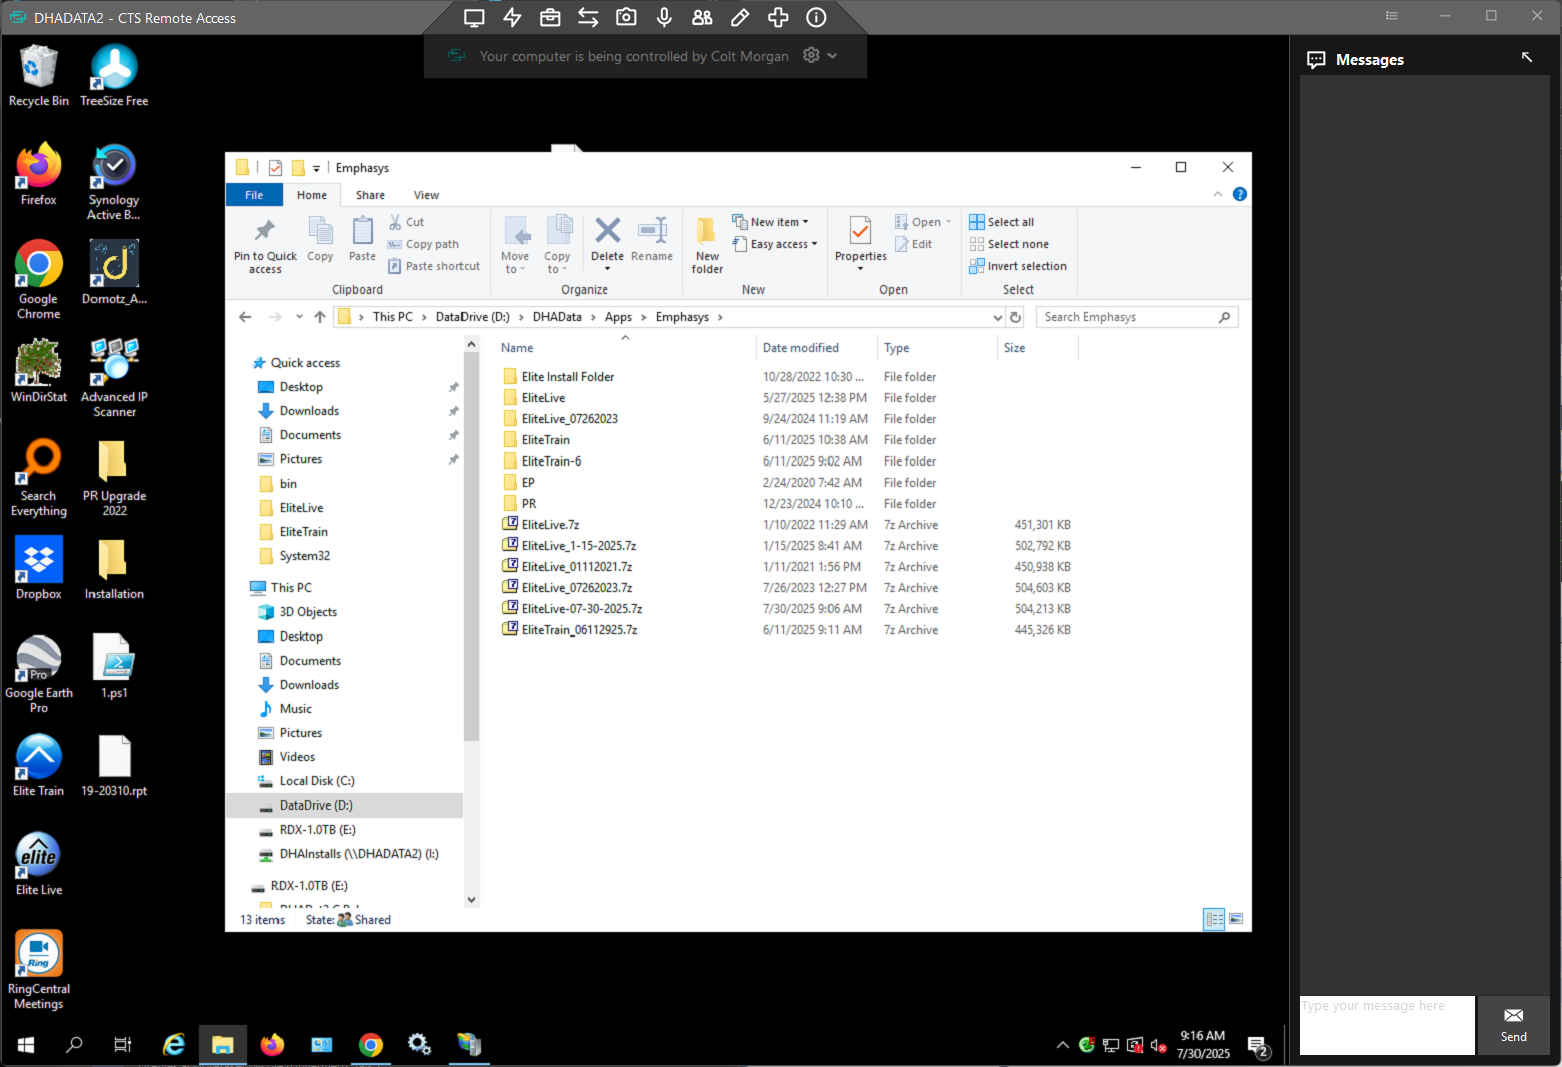
- Create a zip file archive of the elite live or elite train software folder depending on what you are upgrading. Do this by zipping the directory that contains the shortcut on the desktop of the server.
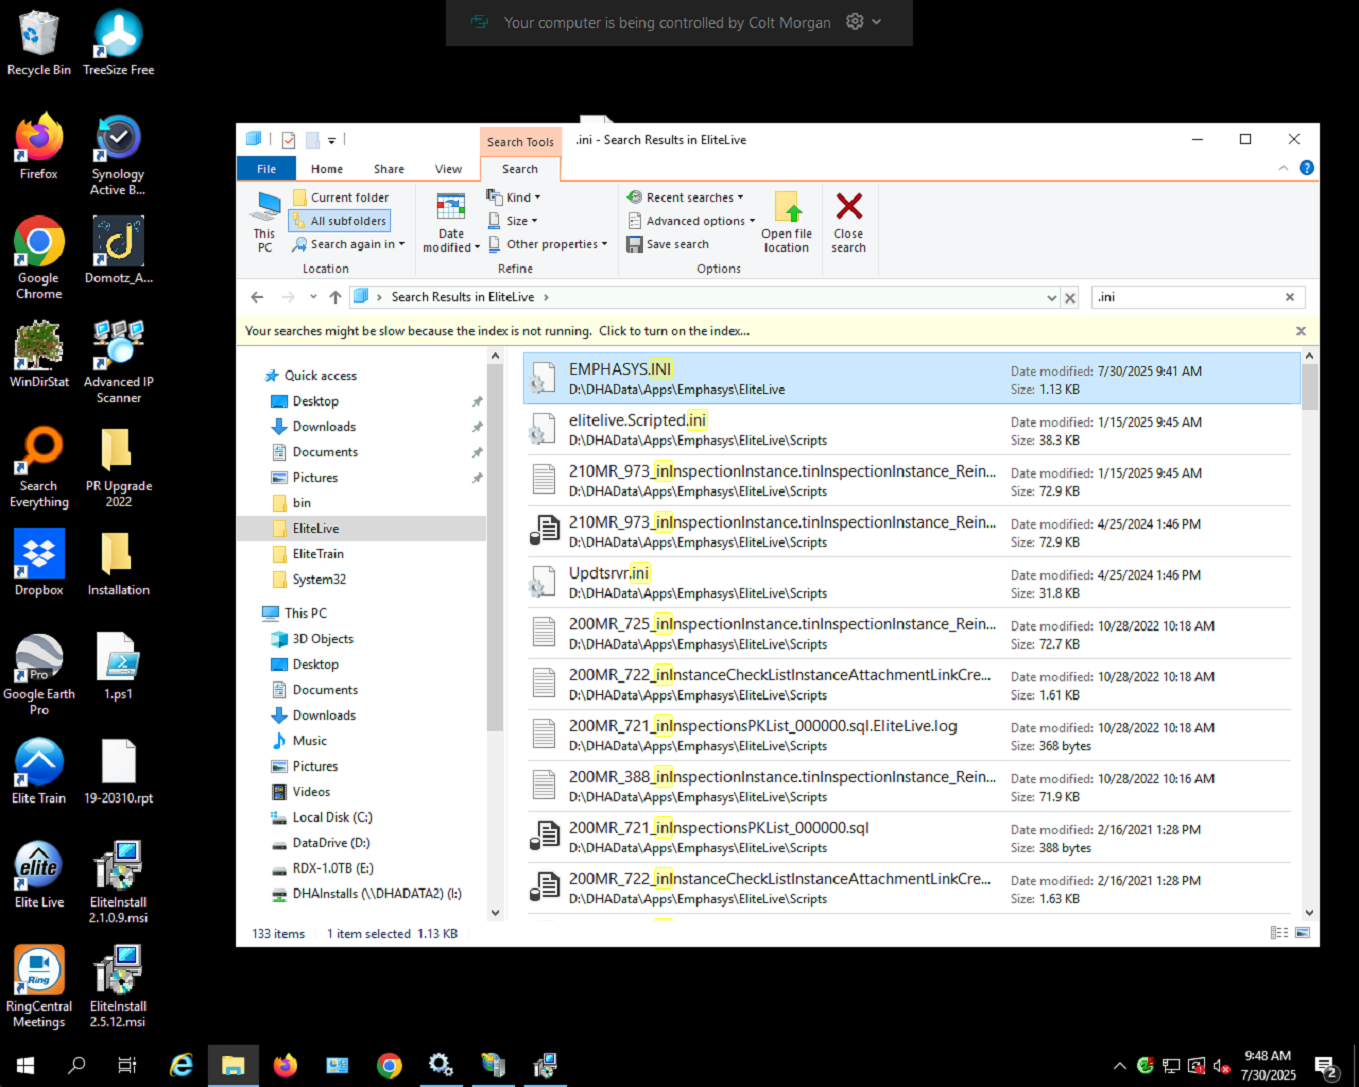
- Open the emphasys.ini file and check the database and server name for later. Also update the Environment to the new software version.
-

- Now move over to the SQL server
-
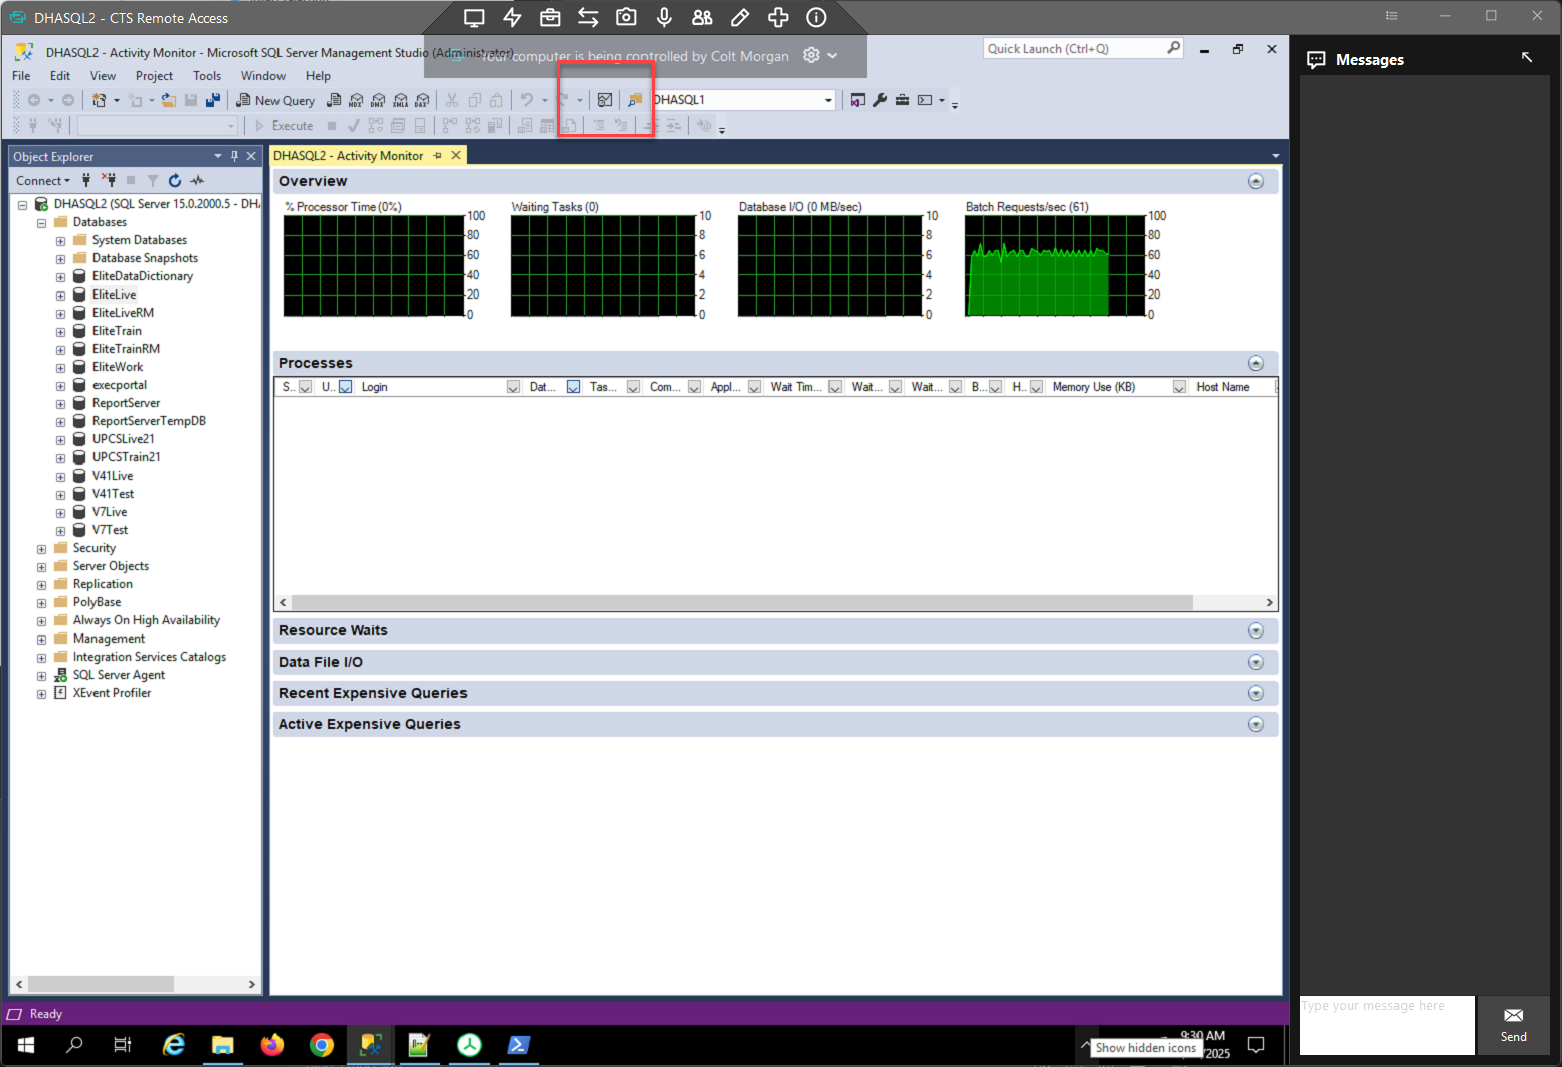
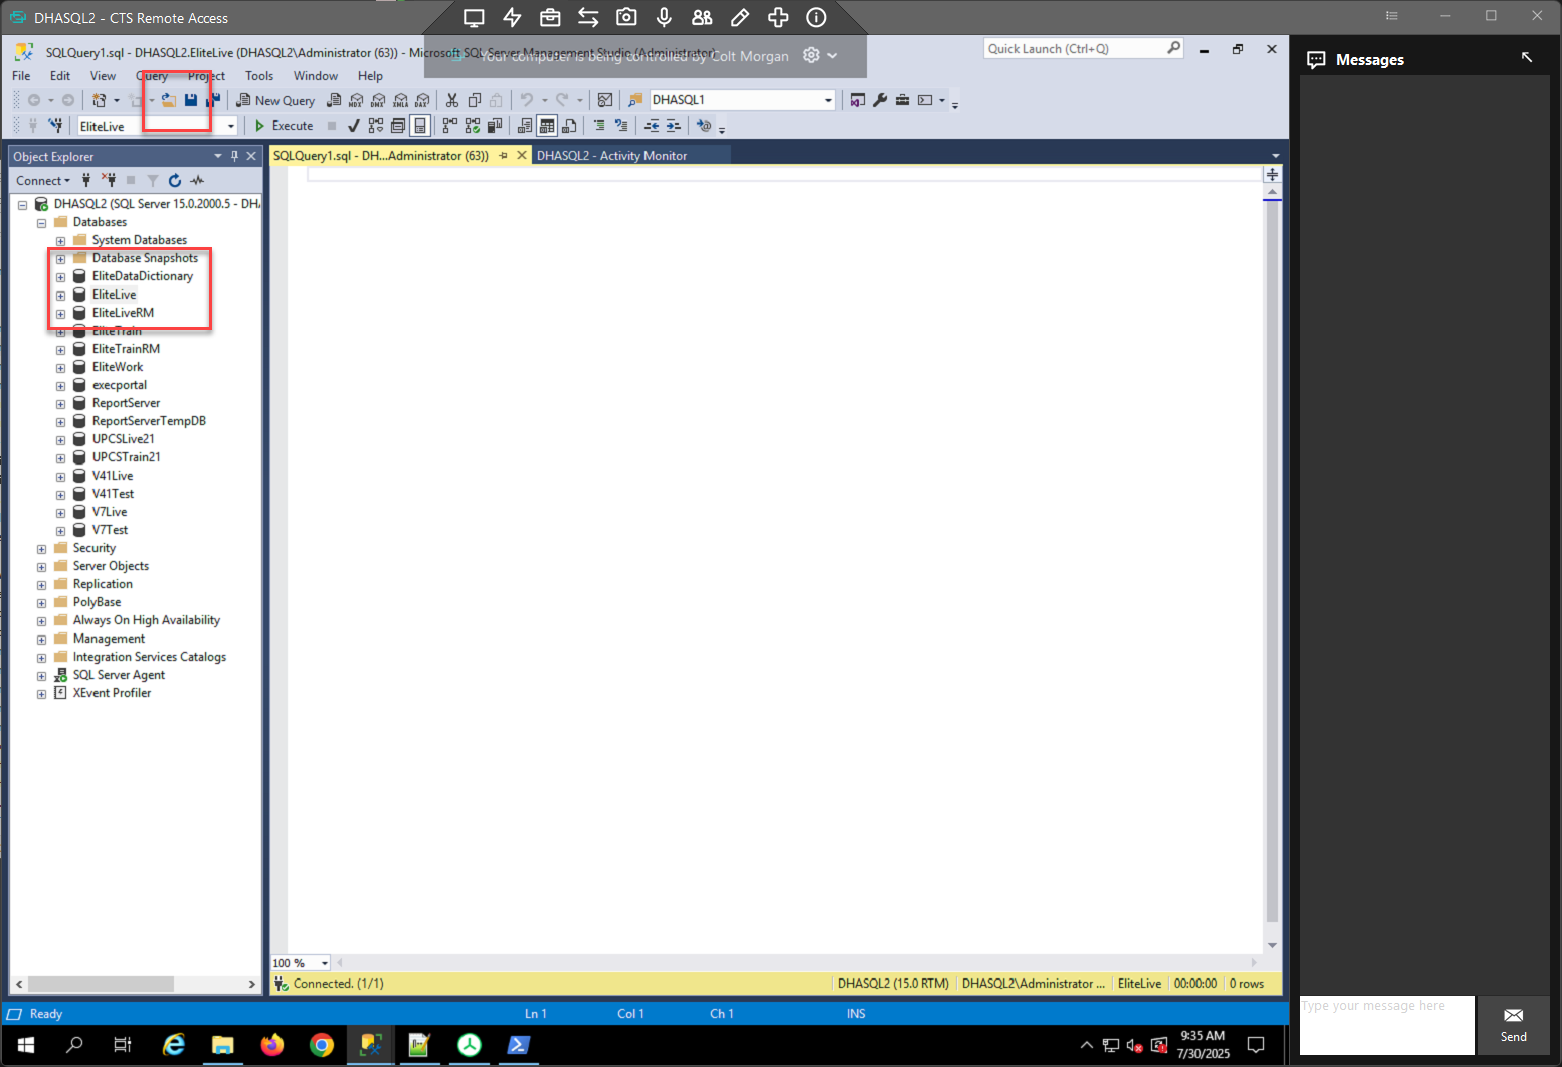
- Expand the database and select the activity monitor
- Open up the process bar and kill all the process under this to remove everyone from the SQL server, otherwise changes they make will not be in the backup.
-

- Right click the database and select new query.
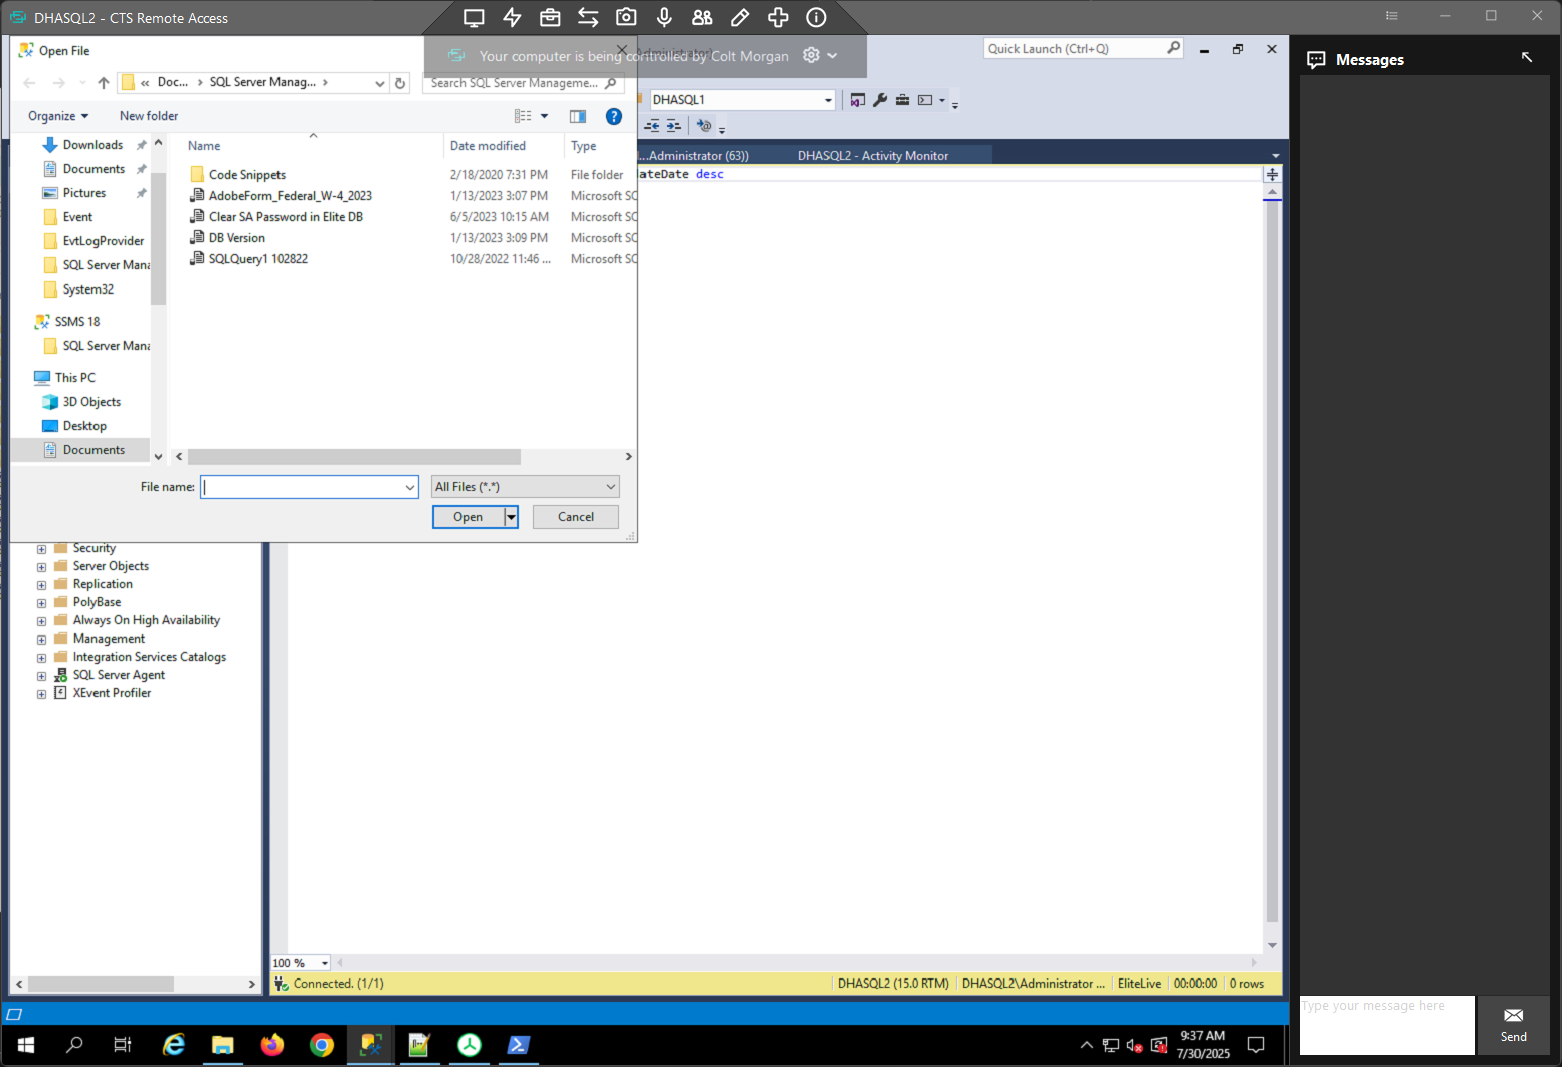
- Next select the open menu above to open the query to get the DB version.

- Now select Execute
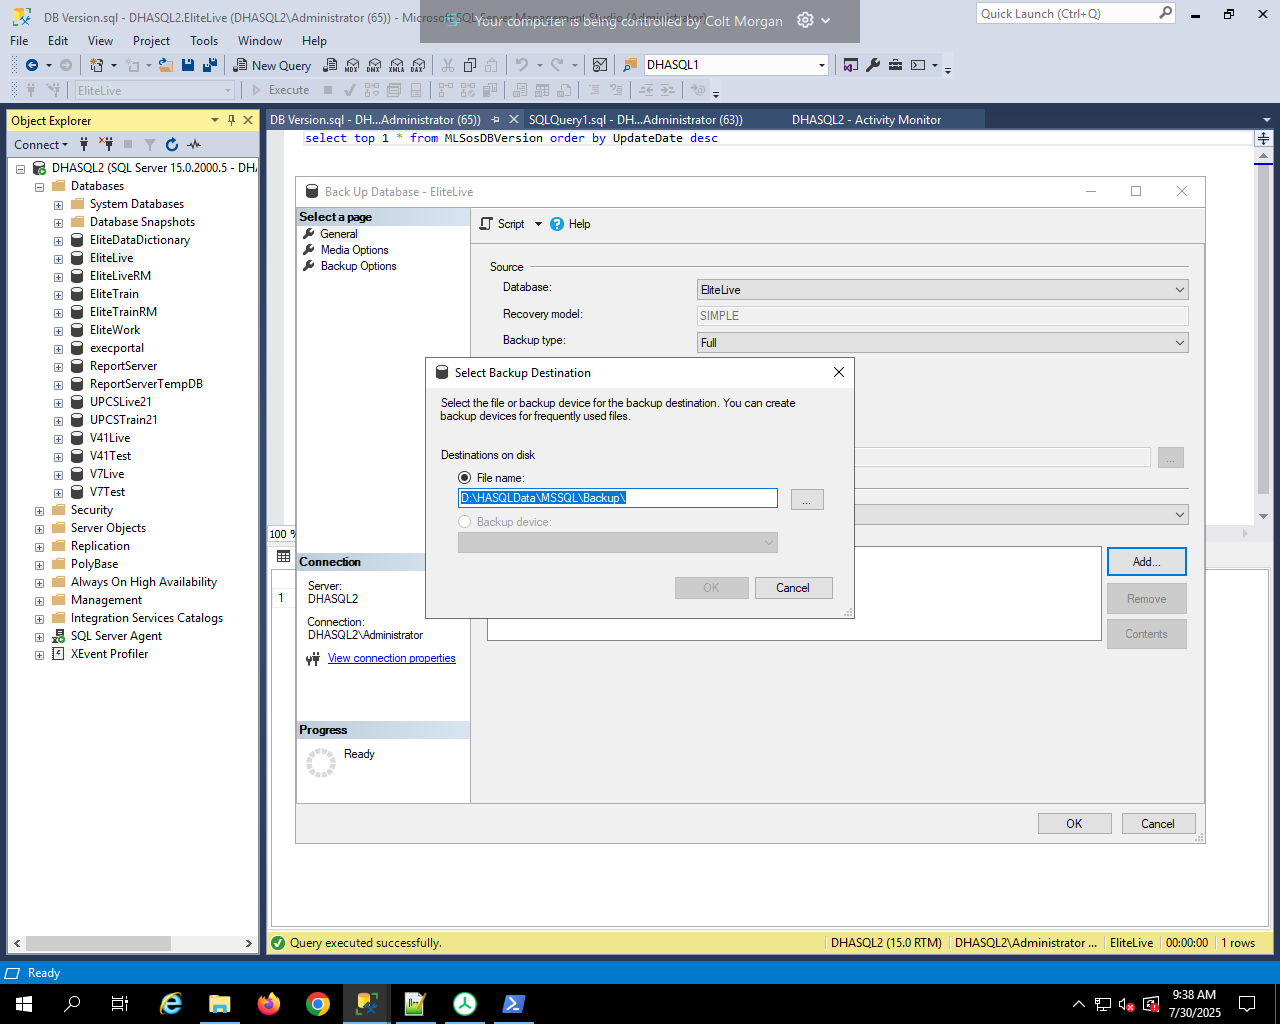
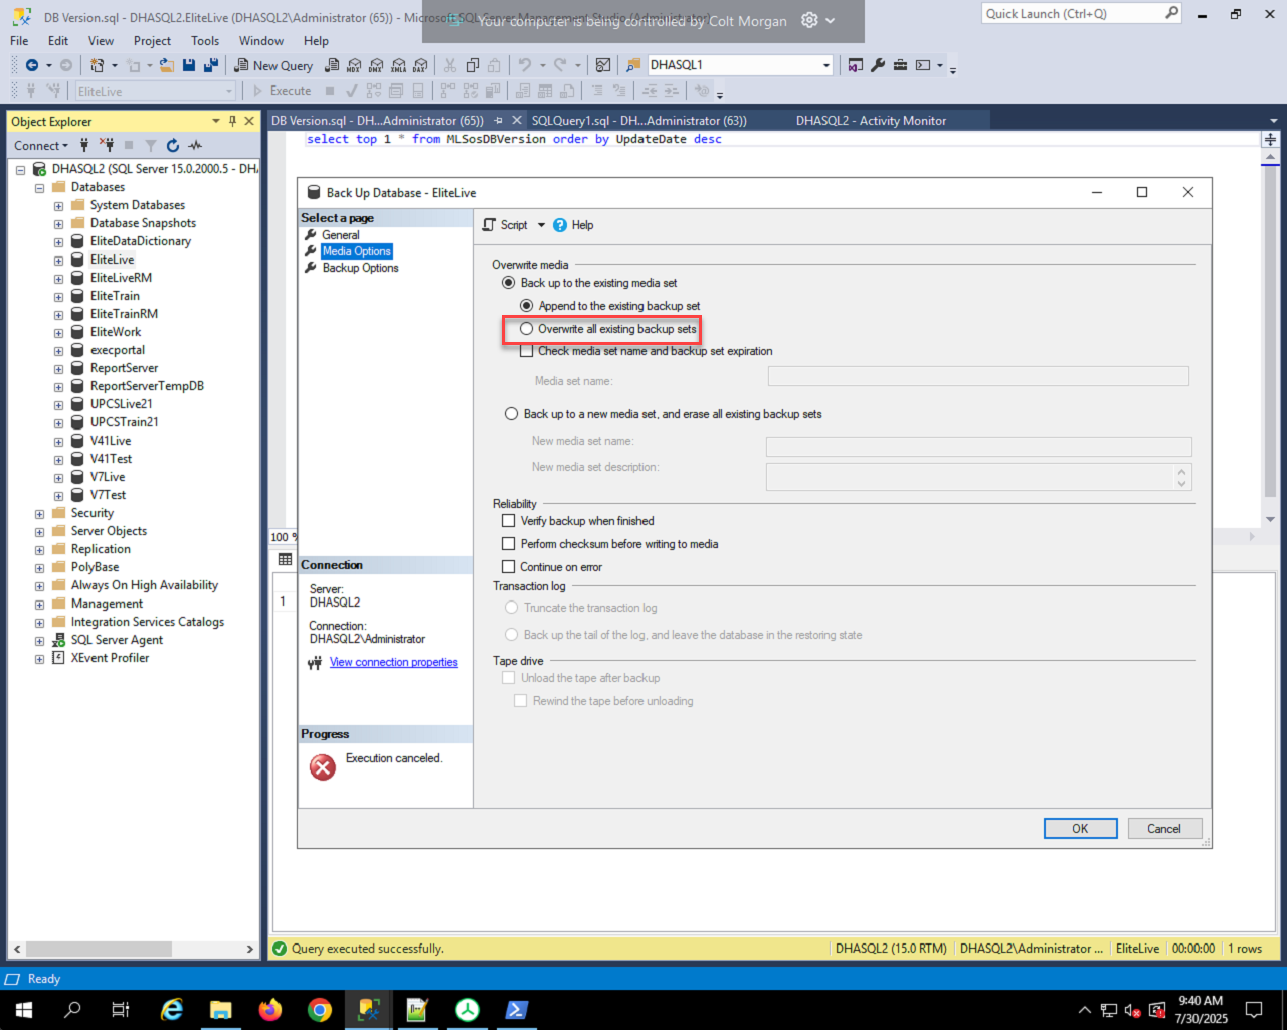
- Now right click, tasks > backup
-

- Remove the old directory and add the new one in the above location, appending a directory name *database*-date
- for example EliteLive-01-01-2000
-

- Under media option select overwrite
- Under backup options select the compress backup option, then select ok to run it
- While that is running check the DATA2 server for the backup of the program files.
- Go to pha.myemphasys.com and log into the website using the password in ITG, username is shanonhoag.
- Download the latest version.
- Right click the downloaded zip file and unblock it before doing anything else
-
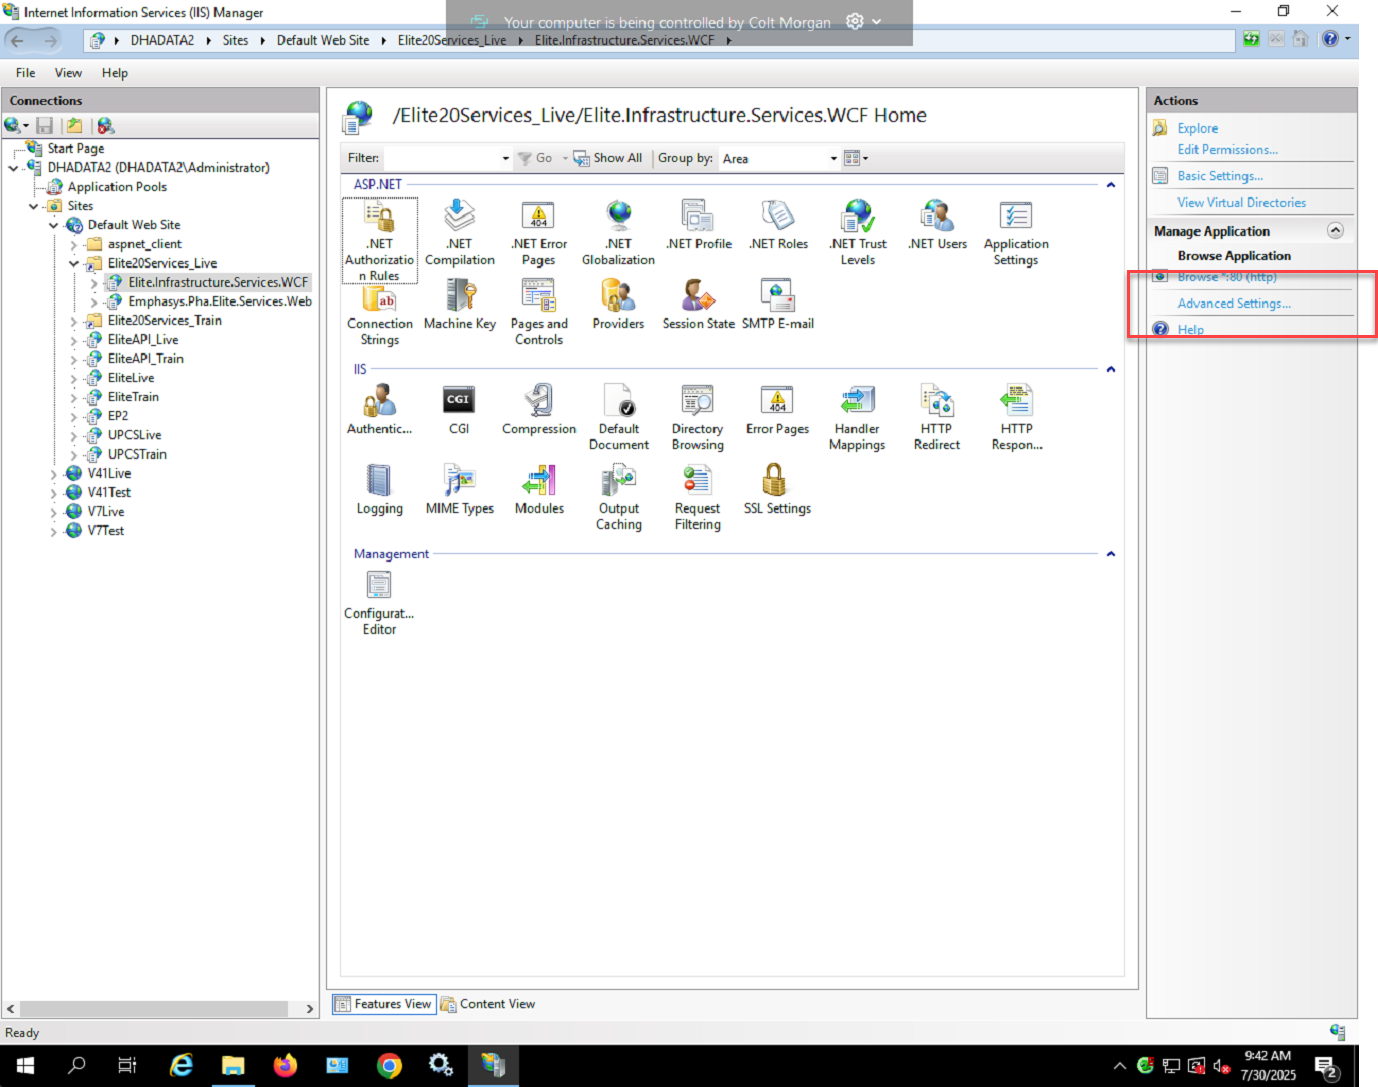
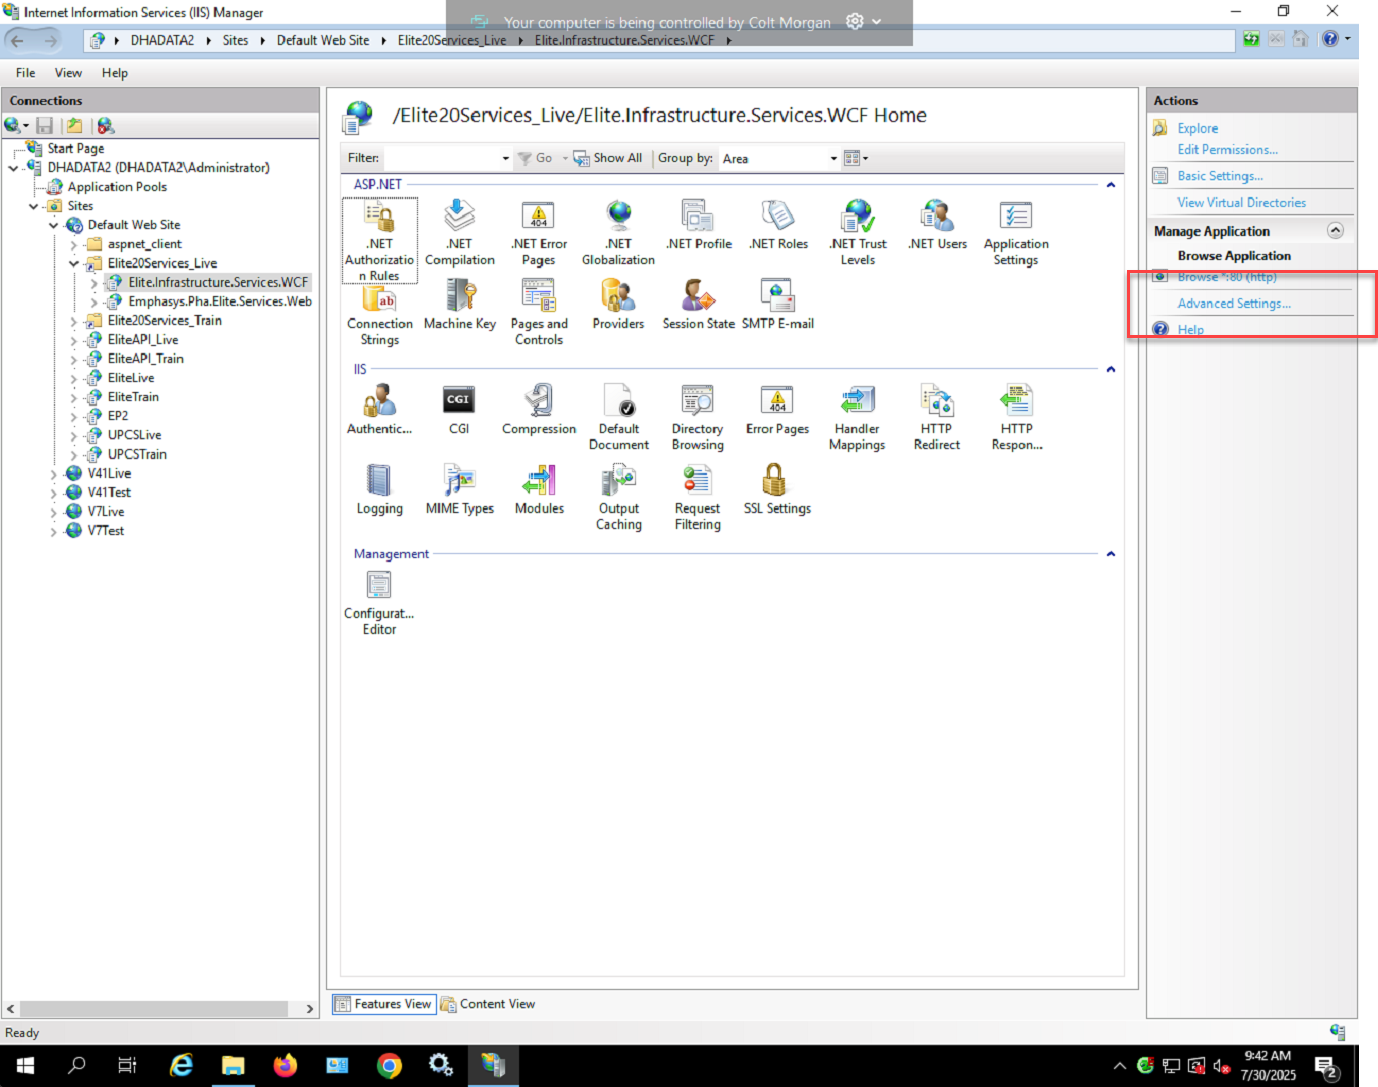
- Go to the webserver and find the virtual file path, which is in the same directory as everything else
- Now go to services on the Elite server
-
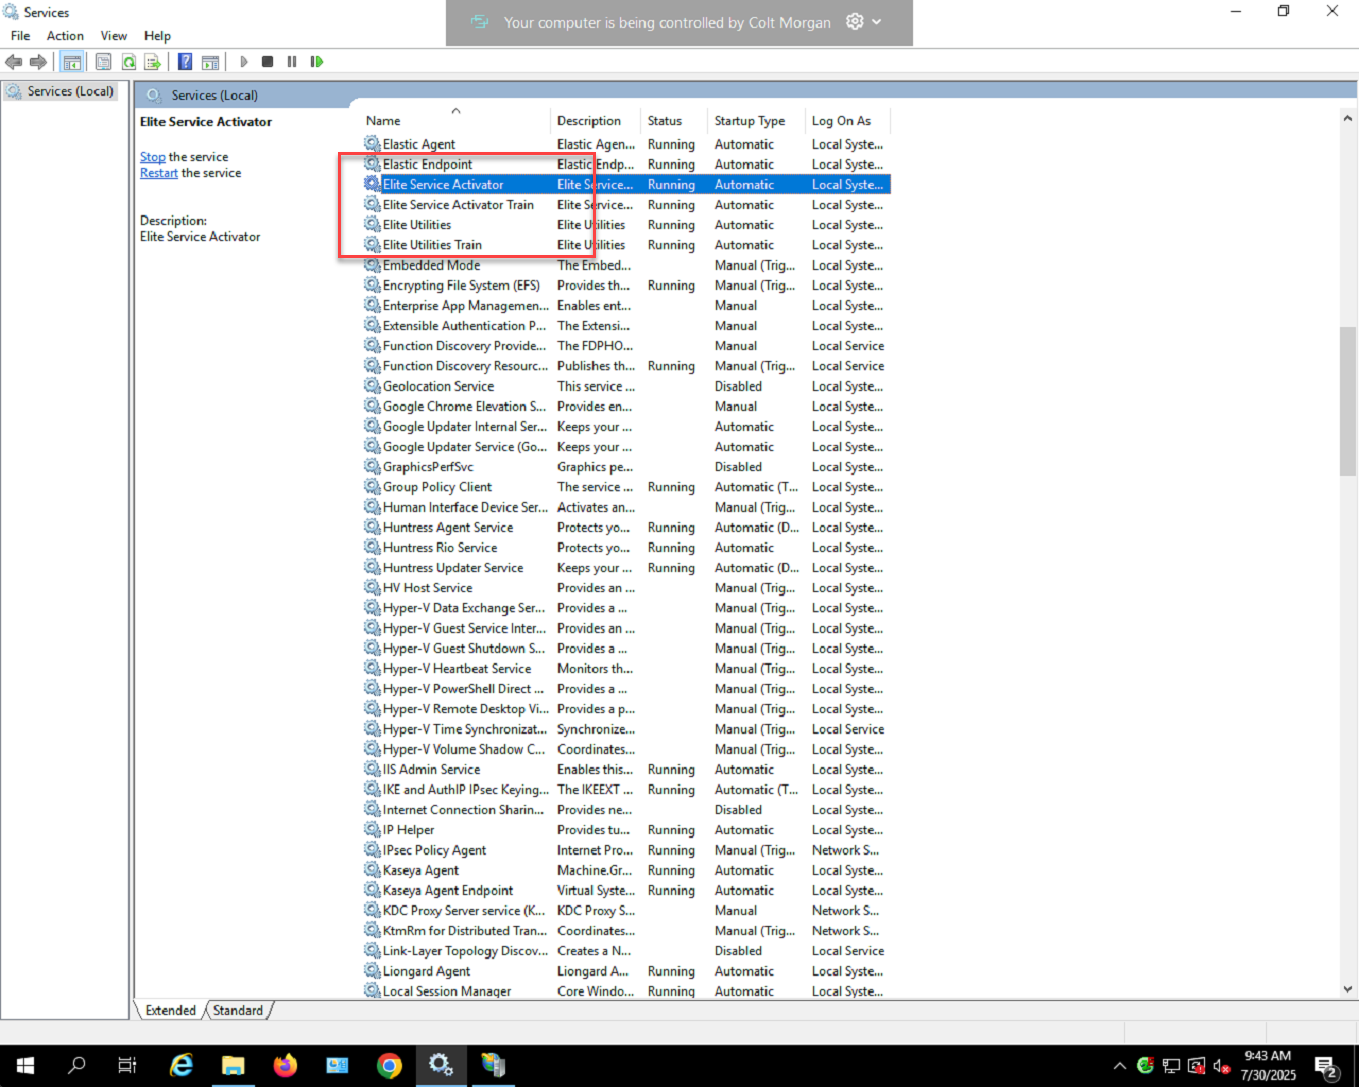
- You have two services for eltie live and two for train. You want to set both for the respective database to stopped and disable them.
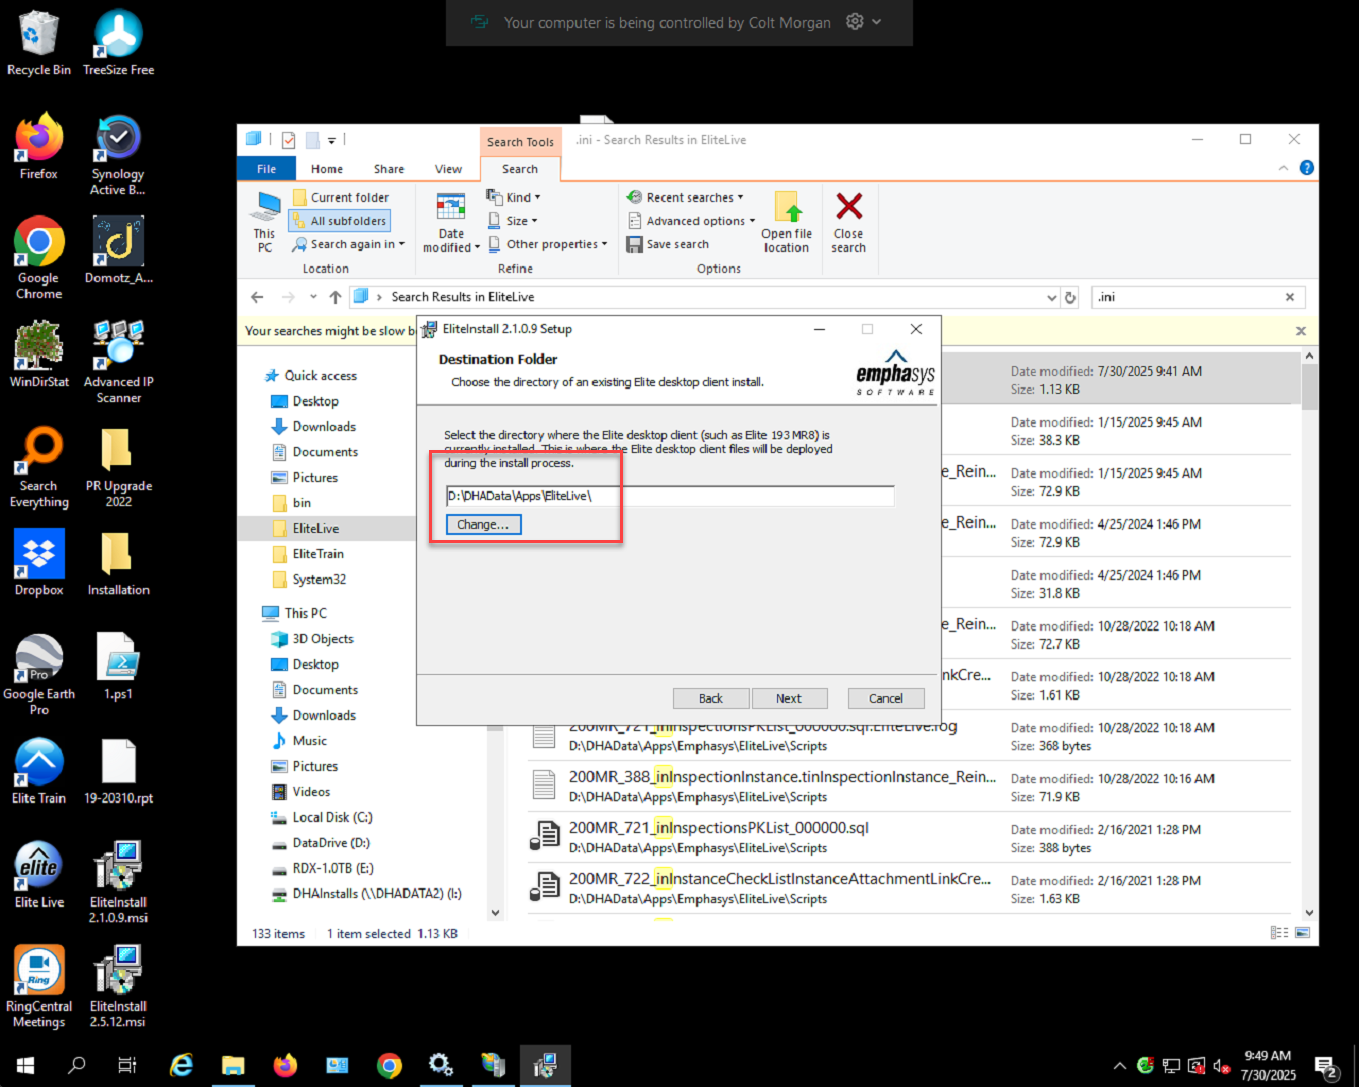
- Now just run the .msi executable you downloaded from the website for the new version.
-
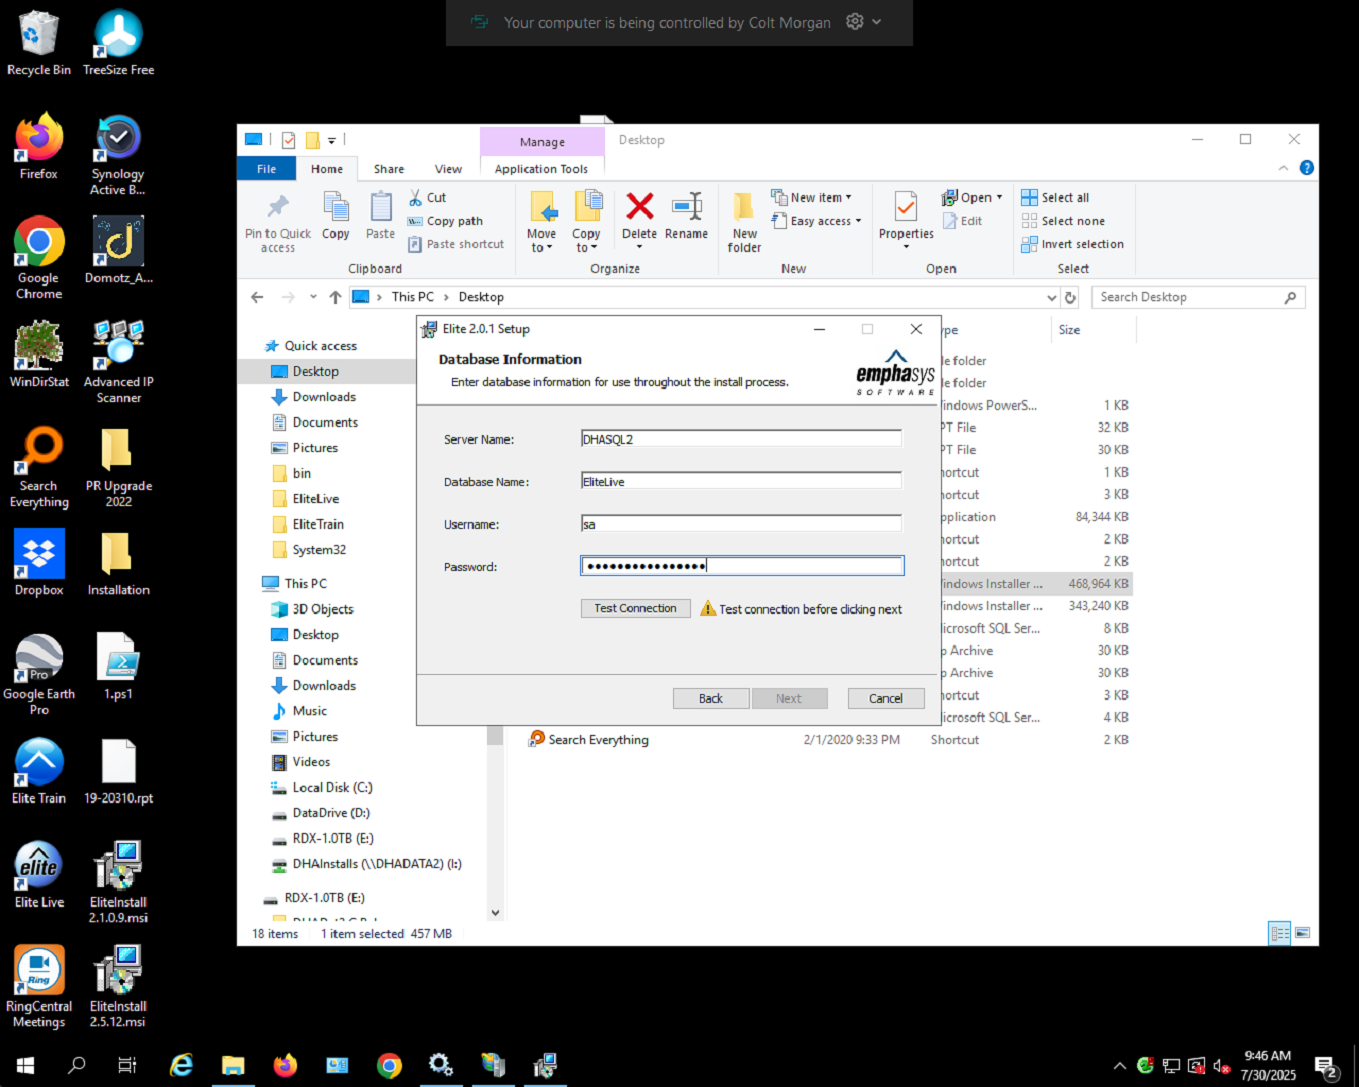
- Fill in these values for the server, use the SQL sa account, password is here https://cts-computers.itglue.com/6349362/passwords/29840639#partial=&sortBy=name:asc&filters=%5B%5D
- Change the directoy install path to match what it should be.
-

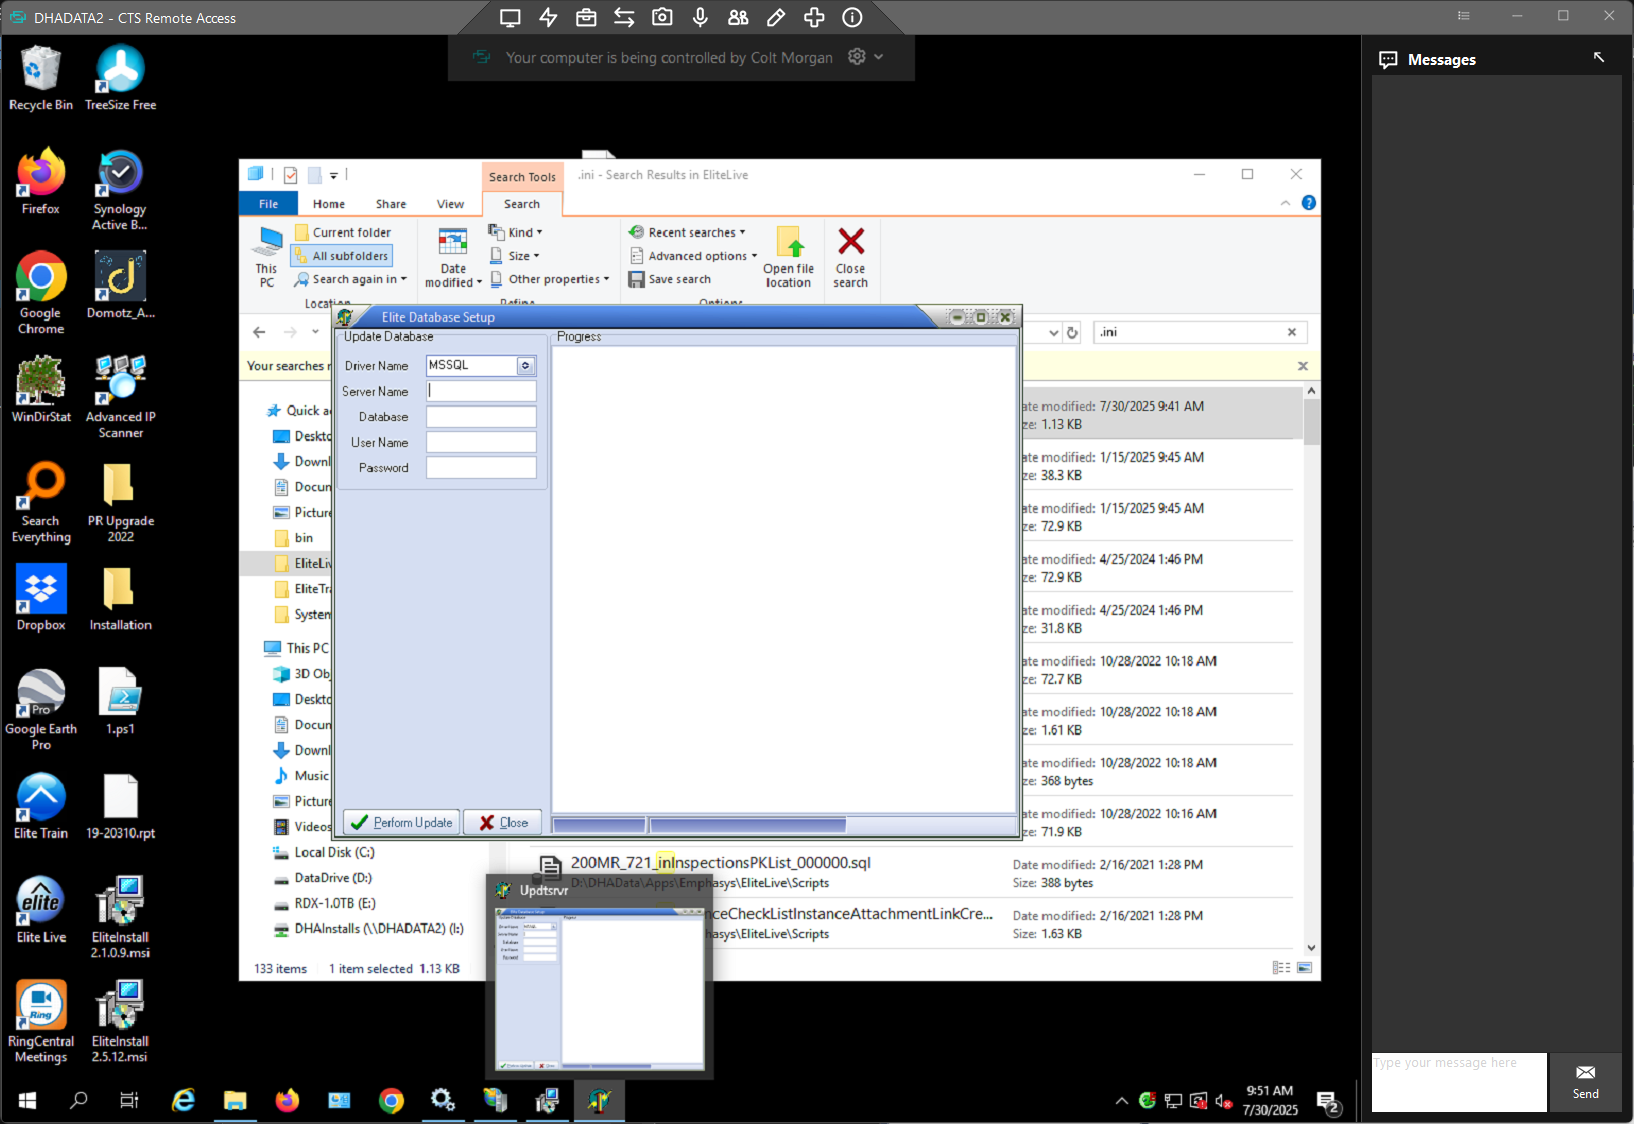
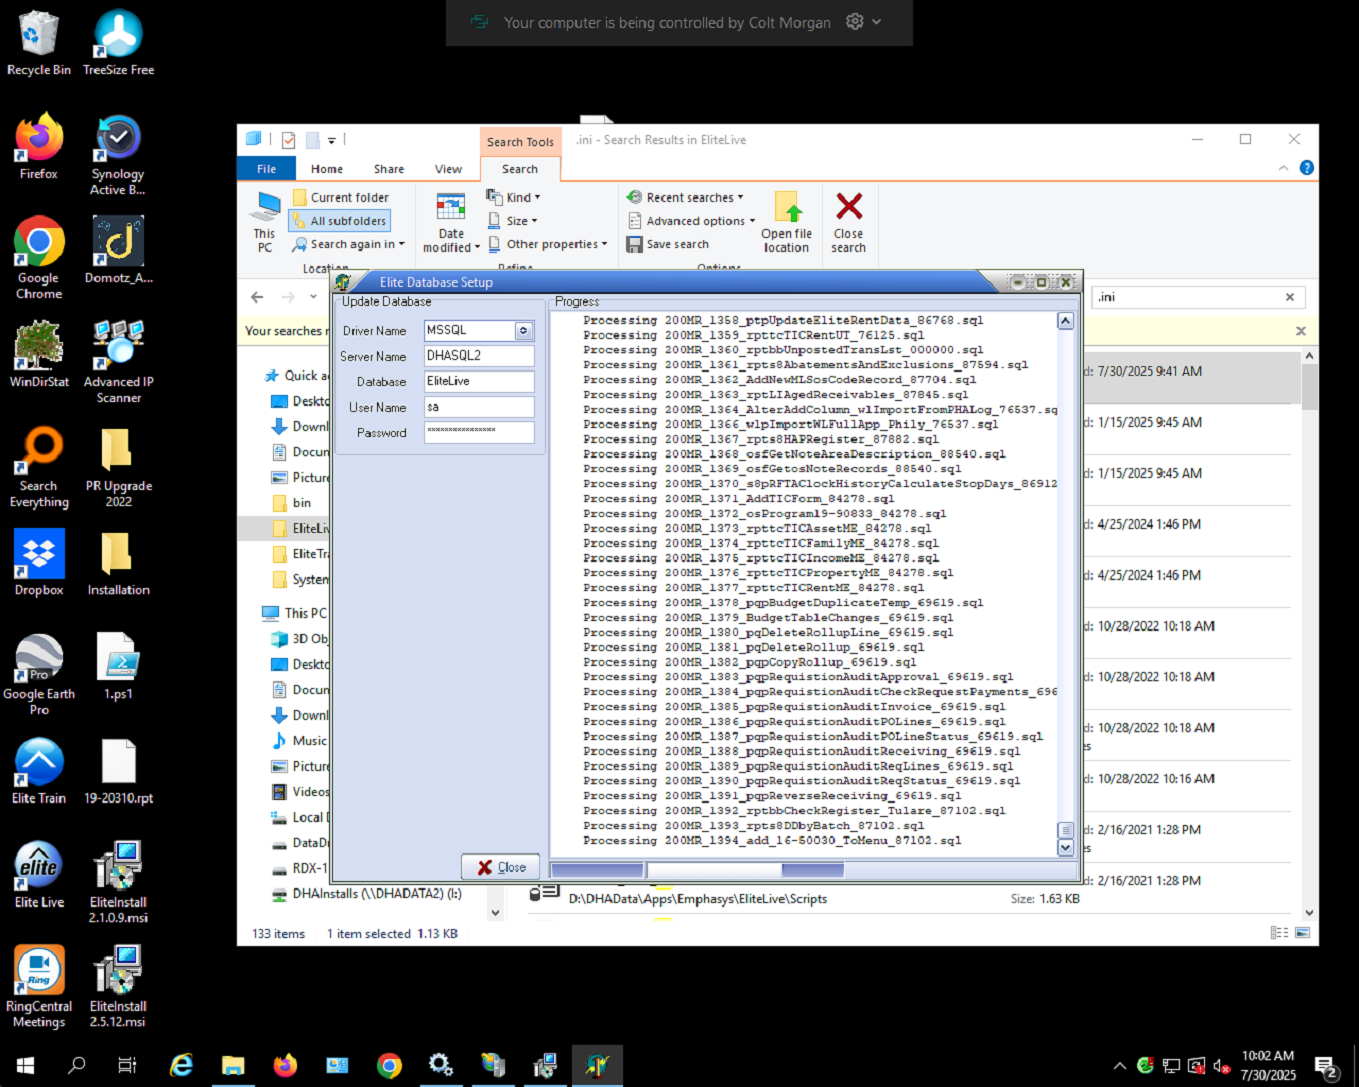
- After this we run the installer, which will ask us to input the same information as before
-

- If you input this information wrong it will just close and fail silently.
- You will see this window
-

- when done at the bottom you will see a message reading finished
-

- After you select close the updater will continue running
- Go into services on DHADATA2 and turn the back on
- go to the elite file directory go into the appSetting.config file and update the file server name from localhost to dhadata2.
- Open the software and make sure the version is showing correct
- open the SQL server and run the database query again to make sure it is updated
- Go back into the Elite software and set the system to available like in step 4