TrueNAS Server
This is information related to the usage of the TrueNAS OS
- Active Directory
- Check status of VMs from Shell
- Disable 2FA
- Dragonfish Swap issue
- Enable SMB Multi Channel
- Force SMB3 encryption
- Midnight Commander
- Setup UPS on TrueNAS
- Edit Additional SMB Parameters
- SMB
Active Directory
check Keytab file for information on joining domain without configuring a username and password
------------------------------------------------------------------------------------------------------------------------------------------------
Setting Up Active Directory
The Active Directory (AD) service shares resources in a Windows network. AD provides authentication and authorization services for the users in a network. This eliminates the need to recreate the user accounts on TrueNAS.
Domain users and groups in local ACLs are accessible after joining AD. Setting up shares acts as a file server.
Joining an AD domain configures the Privileged Access Manager (PAM). This allows domain users to log on via SSH or authenticate to local services.
It is possible to configure AD services on Windows. Or on Unix-like operating systems running Samba version 4.
To configure a connection, you need to know the following items:
- Determine the Active Directory domain controller domain.
- Make sure you have the account credentials for that system.
Preparation
Preparing the following before configuring Active Directory helps ensure the connection process.
Verify Name Resolution
Confirm that name resolution is functioning. Connect to shell and use ping to check the connection to the AD domain controller.
truenas# ping ad01.lab. ixsystems.com
PING ad01. lab. ixsystems.com (10.215.5.200) : 56 data bytes
64 bytes from 10.215.5.200: icmp_seq=0 ttl=126 time=0.800 ms
64 bytes from 10.215.5.200: icmp_seq=1 ttl=126 time=0.933 ms
64 bytes from 10.215.5.200: icmp_seq=2 ttl=126 time=0.810 ms
64 bytes from 10.215.5.200: icmp_seq=3 ttl=126 time=0.876 ms
^C
ad01. lab. ixsystems.com ping statistics
4 packets transmitted, 4 packets received, 0.0% packet loss
round-trip min/avg/max/stddev = 0.800/0.855/0.933/0.054 ms
The ability to send and receive packets without loss verifies the connection. Press Ctrl + C to cancel the ping.
Another option is to use the command host -t srv _ldap._tcp.domainname.com. This checks the network SRV records and verifies DNS resolution.
If the ping fails, go to Network > Global Configuration. Update the DNS Servers and Default Gateway settings. Enter more than one value in Nameserver for the AD domain controllers.
This helps DNS queries for the required SRV records succeed. Domain controllers are not always available. Using more than one name server helps maintain the AD connection in these instances.
Time Synchronization
Active Directory relies on Kerberos, a time-sensitive protocol. During the domain join process, the AD domain controller with the PDC Emulator FSMO Role is added as the preferred NTP server.
You can change NTP server settings in System > NTP Servers if necessary.
In a default AD environment, the local system time must be in sync with the AD domain controller time. Their times cannot differ from each other by more than 5 minutes. Use an external time source when configuring a virtualized domain controller. TrueNAS creates an Alert if the system time gets out of sync with the AD domain controller time.
The following options apply to time synchronization in TrueNAS:
- Go to System > General and make sure the value in Timezone matches the AD Domain Controller.

- Select either local time or universal time in the system BIOS.
Connect to the Active Directory Domain
To connect to Active Directory, go to Directory Services > Active Directory. Enter the AD Domain Name and account credentials. Select Enable to attempt to join the AD domain immediately after saving the configuration.

The preconfigured defaults are generally suitable. Advanced options are available for fine-tuning the AD configuration. Click ADVANCED OPTIONS to access extra options.
Click REBUILD DIRECTORY SERVICE CACHE to resync the cache if it becomes out of sync. Or if fewer users than expected are available in the permissions editors.
When the import completes, AD users and groups become available. These have basic dataset permissions or an Access Control List (ACL). Enabled is the default status for the TrueNAS cache.
Joining AD adds default Kerberos realms and generates a default AD_MACHINE_ACCOUNT keytab. TrueNAS automatically begins using this default keytab. TrueNAS removes any administrator credentials stored in the TrueNAS configuration file.
Related Services: FTP Access
The recommendation is to use SFTP over FTP. But joined systems do allow FTP access. Keep these caveats in mind:
- Authentication uses DOMAIN\username as the user name by default.
- A user home directory needs to exist before joining.
- You cannot add an AD user to the FTP group. Enable local user auth for FTP instead.
- An existing samba homes share created in the GUI is set as the template homedir for AD users. This means that AD user home directories are set inside that path. Proper permissions are vital.
- There are no guarantees about how
proftpdhandles ACLs. - AD users can have populated homedir information in their LDAP schema. The admin (or
pam_mkhomedir) must ensure that these paths exist. - When the admin is pulling home directories from their LDAP schema, take an extra step of caution. Ensure that users aren’t writing files to the boot device.
Troubleshooting
Resync the cache if it becomes out of sync. Or if fewer users than expected are available in the permissions editors. Go to Directory Services > Active Directory > REBUILD DIRECTORY SERVICE CACHE.
If you are using Windows Server with 2008 R2 or older, try the following options:
Create a Computer entry on the Windows server Organizational Unit (OU). When creating this entry, enter the TrueNAS host name in the name field. Make sure it is the same name as the one set in the Hostname field in Network > Global Configuration. Must match the NetBIOS alias from Directory Services > Active Directory > Advanced Options.
You can enter various shell commands to get more details about the AD connection and users:
- AD current state:
midclt call activedirectory.get_state. - Details about the currently connected Lightweight Directory Access Protocol (LDAP) server:
midclt call activedirectory.domain_info | jq. Example:truenas# midclt call activedirectory.domain_info | jq { "LDAP server": "192.168.1.125", "LDAP server name": "DC01.HOMEDOM.FUN", "Realm": "HOMEDOM.FUN", "Bind Path": "dc=HOMEDOM,dc=FUN", "LDAP port": 389, "Server time": 1593026080, "KDC server": "192.168.1.125", "Server time offset": 5, "Last machine account password change": 1592423446 } - View AD users:
wbinfo -u. To see more details about a user, entergetent passwd DOMAIN\\<user>. Replace<user>with the desired user name. With the TrueNAS cache enabledwbinfo -ucan show more users than appear to be available when configuring permissions. Go to Directory Services > Active Directory and increase the AD Timeout value. - View AD groups:
wbinfo -g. To see more details, entergetent group DOMAIN\\domain\ users. - View domains:
wbinfo -m. - Test AD connection:
wbinfo -t. A successful test shows a message similar tochecking the trust secret for domain YOURDOMAIN via RPC calls succeeded. - User connection test to an SMB share:
smbclient '//127.0.0.1/smbshare -U AD01.LAB.IXSYSTEMS.COM\ixuser, replacing127.0.0.1with your server address,smbsharewith the SMB share name,AD01.LAB.IXSYSTEMS.COMwith your trusted domain, andixuserwith the user account name for authentication testing.
Related Content
CORE Tutorials
CORE UI Reference
Have more Questions?
For further discussion or assistance, see these resources:
Found content that needs an update? You can suggest content changes directly! To request changes to this content, click the Feedback button located on the middle-right side of the page (might require disabling ad blocking plugins).
Check status of VMs from Shell
midclt call vm.query | jq Get information of VM including the VM ID
midclt call vm.start <ID>
Disable 2FA
midclt call auth.twofactor.update '{"enabled": false}'
Dragonfish Swap issue
Latest version of Scale called Dragonfish-24.04.0 has an issue with using more system memory for ZFS cache and causes sluggish performance and outright unresponsiveness.
The fix is below
- Log into the shell
- run the following commands
-
sysctl vm.swappiness=0
- This tells the kernel to avoid swap
-
swapoff -a &
- turns swap off entirely
-
top
- System monitor for active process. Monitor for SWAP usage. Should see SWAP usage drop to 0
-
Enable SMB Multi Channel
Put these options in the SMB Advanced options
server multi channel support = yes
aio read size = 1
aio write size = 1
Force SMB3 encryption
server smb encrypt = required ## This is a Auxillary parameter to be set individually on every share
client smb encrypt = required ## this is a global configuration to be set in Services -> SMB
## Run these two commands to verify SMB signing is required
"nmap --script smb2-security-mode.nse -p445 <ip address>"
"nmap -p 139 --script smb2-security-mode <ip address>"
Capture packets in WireShark to confirm the data is actually encrypted
There are two places the you should configure SMB encryption. In the Global SMB or Samba configuration, and on each SMB share. Both are done within the TrueNAS settings. First, you want to configure your SMB or Samba service with the folowing two auxiliary parameters:
server signing = required
client smb encrypt = required
This will do two things. First, it enables server signing of each SMB packet sent. The server will sign each data packet with a hash of that packet, thus alerting the client computer if the data packet is changed in transit. Second, it will enable smb encryption globally, but will not turn it on, each share still needs to be told to use encryption. You can also set
client smb encrypt = desired
if you do not want to prevent clients that do not support encryption from accessing the share.
Clients that do not support SMB encryption will not be able to connect to the share. By default, clients should be attempting to negotiate encryption when connecting, but I prefer to force it for all clients. Almost all modern devices capable of connecting to an SMB share will support SMB encryption. These are the global parameters. Next the local parameters.
On the configuration page of each share you can set:
smb server encrypt = required
This allows you to force encryption of each share individually. Again, clients that do not support SMB encryption will not be able to connect. You can also set:
smb server encrypt = desired
This will set clients to use encryption if possible, but will not lock out clients that do not support encryption. In all cases, you must set encryption globally and on each share. smb server encrypt can be used as a global parameter in some samba iterations, but TrueNAS requires it be set on a share by share basis.
You can use
server smb encryption algorithims = *
This allows you to specify which algorithims are used, or not used. for example
server smb3 encryption algorithms = -AES-128-GCM -AES-128-CCM
Should remove the algorithims from use. I have chosed to remove the 128 bit algorithims that are in use by default. You can see the - symbol prefix.
Go into the shell as root and run smbstatus
This should tell you all open SMB sessions, and if those are encrypted.
You can confirm this by using a Wireshark, or other packet sniffer, on and SMB share before and after enabling these.
This webpage https://www.samba.org/samba/docs/current/man-html/smb.conf.5.html shows detailed explinations of all possible SMB configuration options. I highley recommend forcing the use of SMB encryption on your TrueNAS ASAP. Encryption of data in flight is a good thing. This guide will apply to both Scale and Core.
Midnight Commander
TrueNAS has a file explorer built in. Use the command "mc" in a command prompt to open. Supports clicking with the mouse.
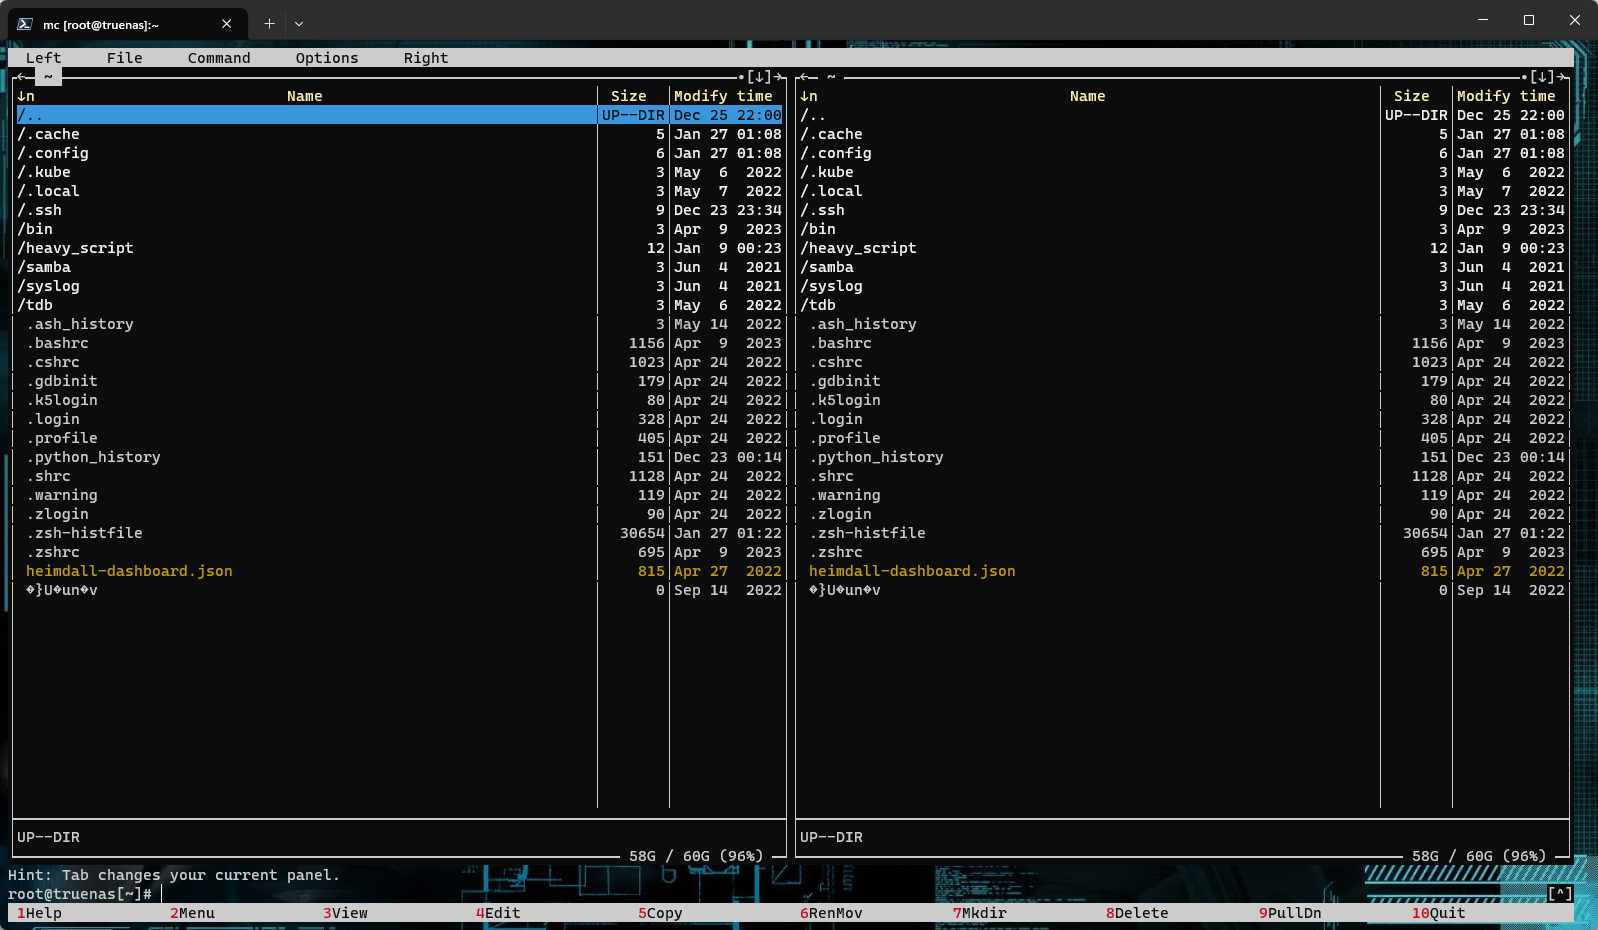
File Explorer - GUI
Setup UPS on TrueNAS
You can test the service by running upsc <servicename> with <servicename> being the identifier used to setup the service
- Enable the UPS service
-
- Configure the UPS service

Edit Additional SMB Parameters
midclt call sharing.smb.query | jq
you should get a list of your SMB shares
midclt call sharing.smb.update <id> '{"auxsmbconf": "<stuff>"}'
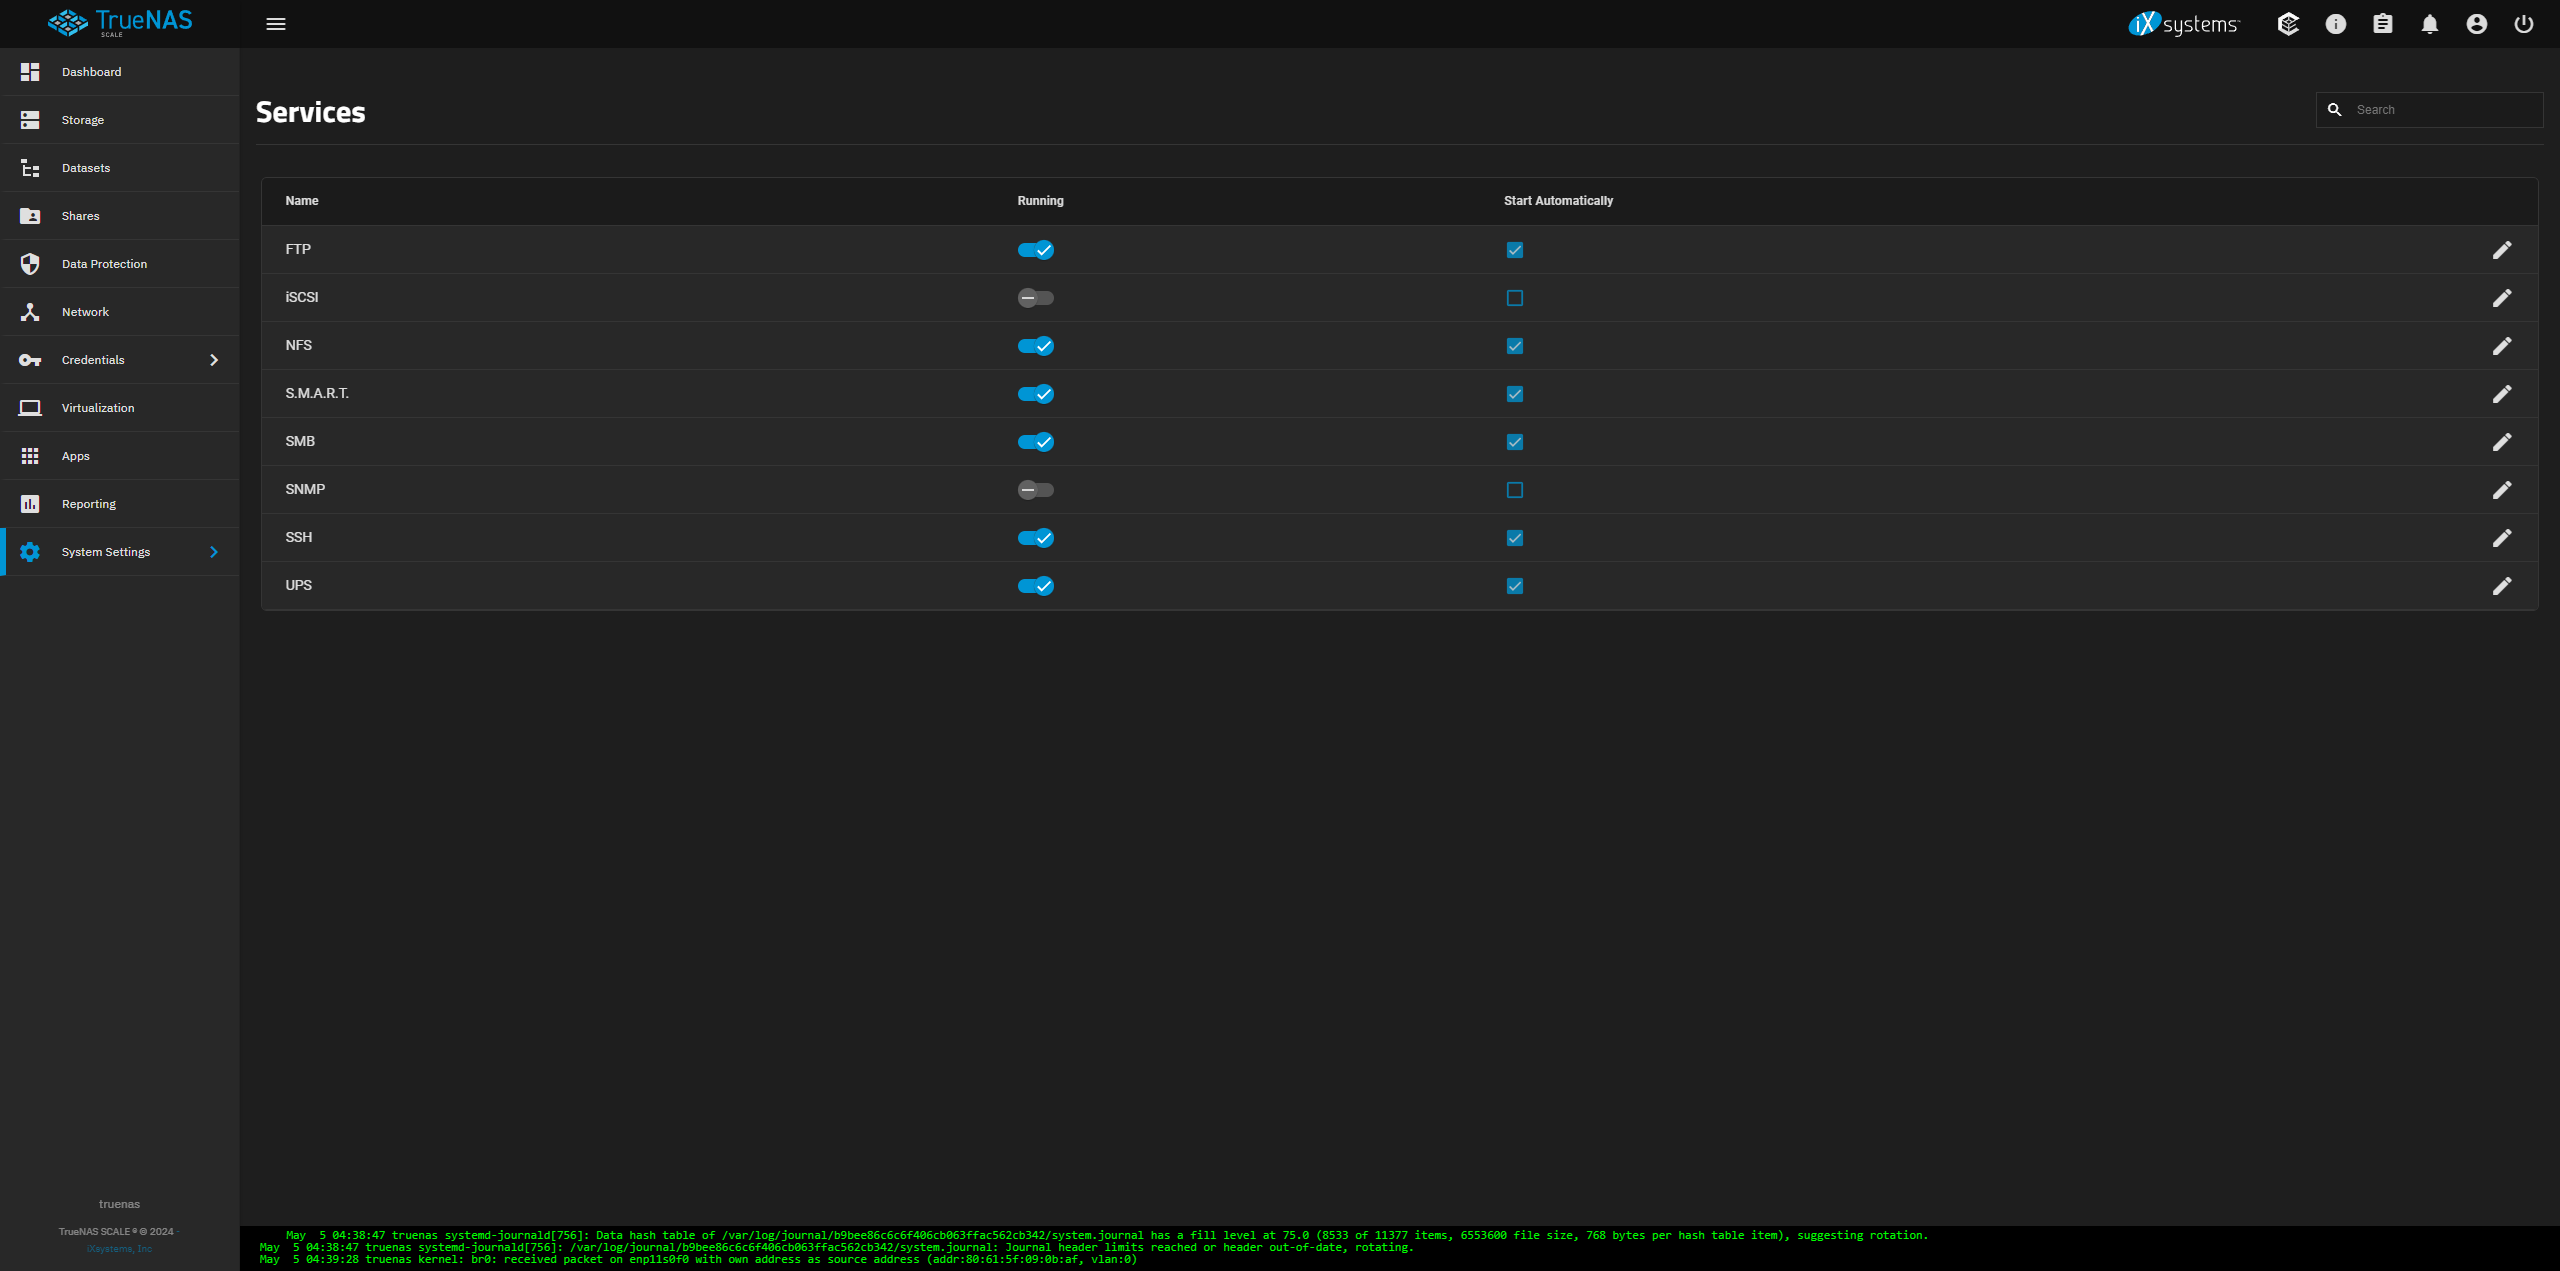
SMB
https://www.truenas.com/docs/scale/scaletutorials/systemsettings/services/smbservicescale/
The Services > SMB screen displays after going to the Shares screen, finding the Windows (SMB) Shares section, and clicking + Config Service. Alternatively, you can go to System > Services and click the edit icon for the SMB service.
Configuring SMB Service
The SMB Services screen displays setting options to configure TrueNAS SMB settings to fit your use case. In most cases, you can set the required fields and accept the rest of the setting defaults. If you have specific needs for your use case, click Advanced Options to display more settings.

Enter the name of the TrueNAS host system if not the default displayed in NetBIOS Name. This name is limited to 15 characters and cannot be the Workgroup name.
Enter any alias name or names that do not exceed 15 characters in the NetBIOS Alias field. Separate each alias name with a space between them.
Enter a name that matches the Windows workgroup name in Workgroup. TrueNAS detects and sets the correct workgroup from these services when unconfigured with enabled Active Directory or LDAP active.
If using SMB1 clients, select Enable SMB1 support to allow legacy SMB1 clients to connect to the server. Note: SMB1 is deprecated. We advise upgrading clients to operating system versions that support modern SMB protocols.
If you plan to use the insecure and vulnerable NTLMv1 encryption, select NTLMv1 Auth to allow smbd attempts to authenticate users. This setting enables backward compatibility with older versions of Windows, but we do not recommend it. Do not use on untrusted networks.
Enter any notes about the service configuration in Description.
For more advanced settings, see SMB Services Screen.
Click Save.
Start the SMB service.
Configuring Transport Encryption
TrueNAS and Samba default behavior for SMB transport encryption allows SMB clients to negotiate different encryption levels for shares. This default setting enables negotiating encryption but does not turn on data encryption globally per share. SMB1 and SMB2 provide different settings to change the level of global or per-share SMB encryption applied to connections. See Samba Server SMB Encrypt(s) for more information.
You can change the SMB service to apply different SMB transport encryption levels to suit your use case. Go to the SMB service, found on the System > Services screen, and click Edit for the SMB service to open the SMB Service screen, then click on Advanced Settings.
Click in the Transport Encryption Behavior field to select the option and behavior you want applied:
- Default - follow upstream/TrueNAS default
- Negotiate - only encrypt transport if explicitly requested by the SMB client
- Desired - encrypt transport if supported by client during session negotiation
- Required - always encrypt transport (rejecting access if client does not support encryption - incompatible with SMB1 server
enable_smb1)
Select the Default option to use the TrueNAS current behavior. If set to default, there is not a technical limitation preventing an SMB client from negotiating an encrypted session if it is required.
If concerned about having Windows SMB clients always using signing in your environment, make a GPO change on the client side to always sign SMB2+ traffic. This defaults to the Windows settings digitally sign communications (always) and to off.
For more information on Windows SMB-client side transport encryption see Windows SMB Signing Policies.
Auditing SMB Events
To monitor SMB service event logs, such as when a client attempts to authenticate to the share, use the TrueNAS auditing screen. Go to System > Audit to review event logs including SMB connect, disconnect, create, read or write events, and others.
Enter SMB in the search bar to view only SMB service logs or use the advanced search to further limit results.